OddCameras.com
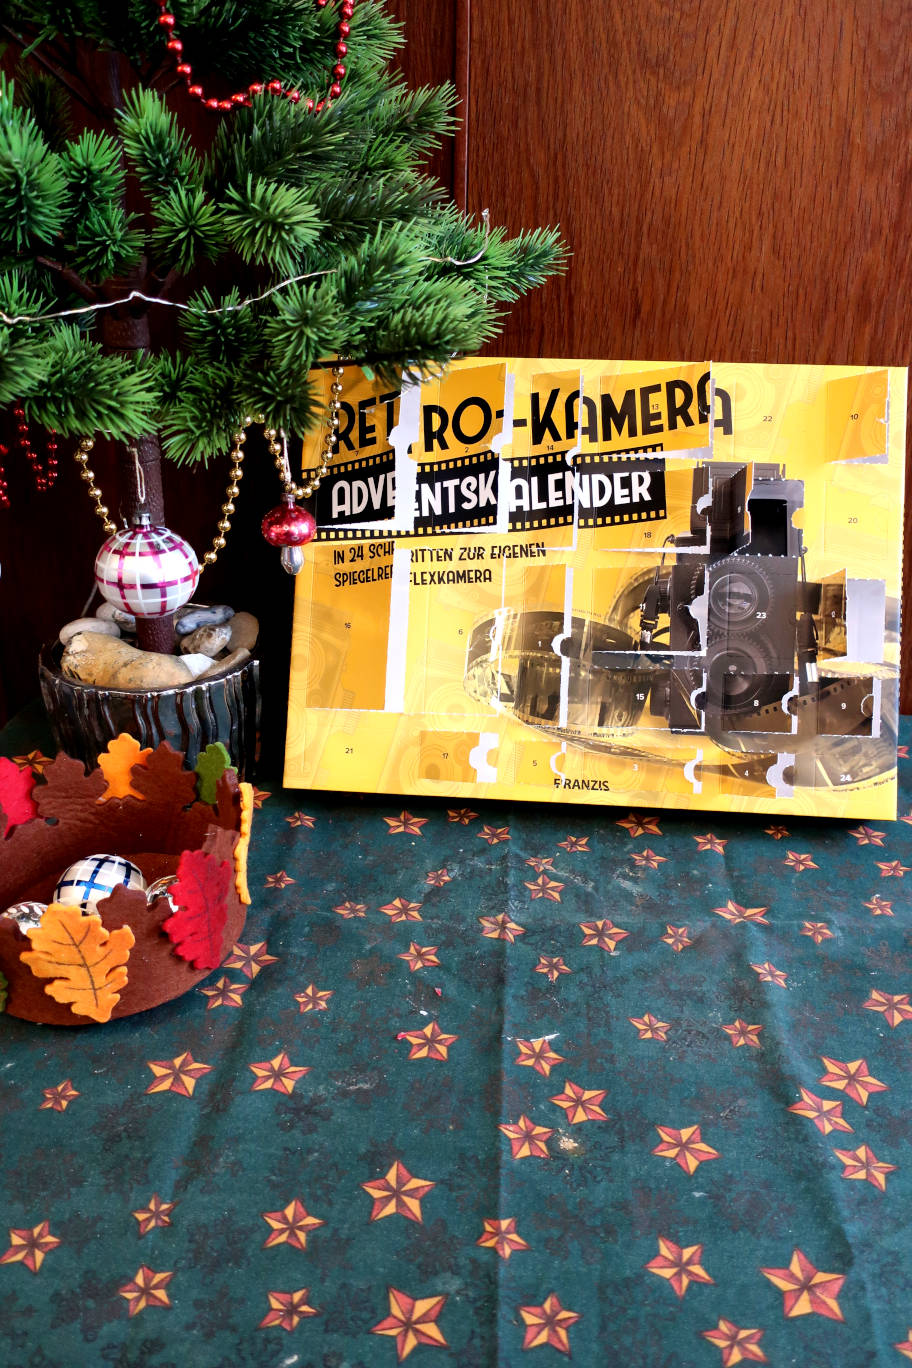
Advent Calendar DIY Camera
This
camera was given to me as a Christmas present in 2018. It was a big
feature in Germany that year, but Christmas was definitely too late for
an Advent Calendar. So I kept in for a year and will present you the
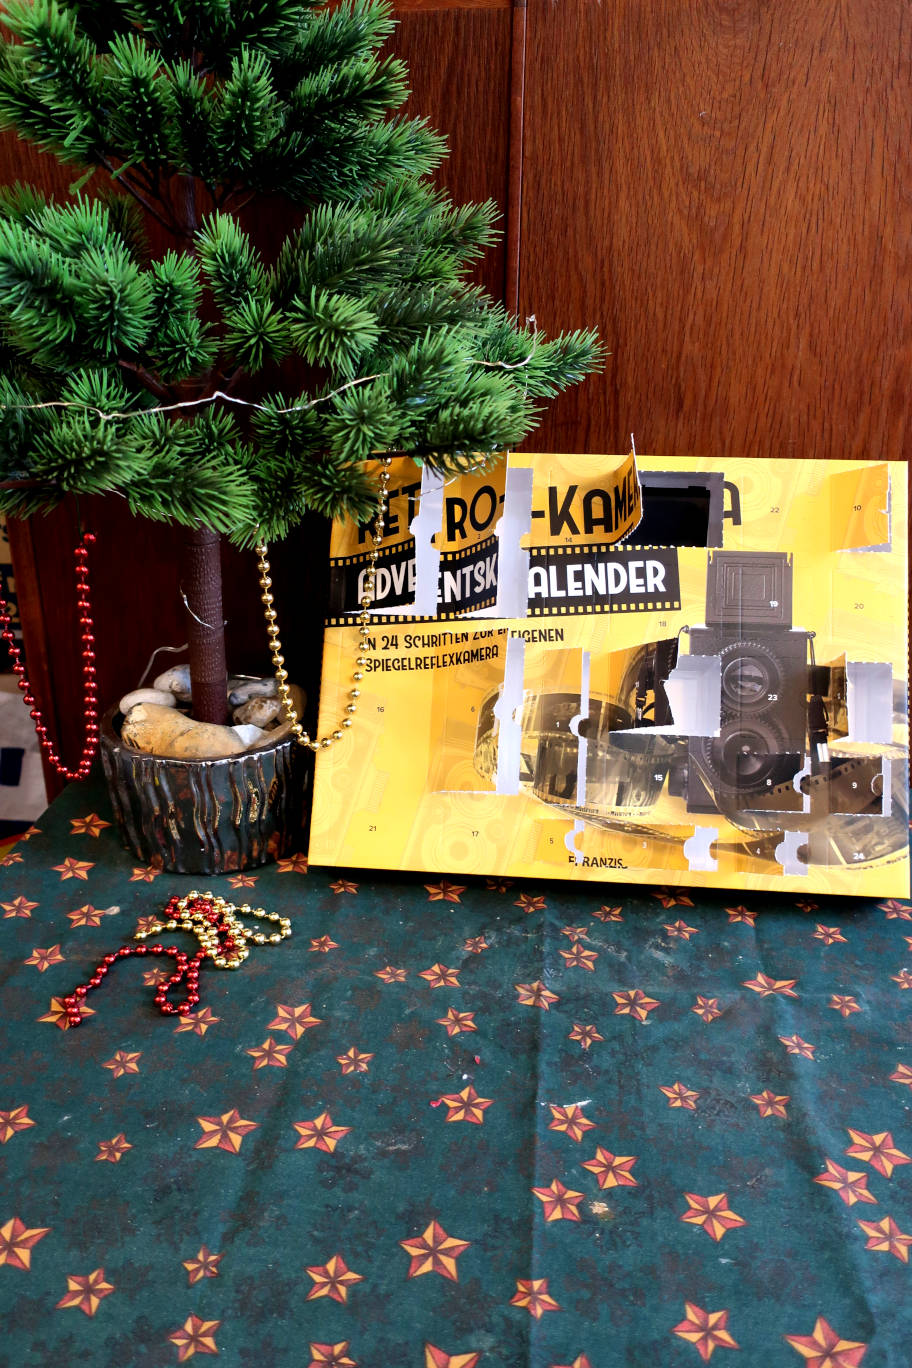
steps in 2019. The set is still availble on their website at www.franzis.de. Building will start on the december 1st and be complete on
Christmas Day.
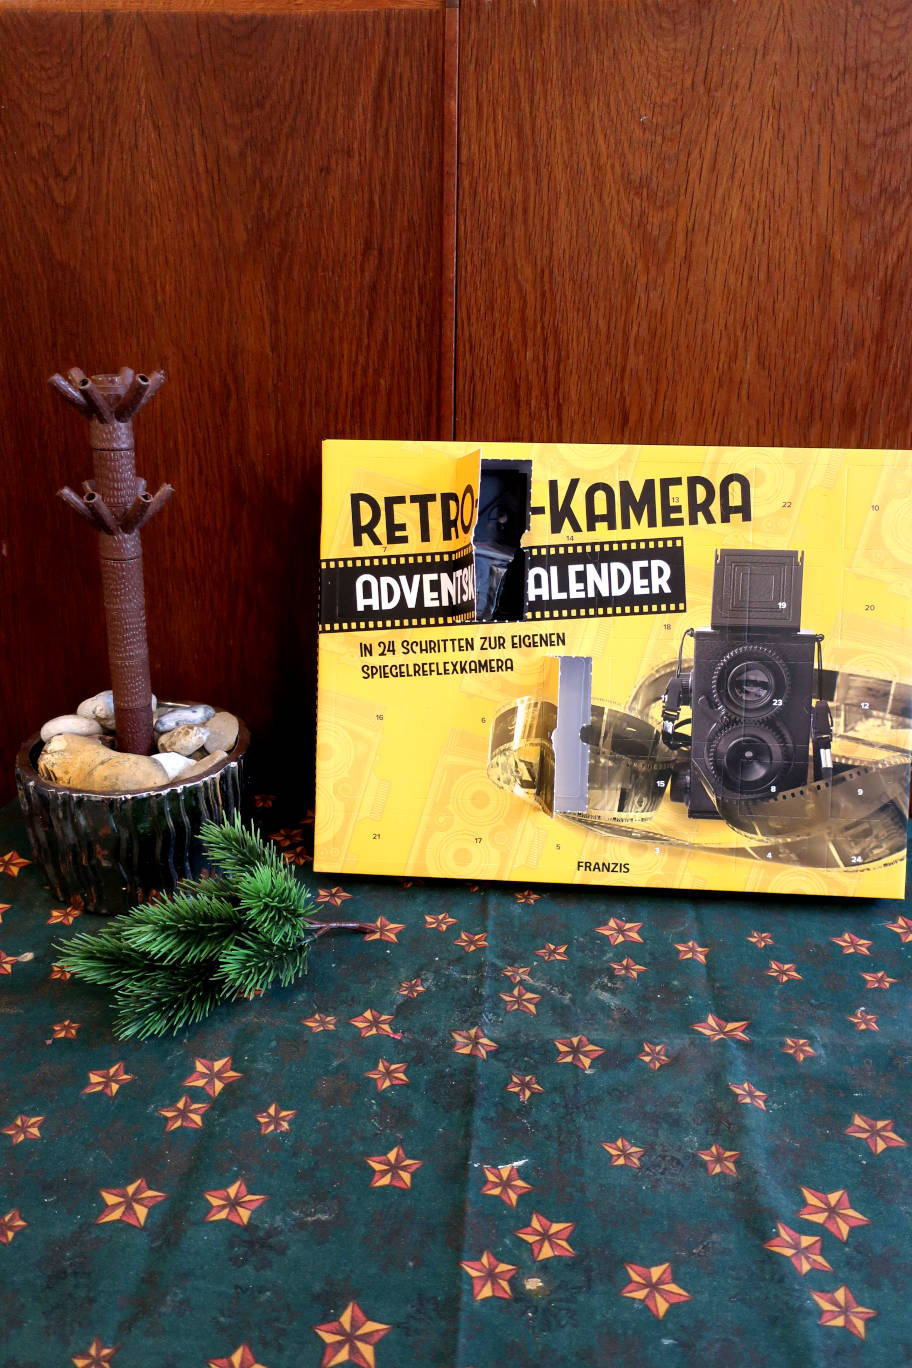
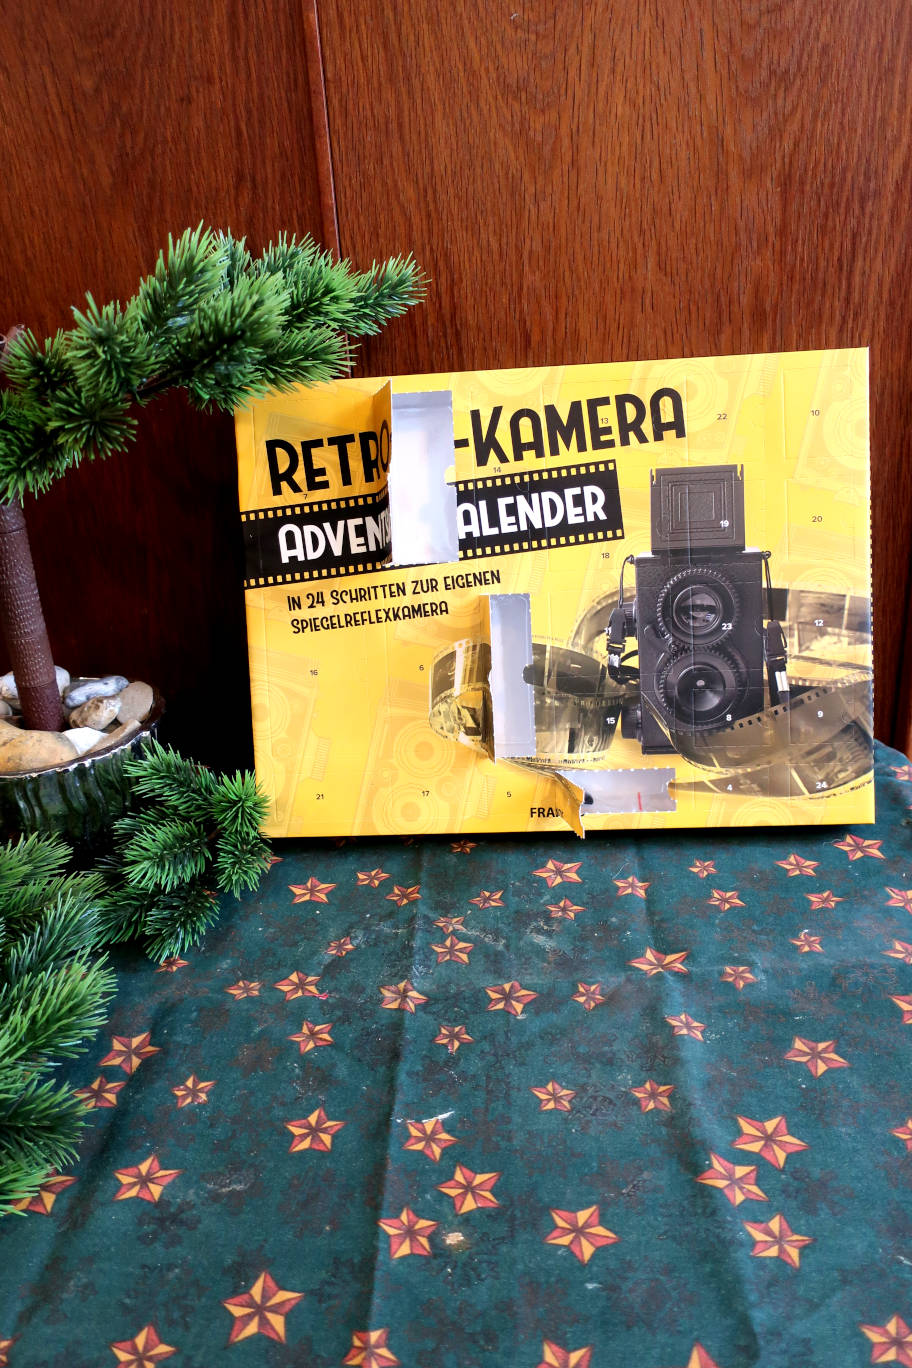
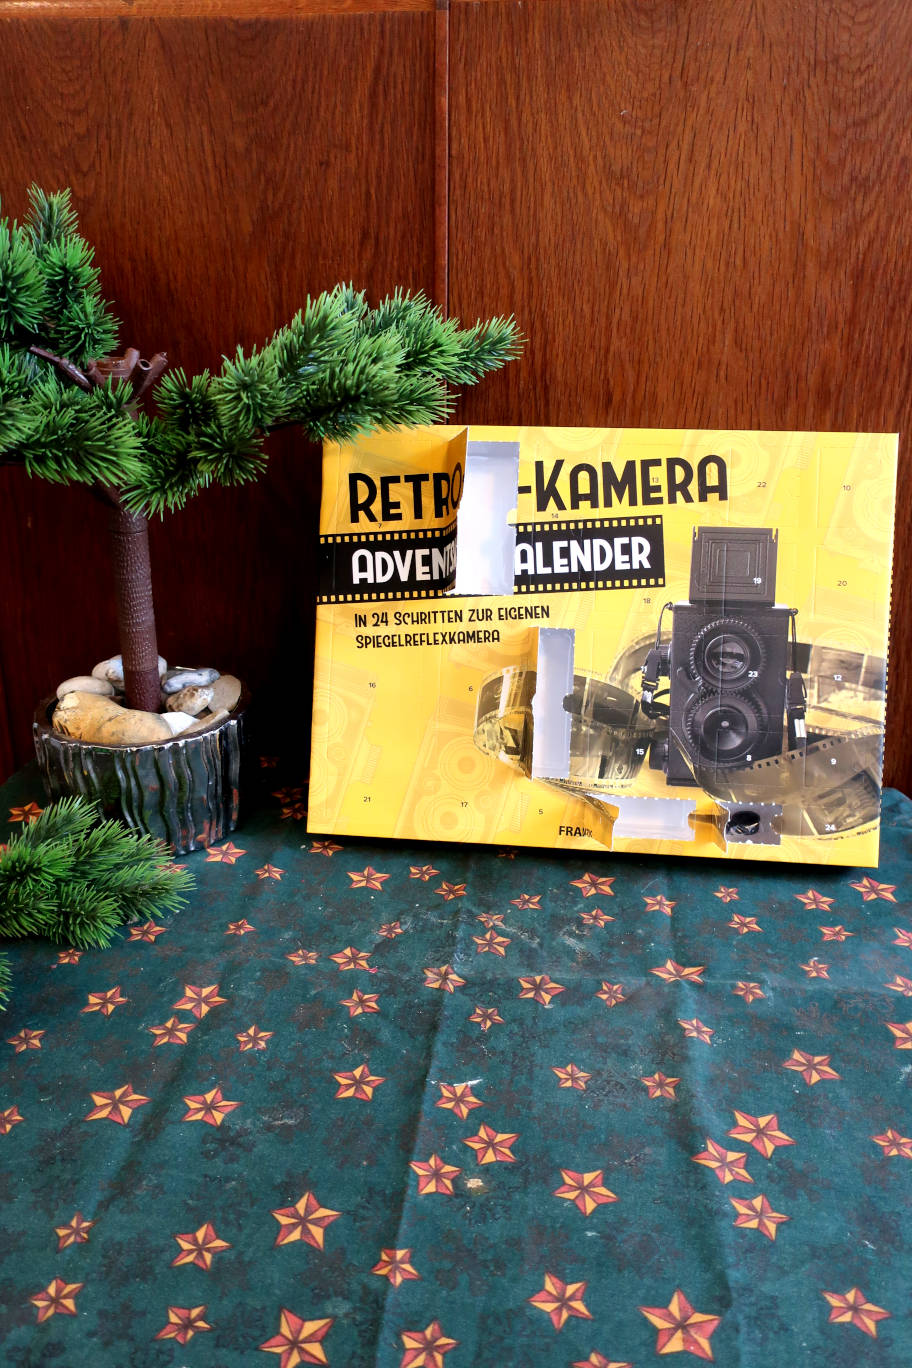
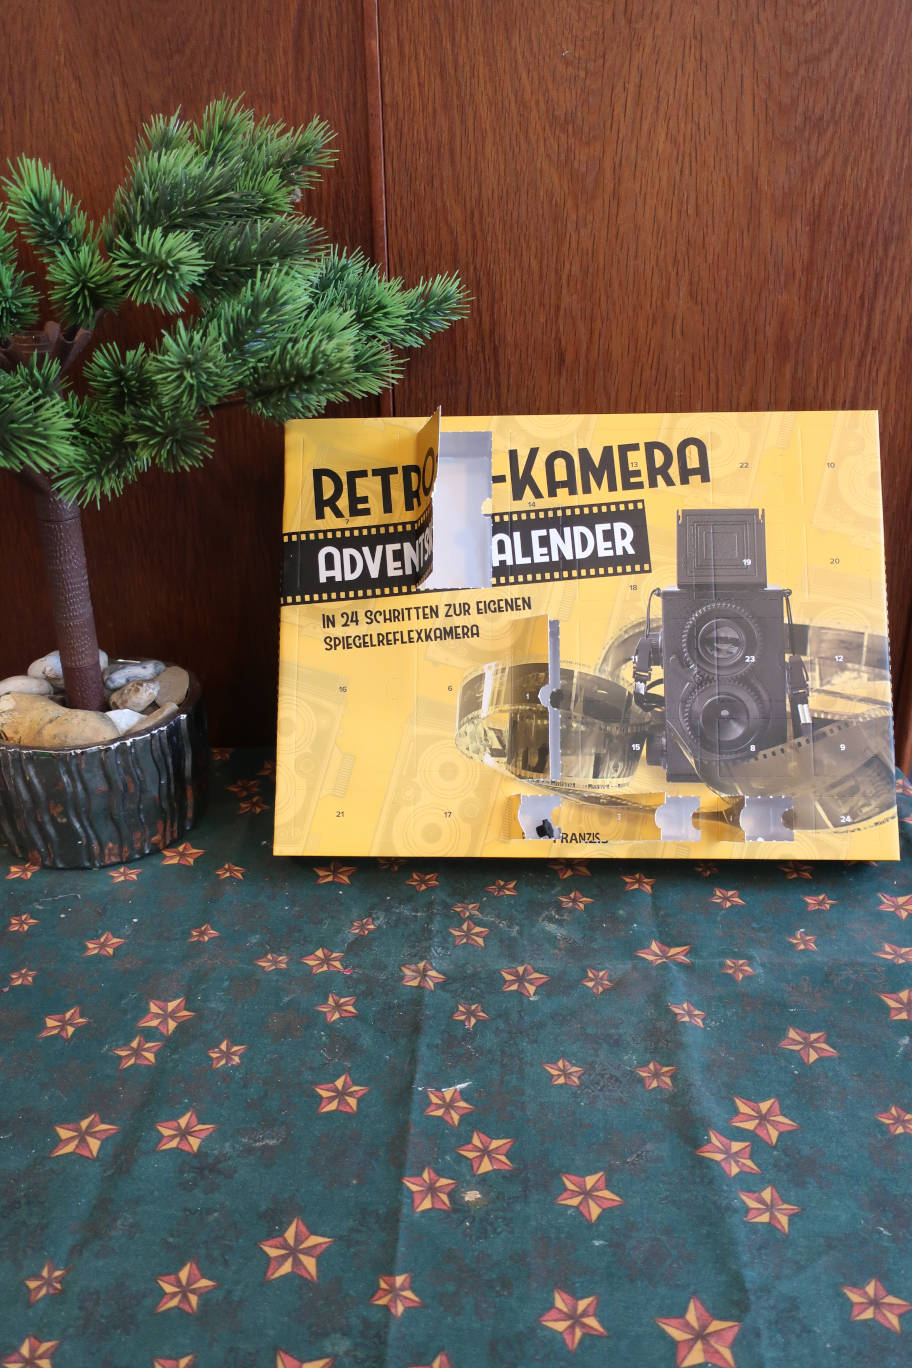
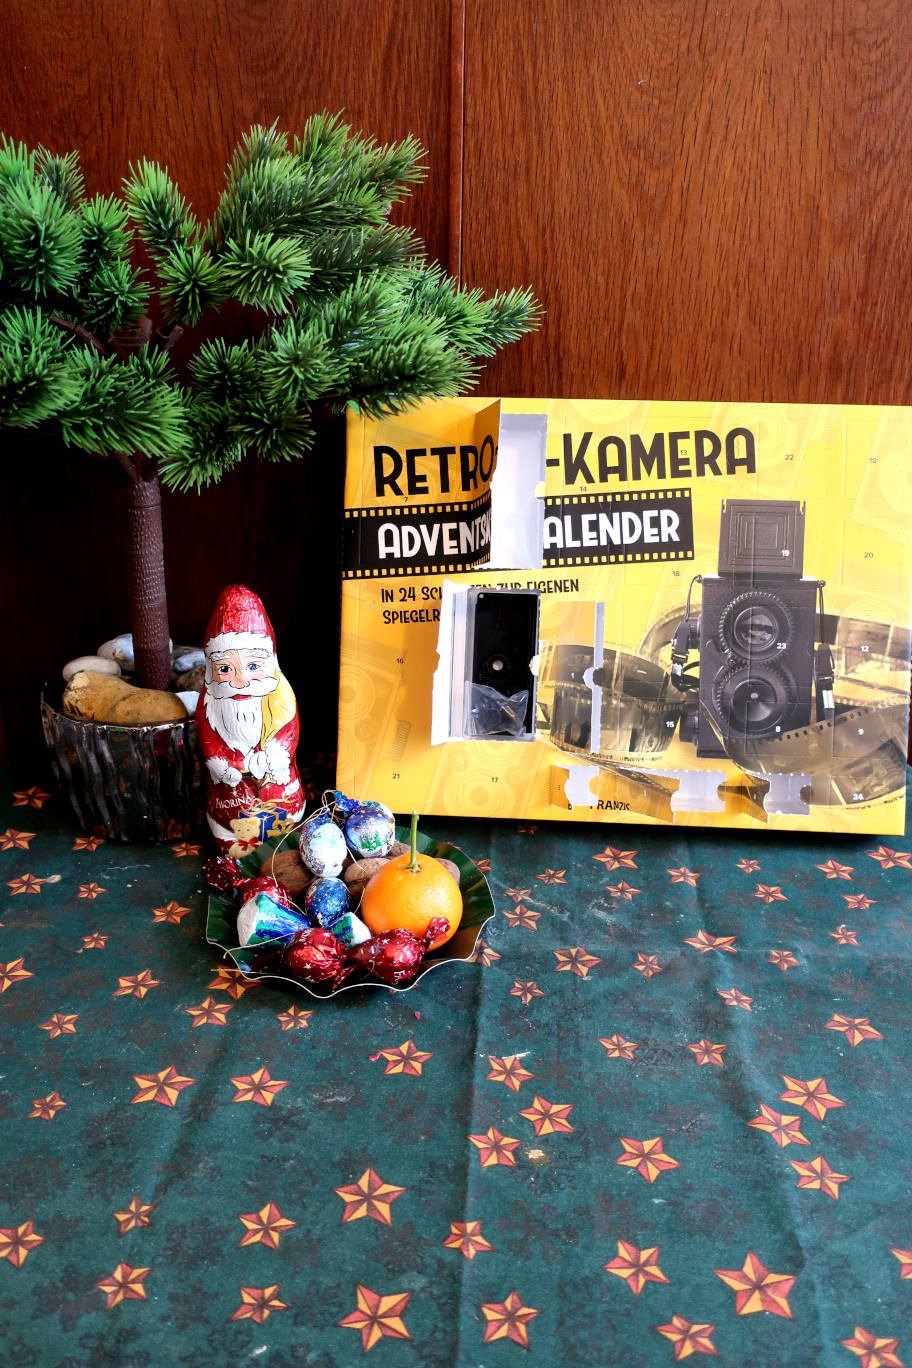
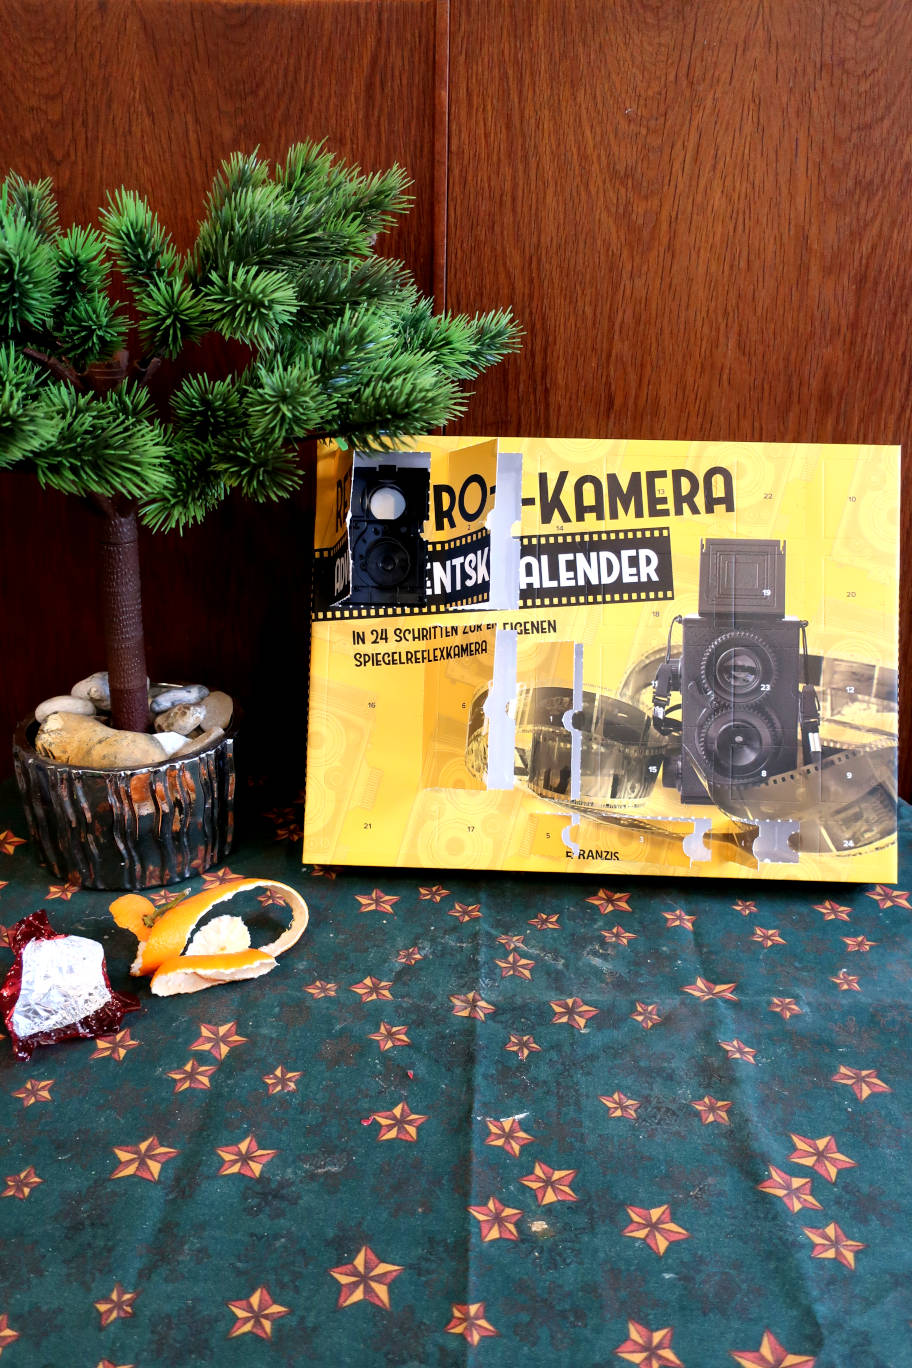
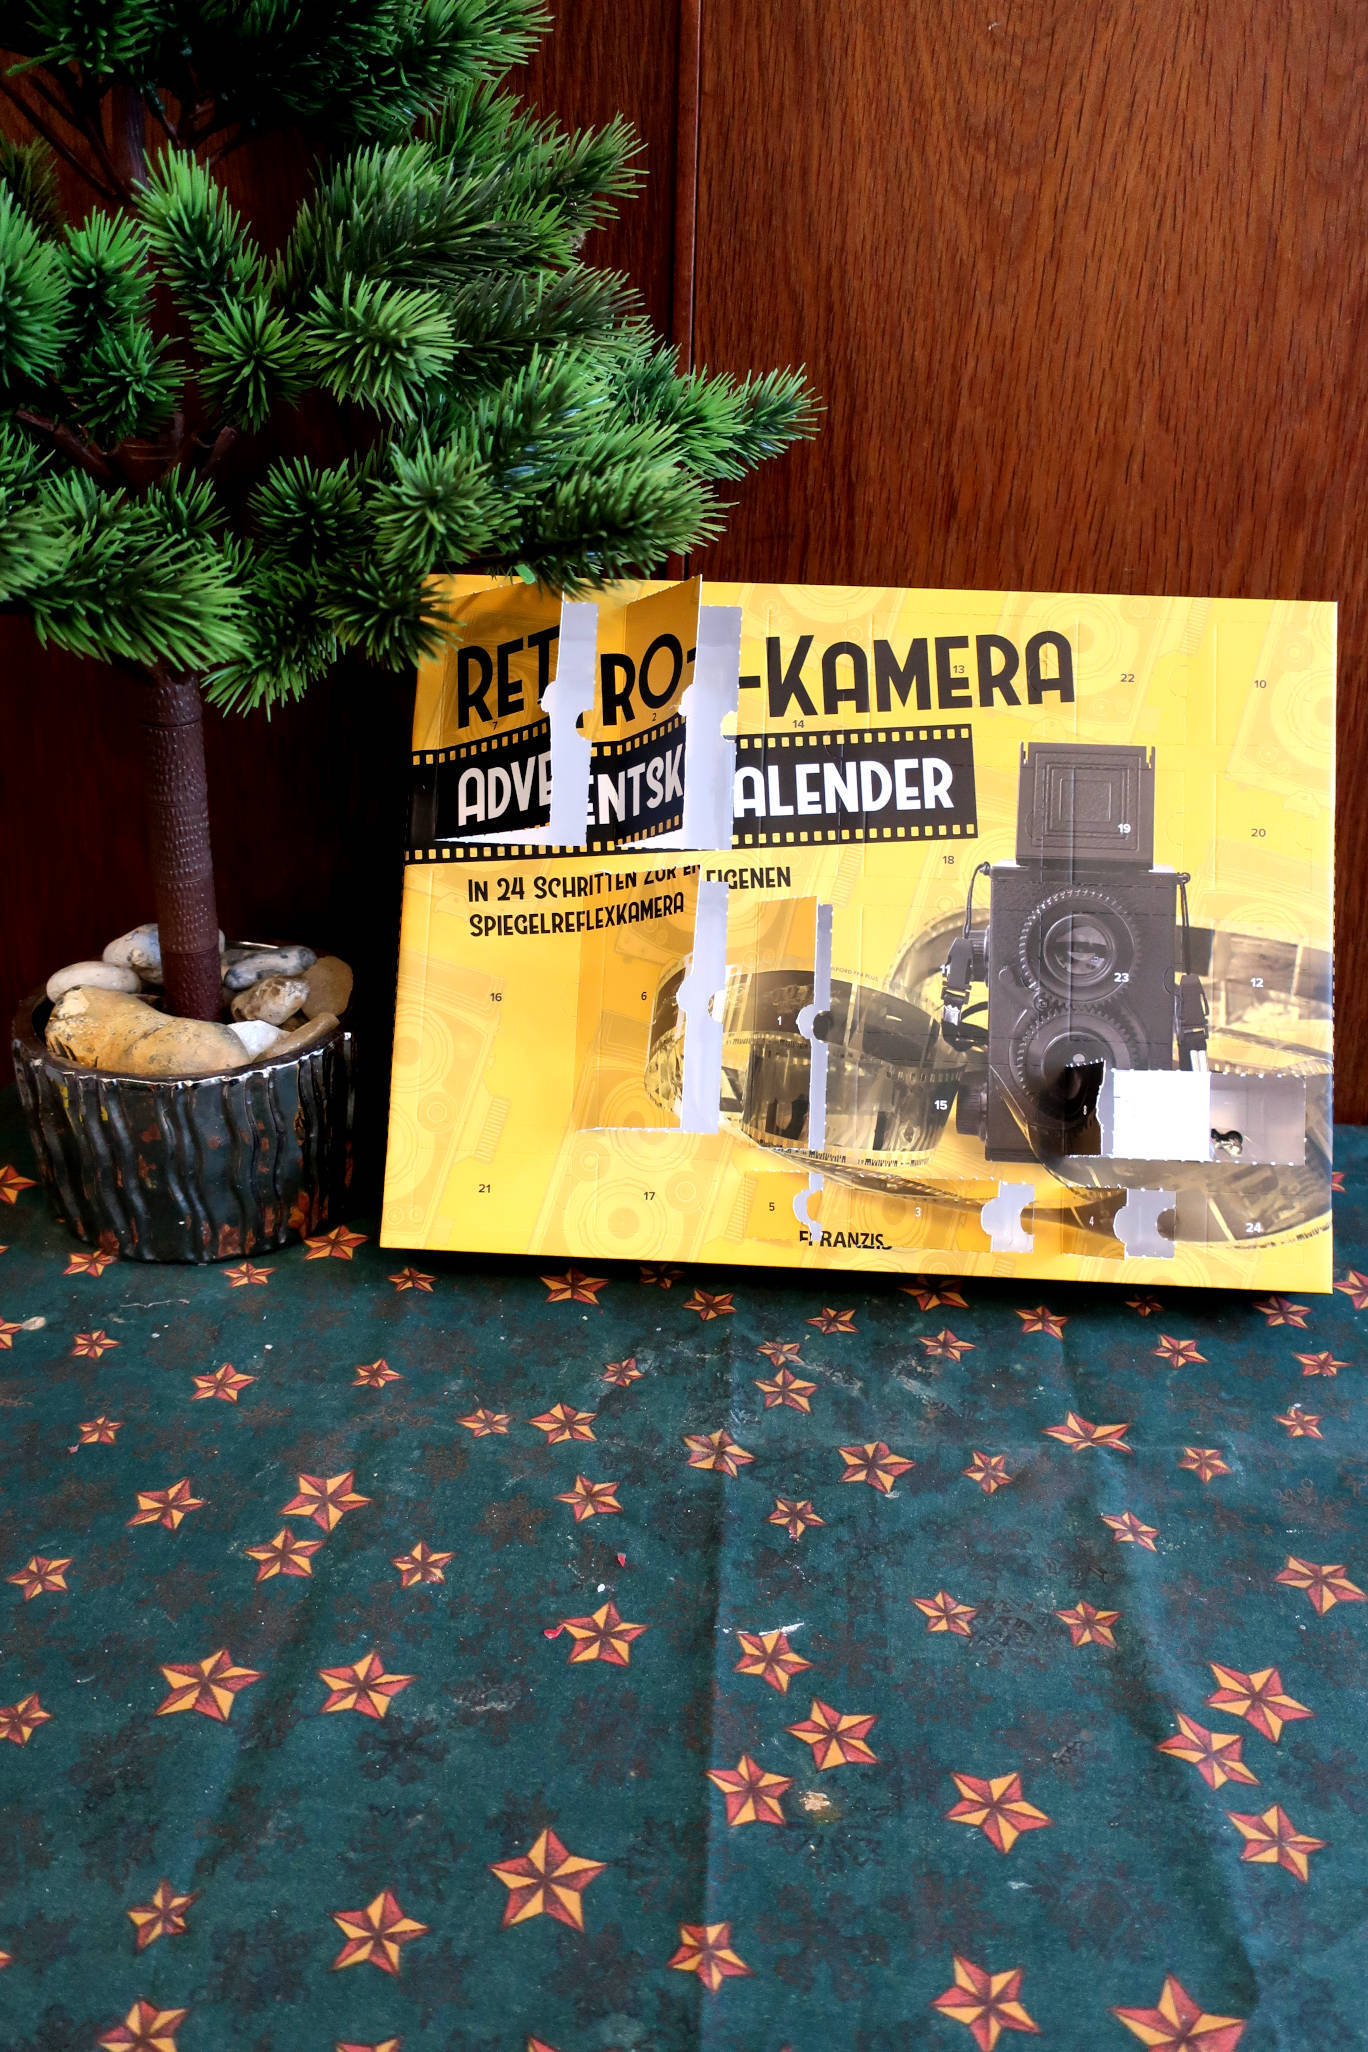
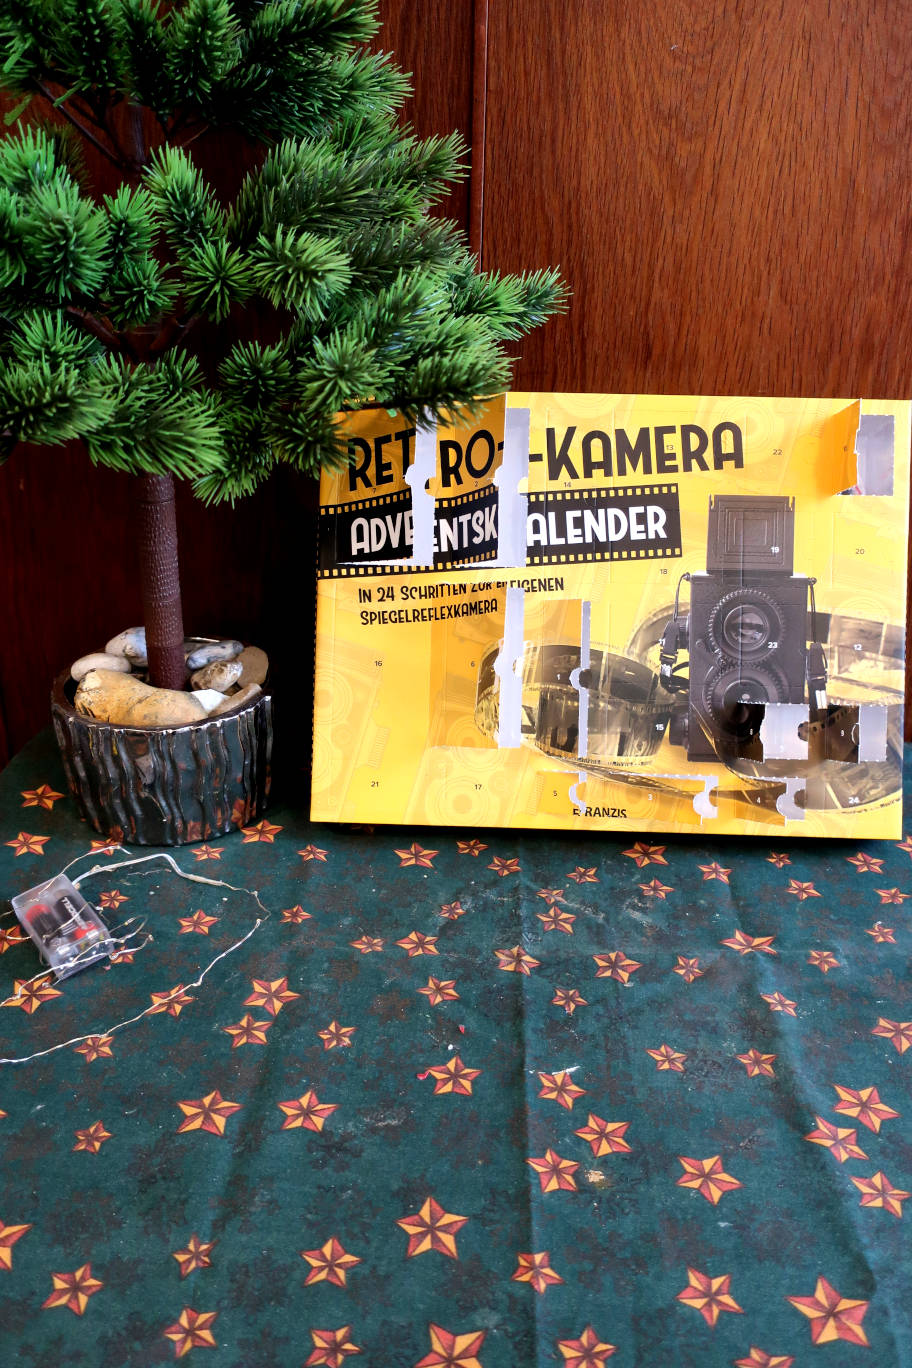
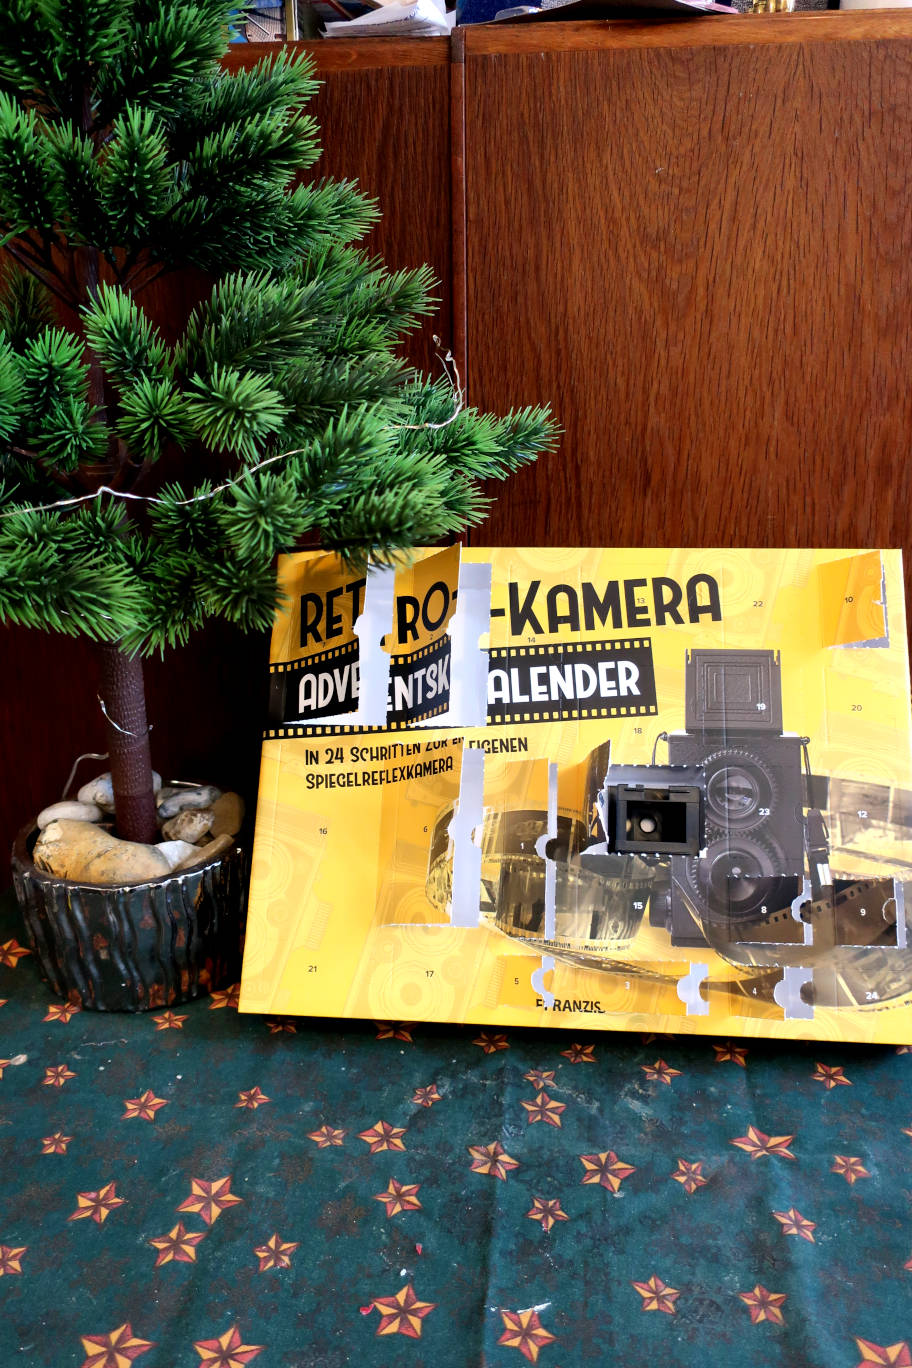
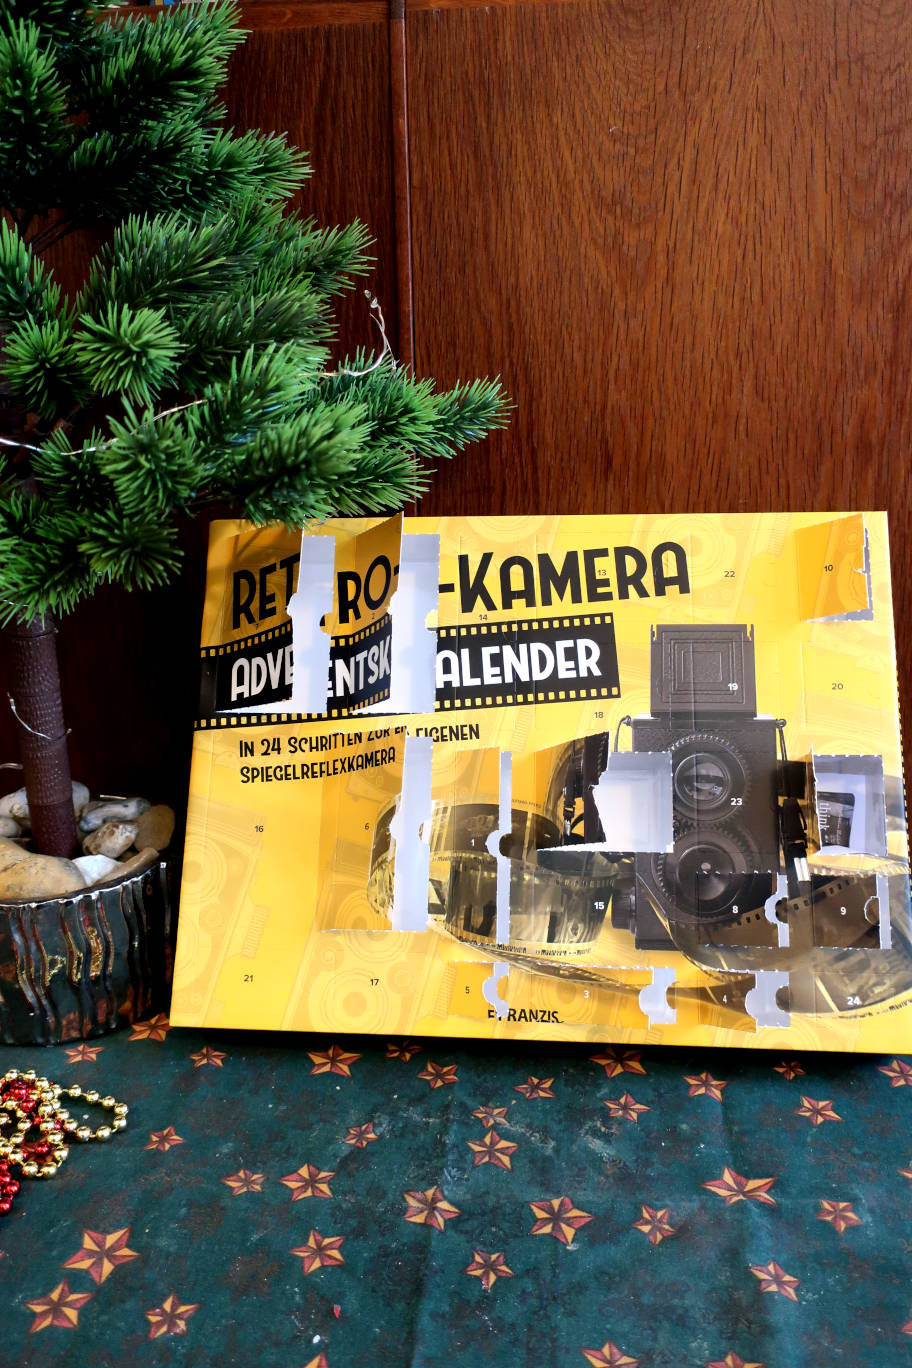
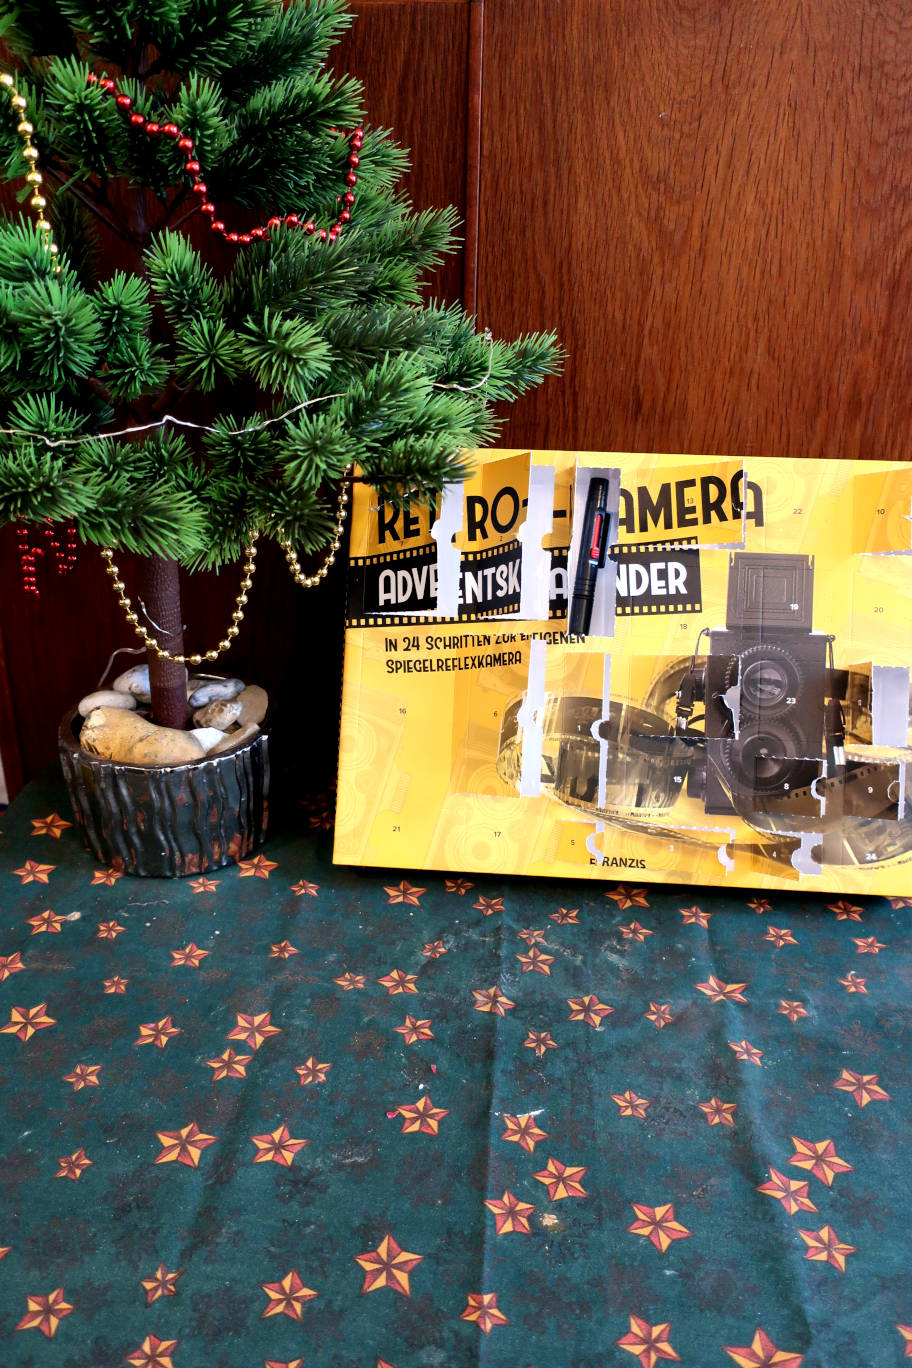
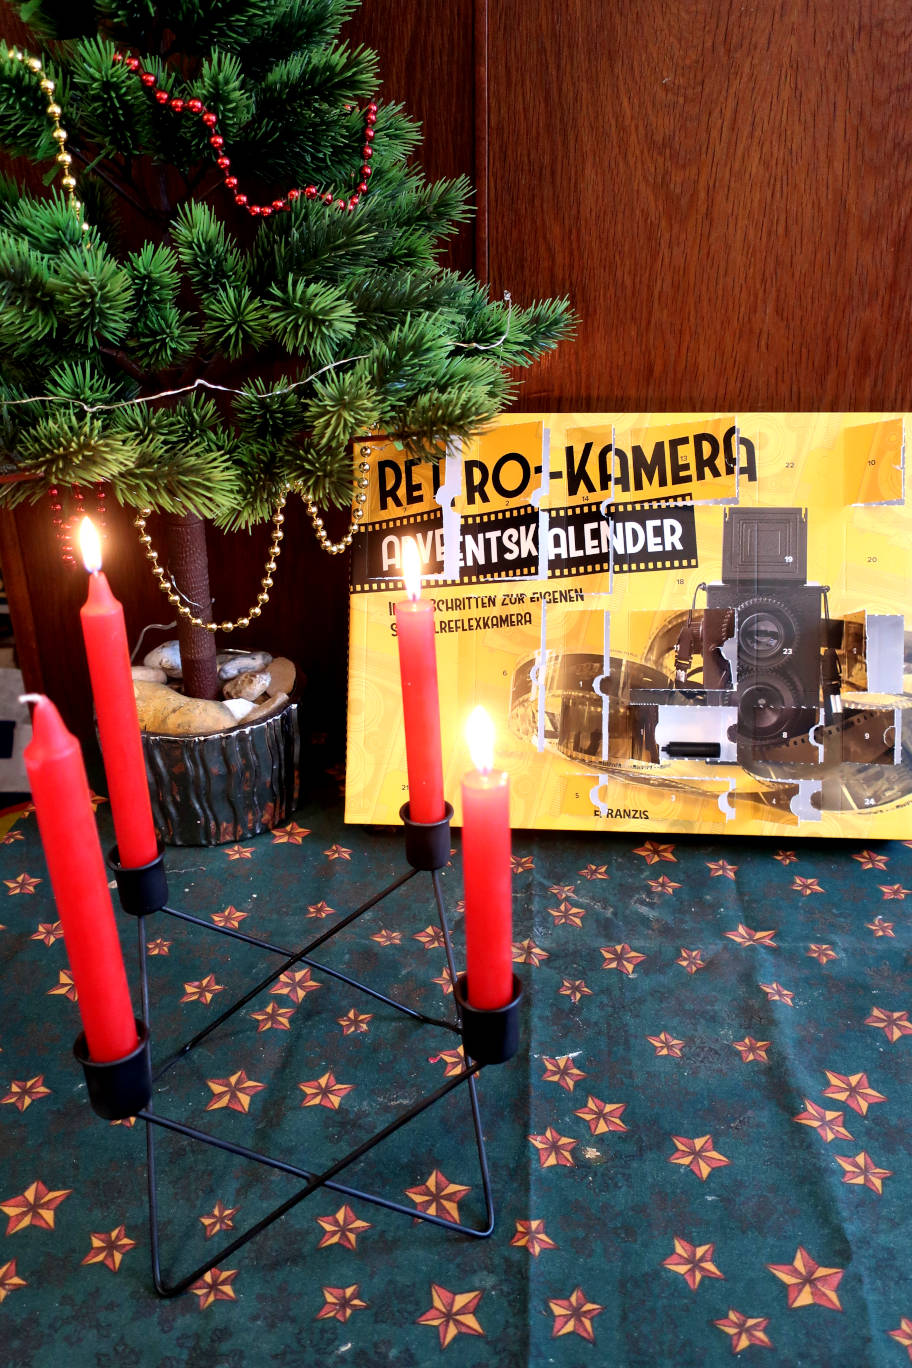
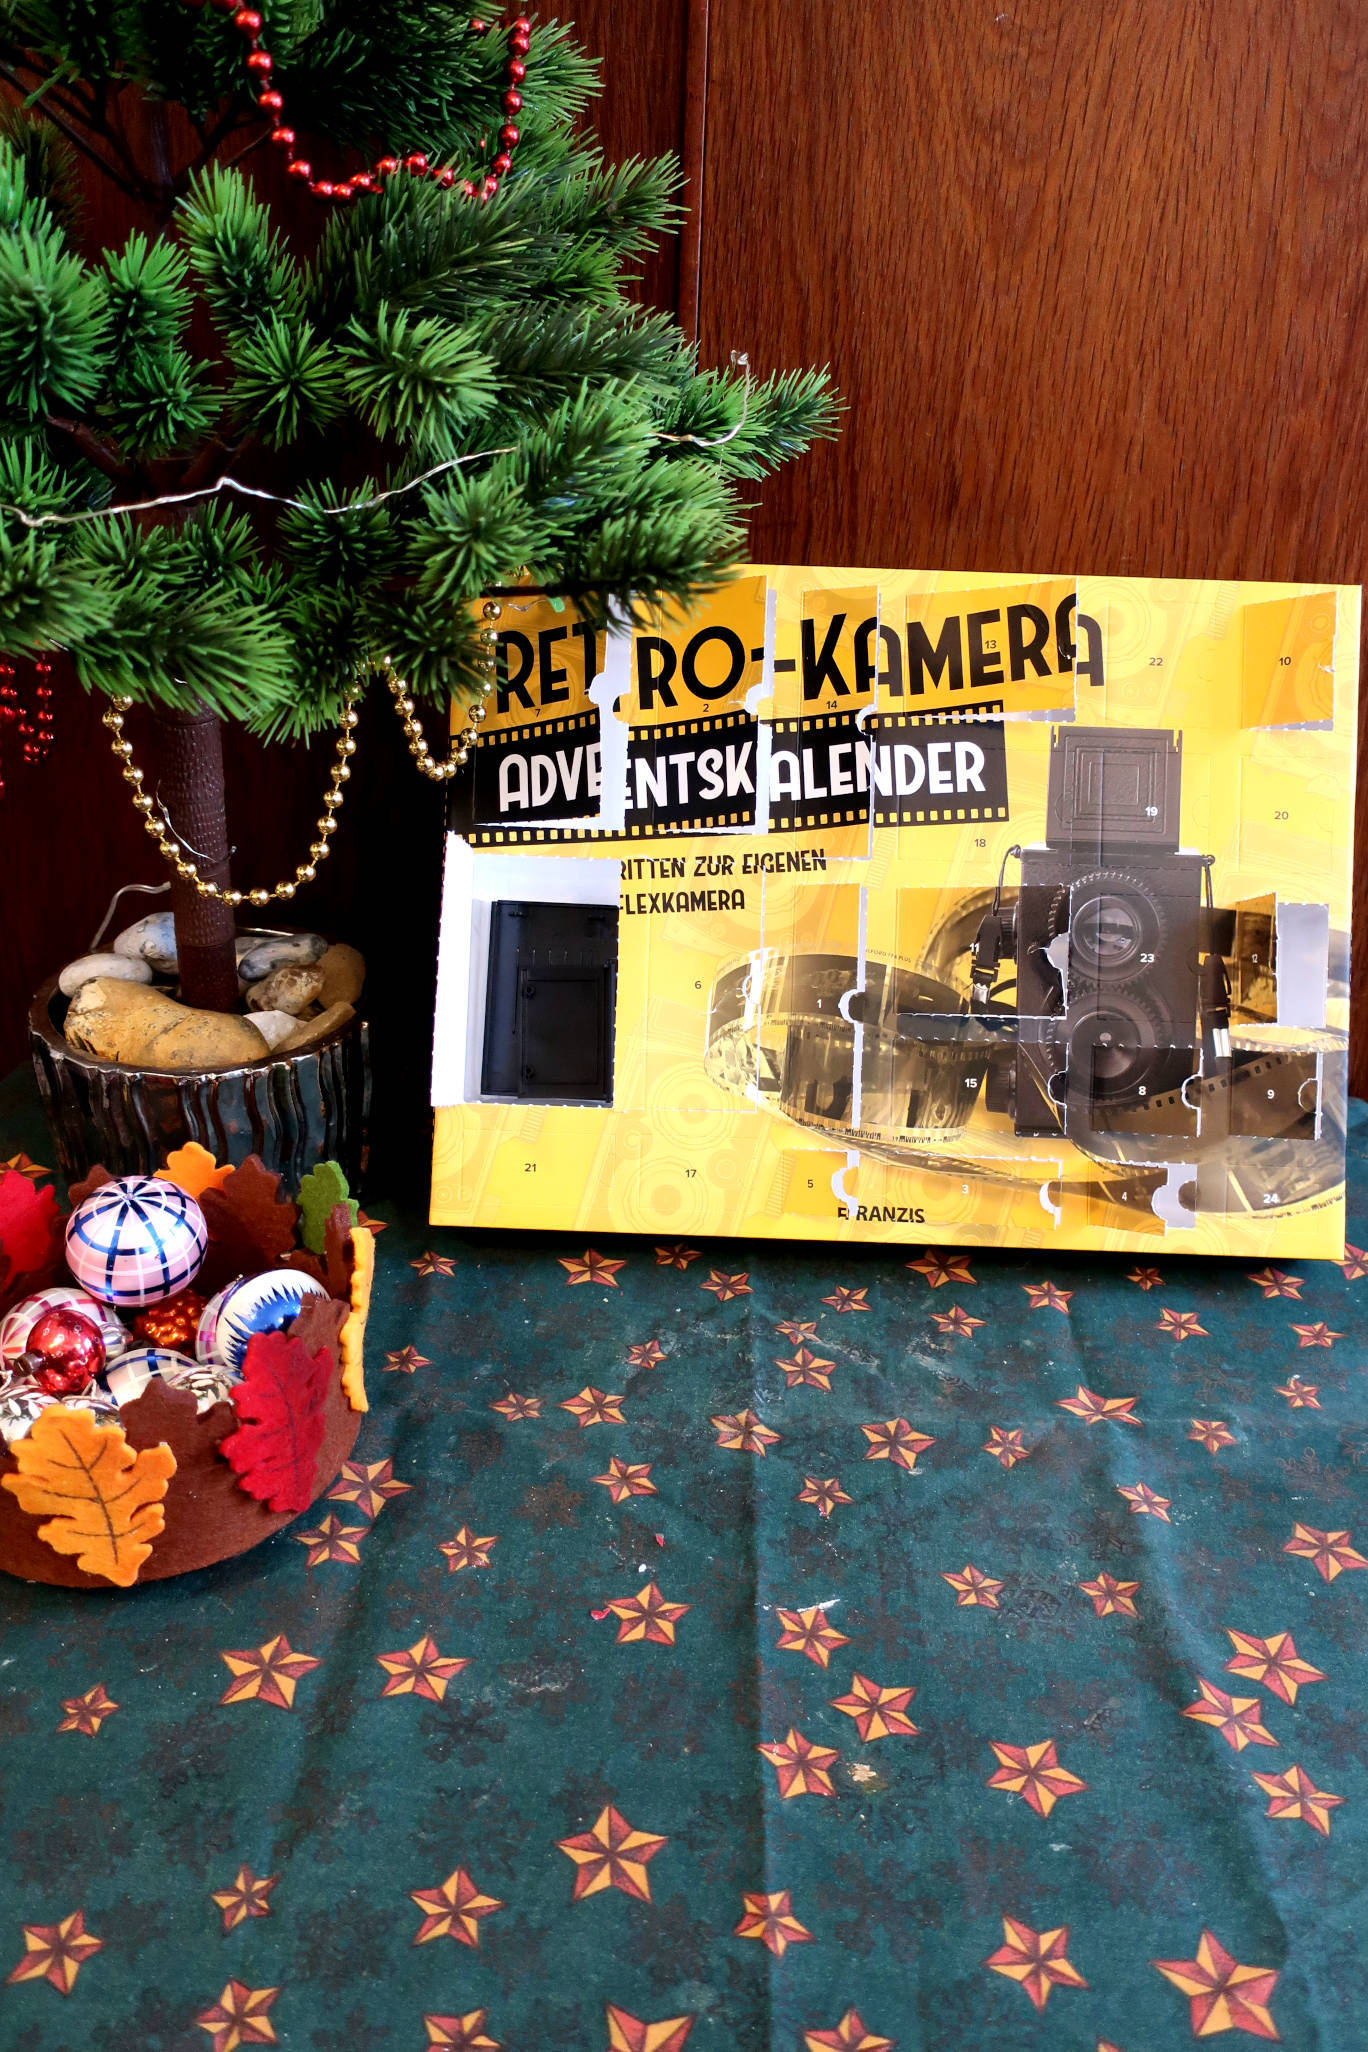
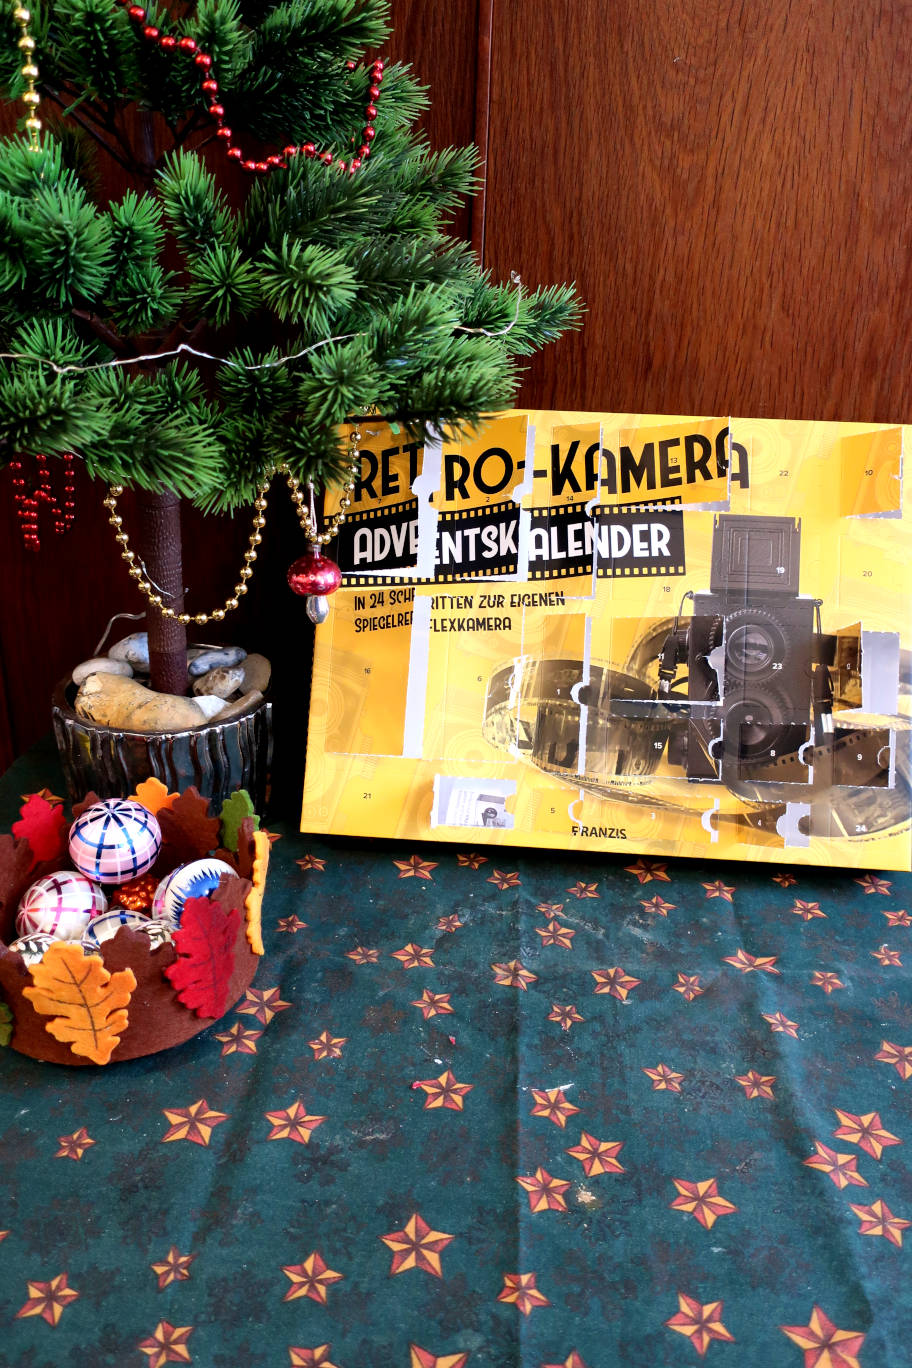
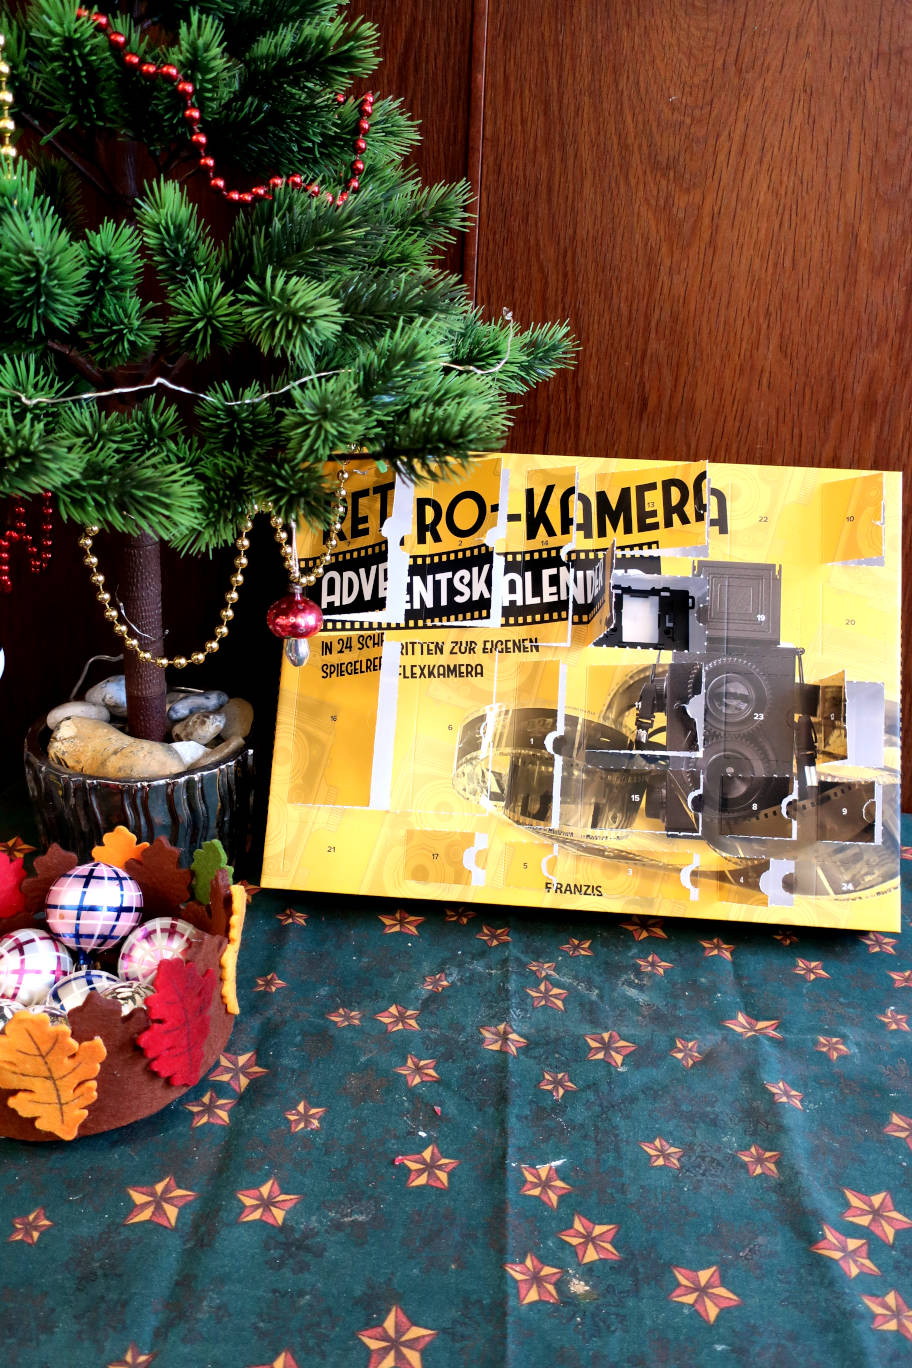
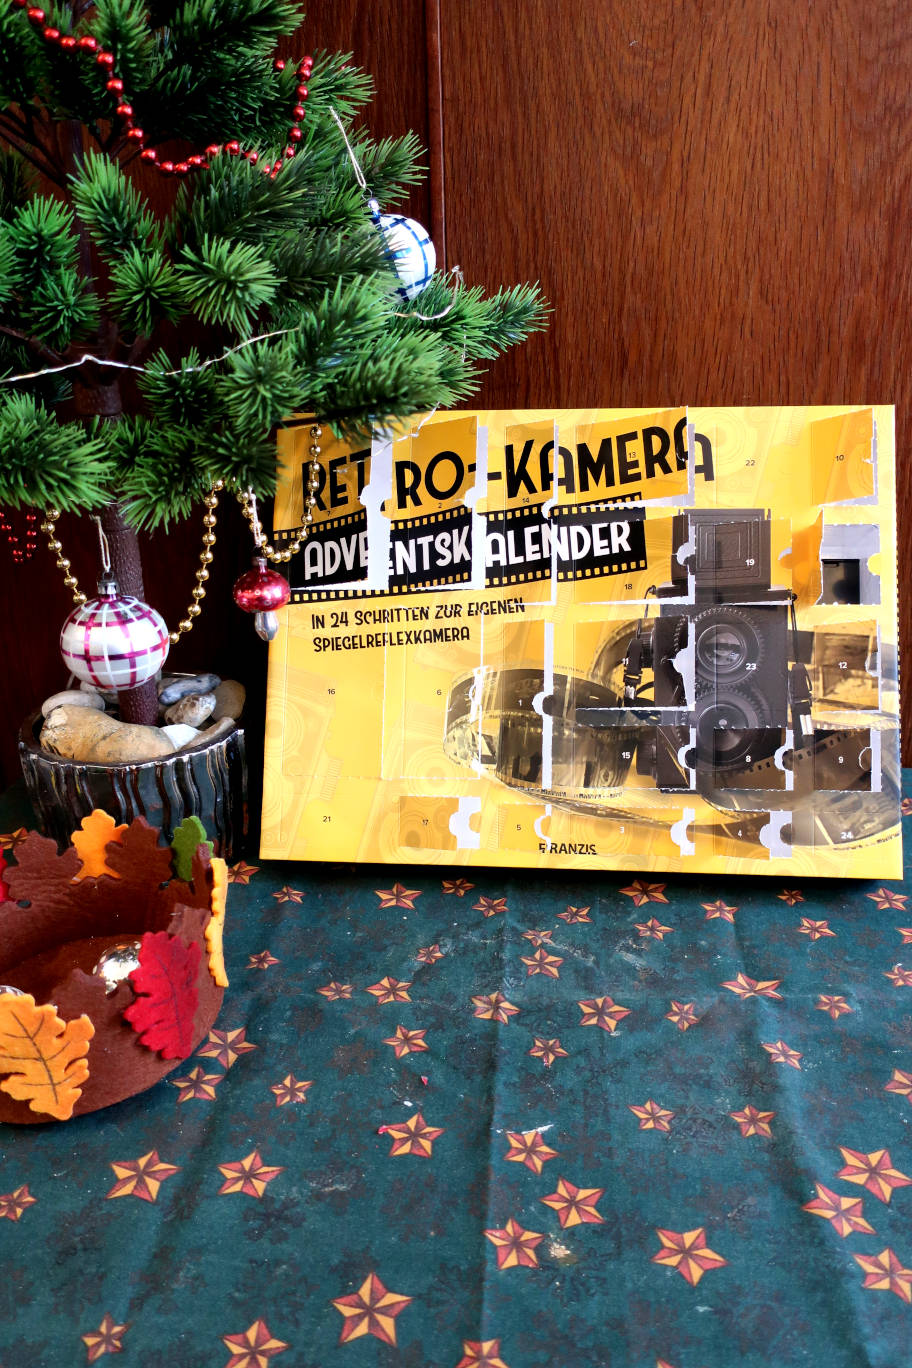
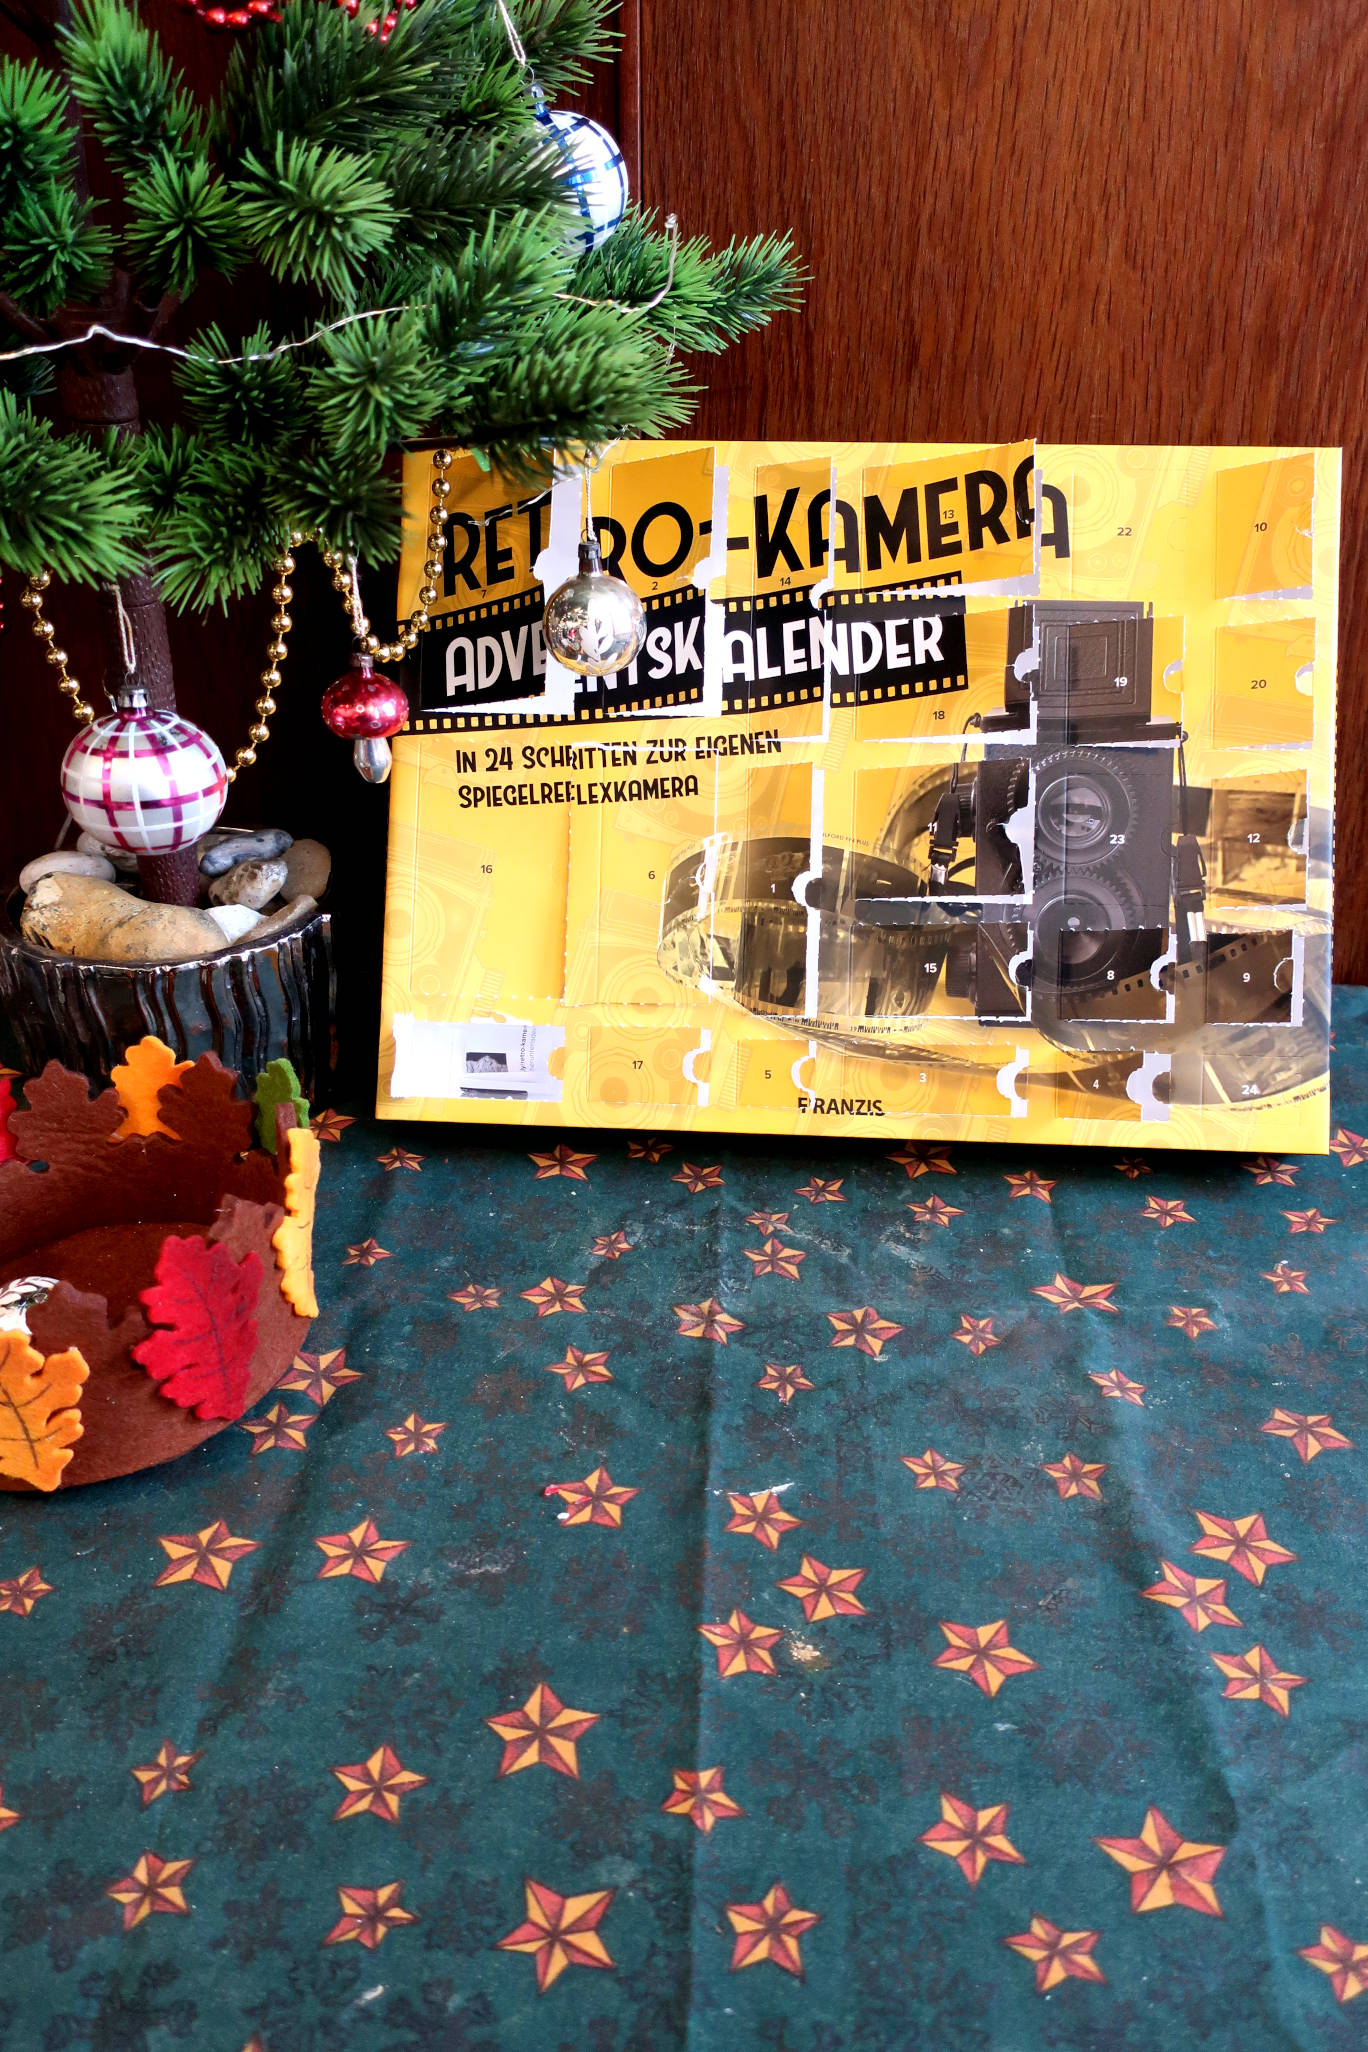
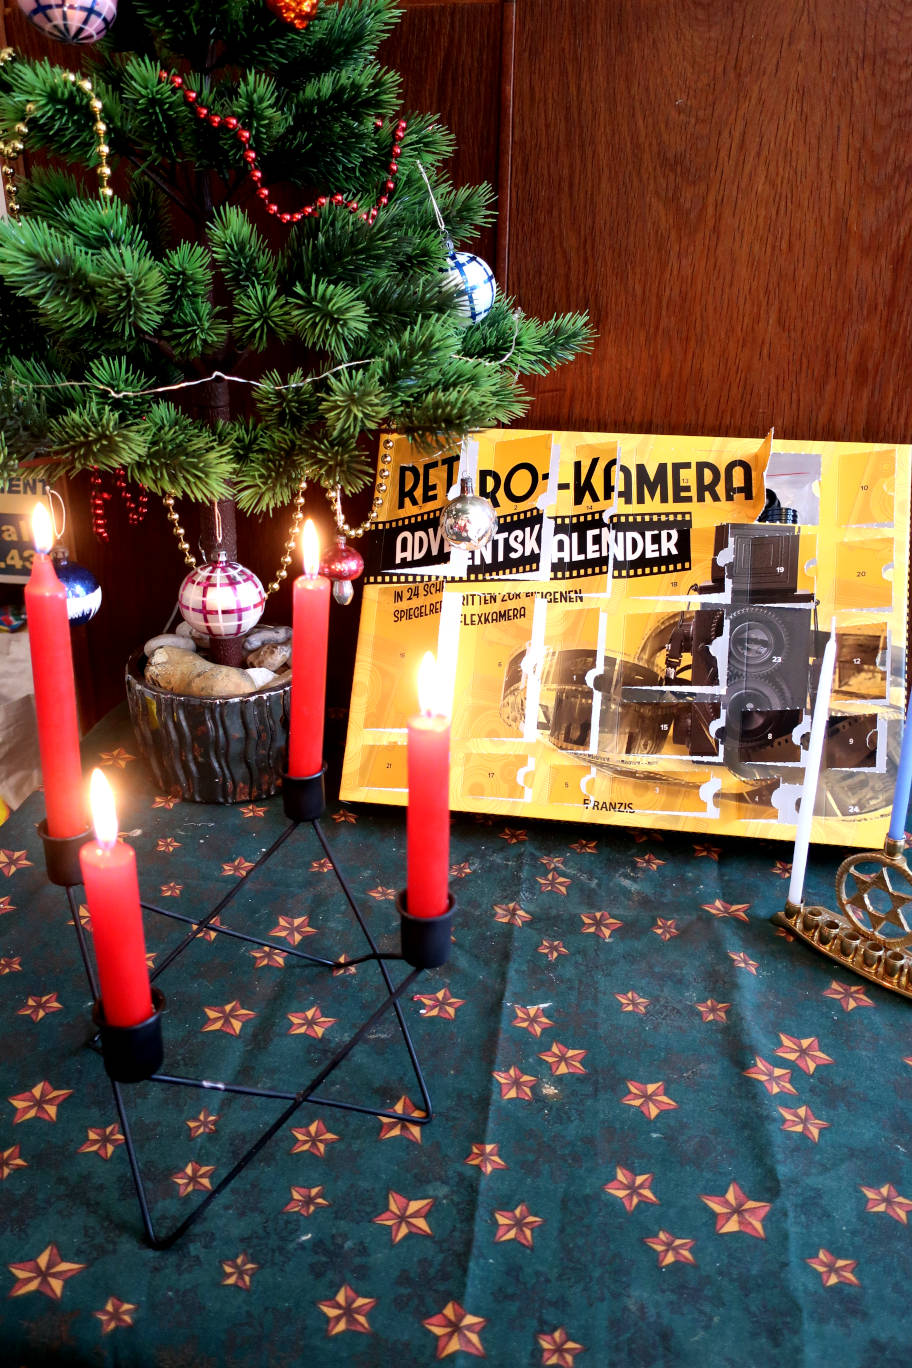
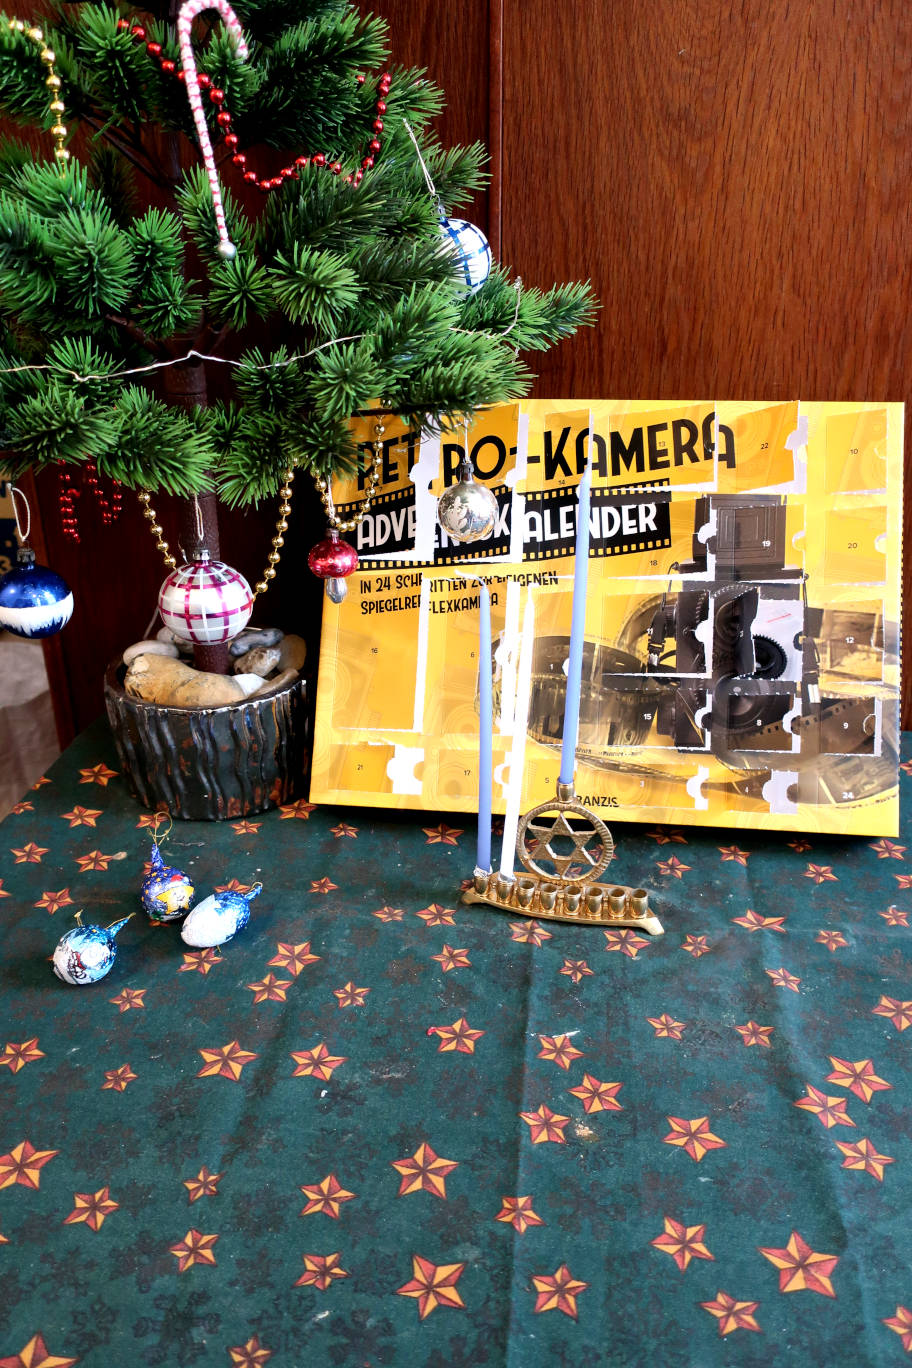
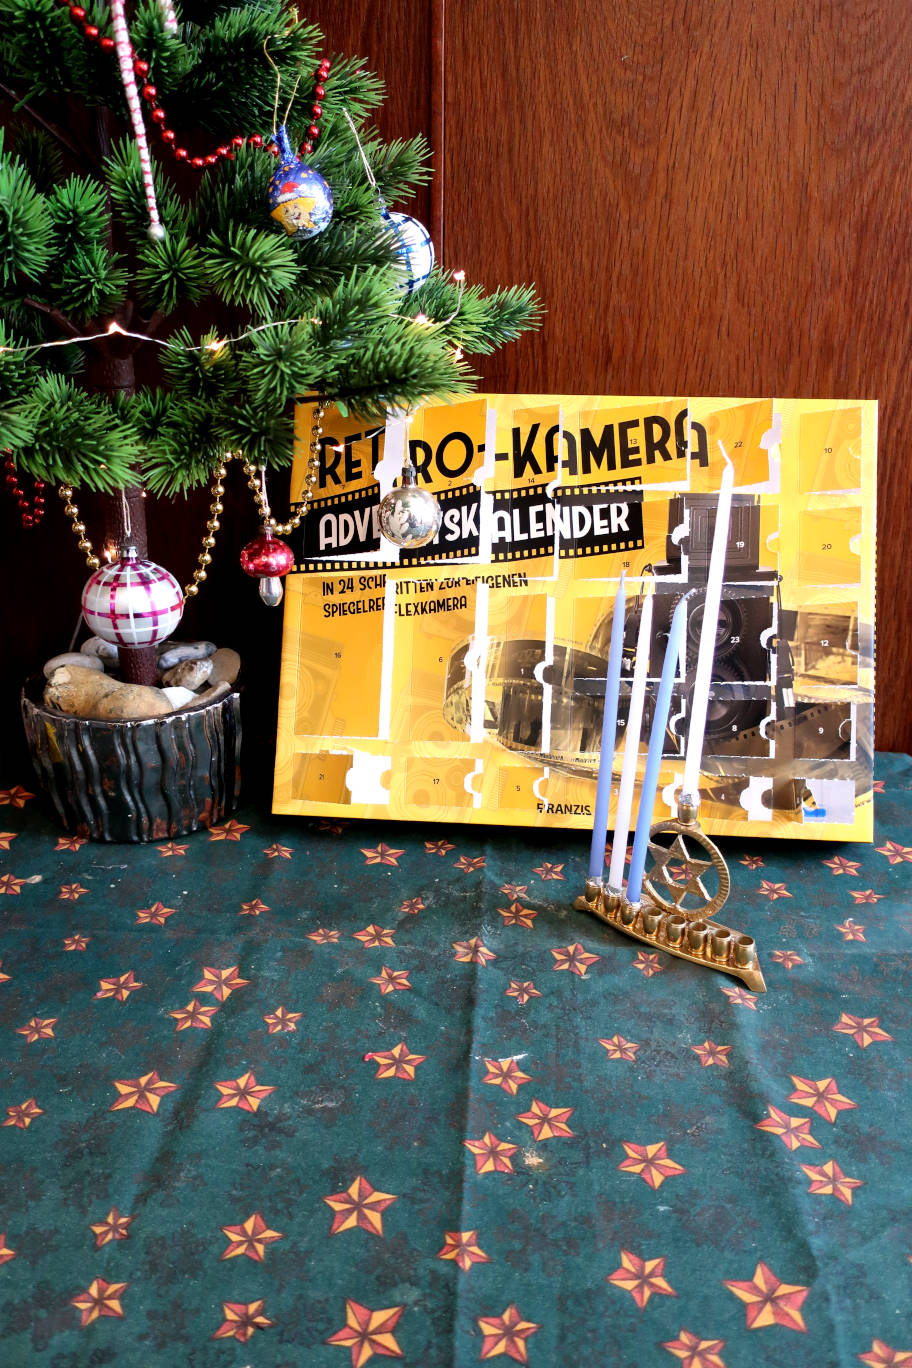
This is the box:
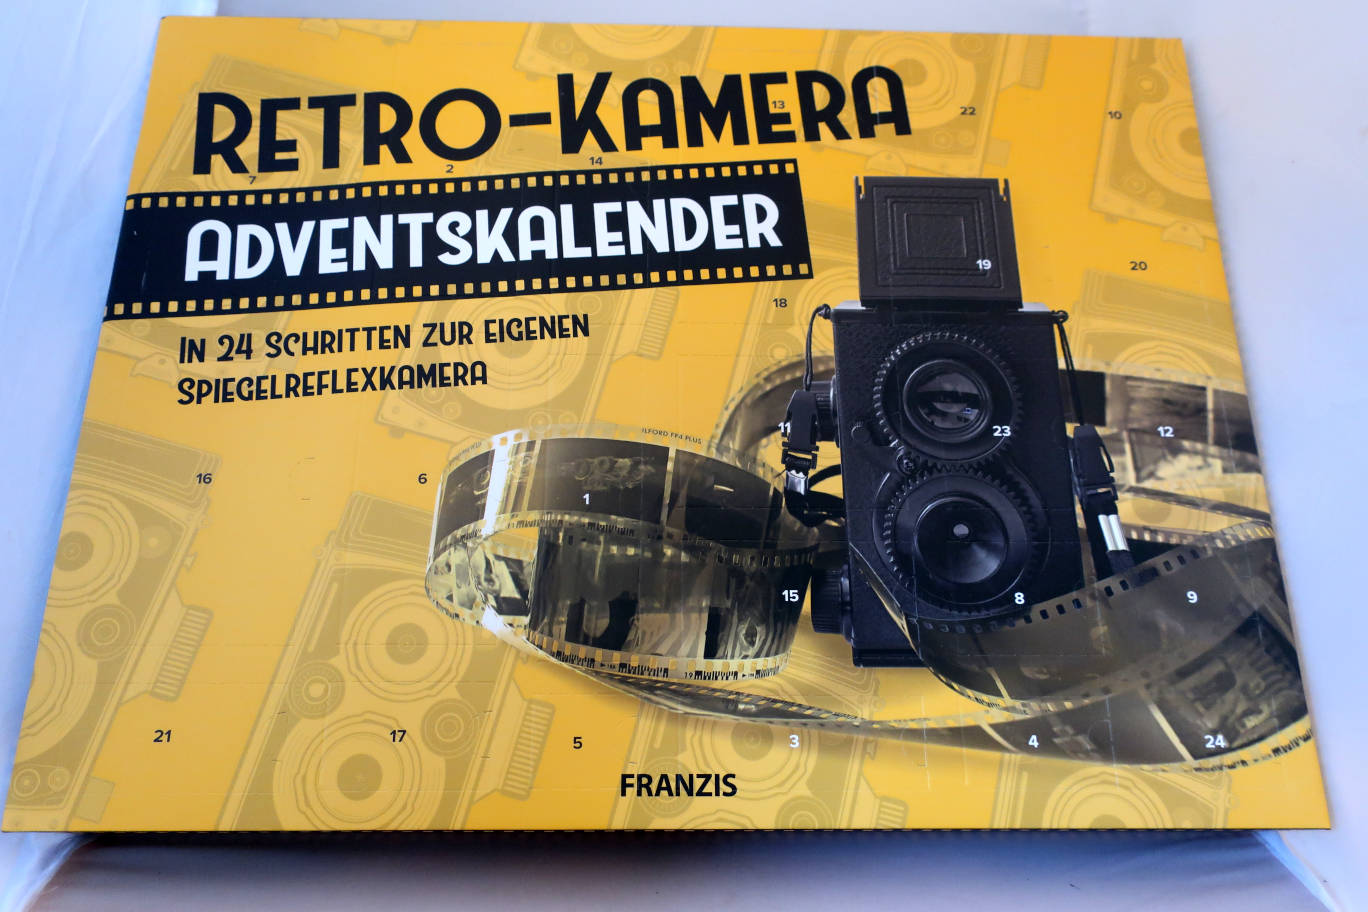
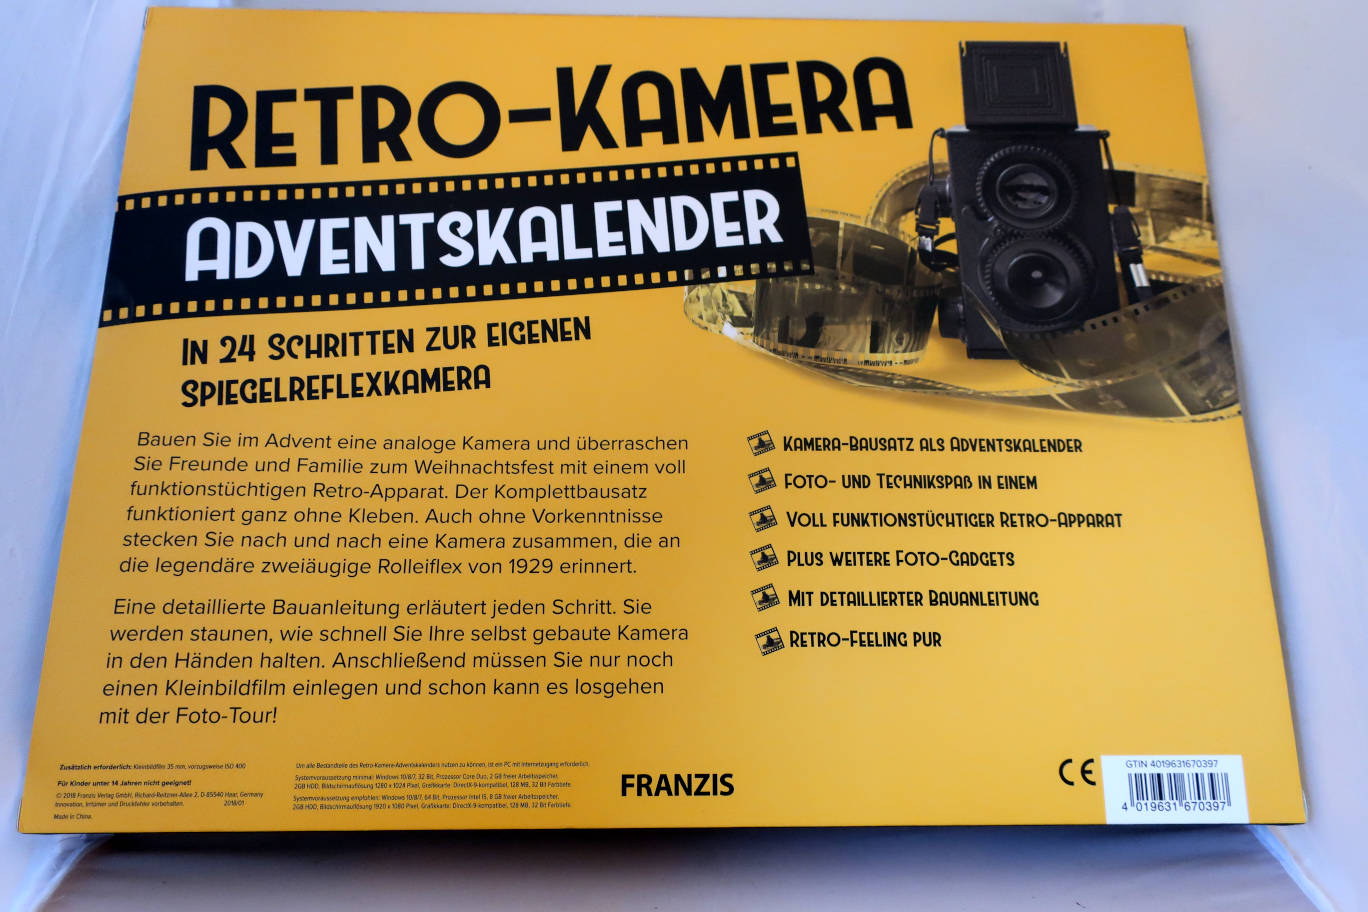
The box says that it will be a functional camera when finished. Obviously it's the same camera that is sold as Recesky Camera.
December 1st. 1st Advent.
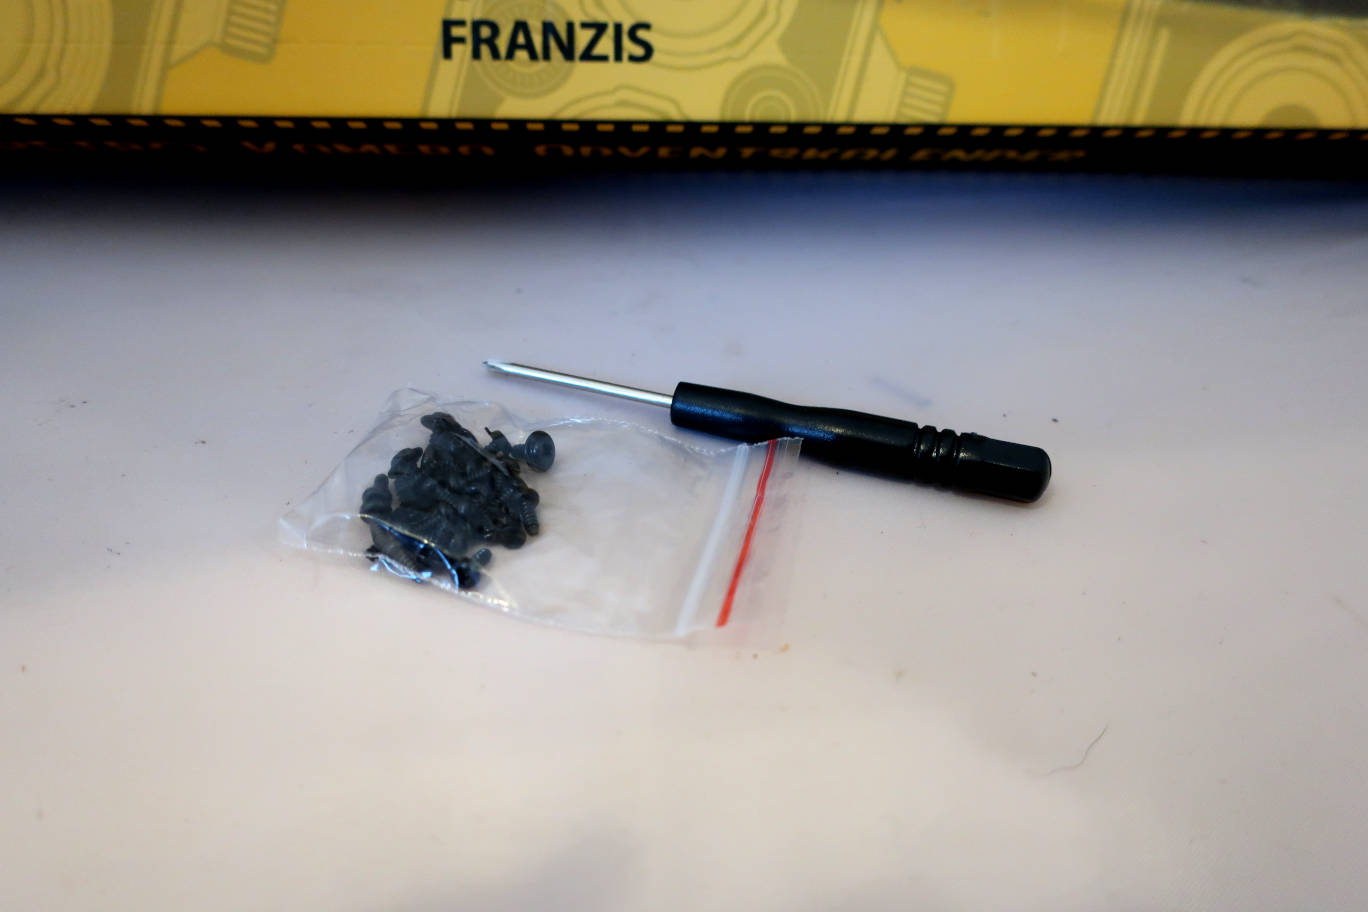
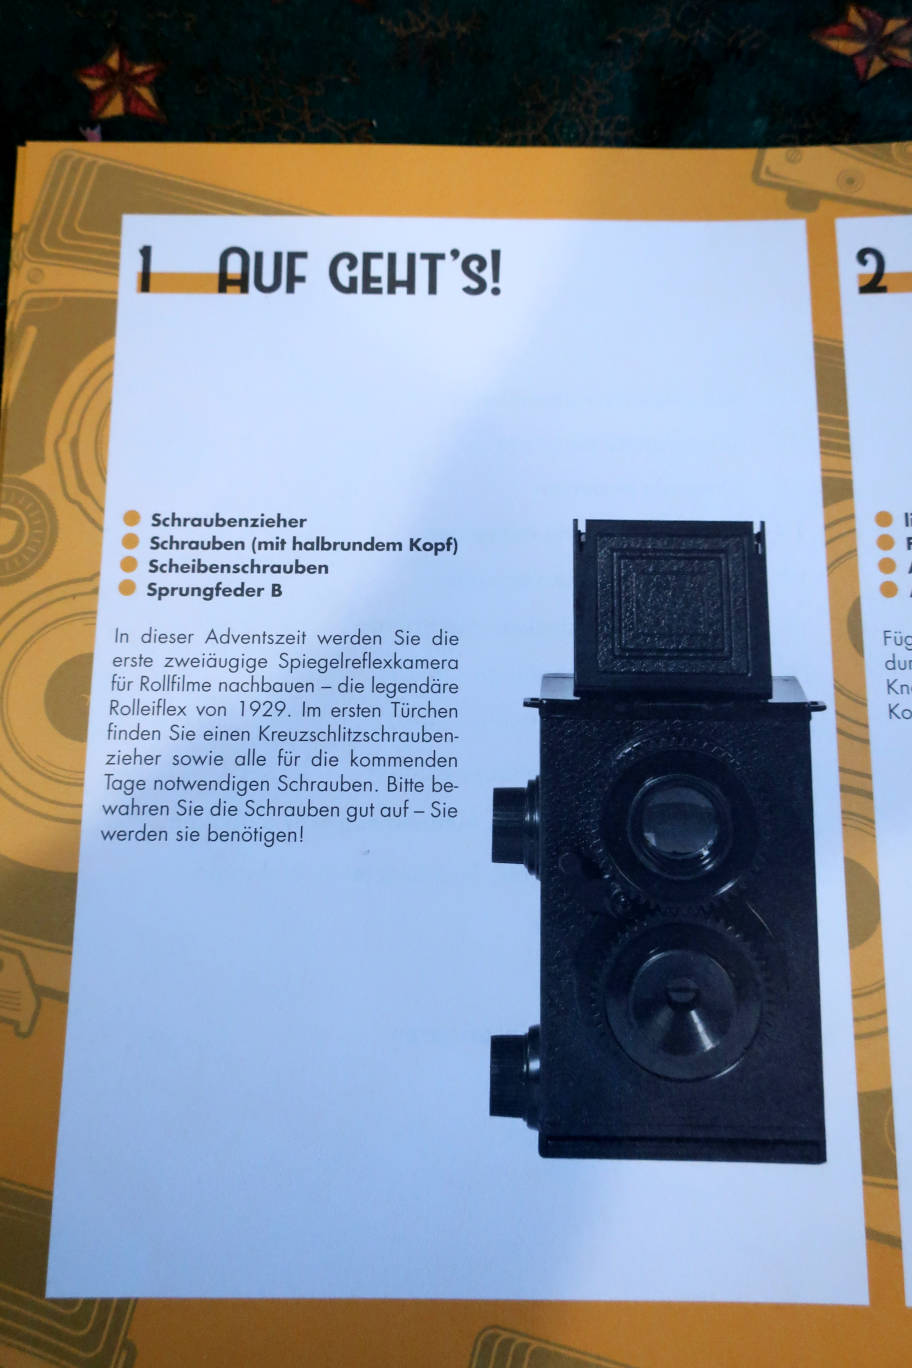
The text says that we should have: screwdriver, screws with half-round head, washer-screws, coil spring B.
Where is coil spring B? What to do now? Will the project be over the first day? Reading further you learn that coil spring B will be needed on day 8. So we peeped into compartment 8 and there it was.
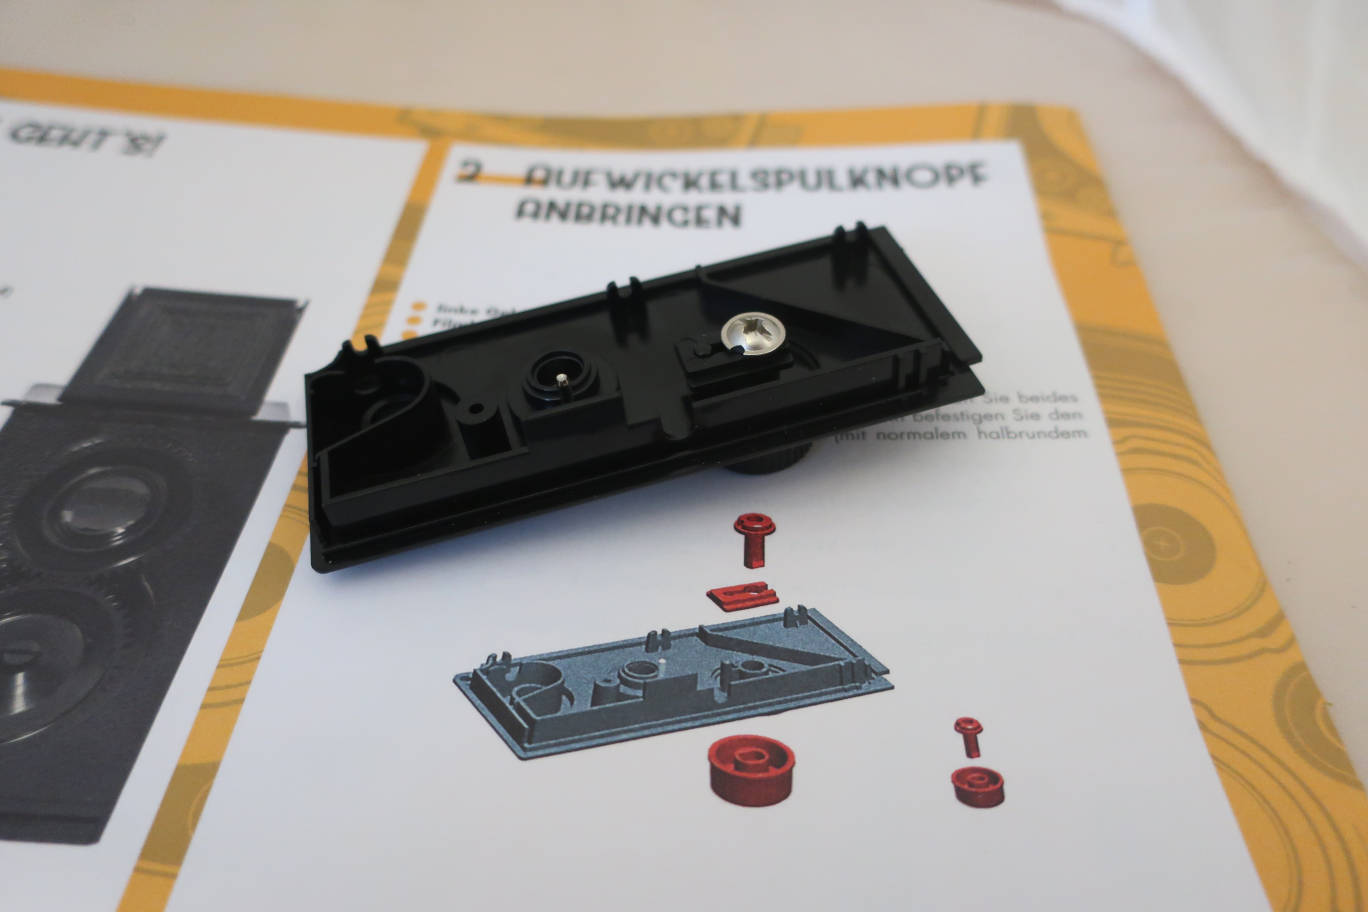
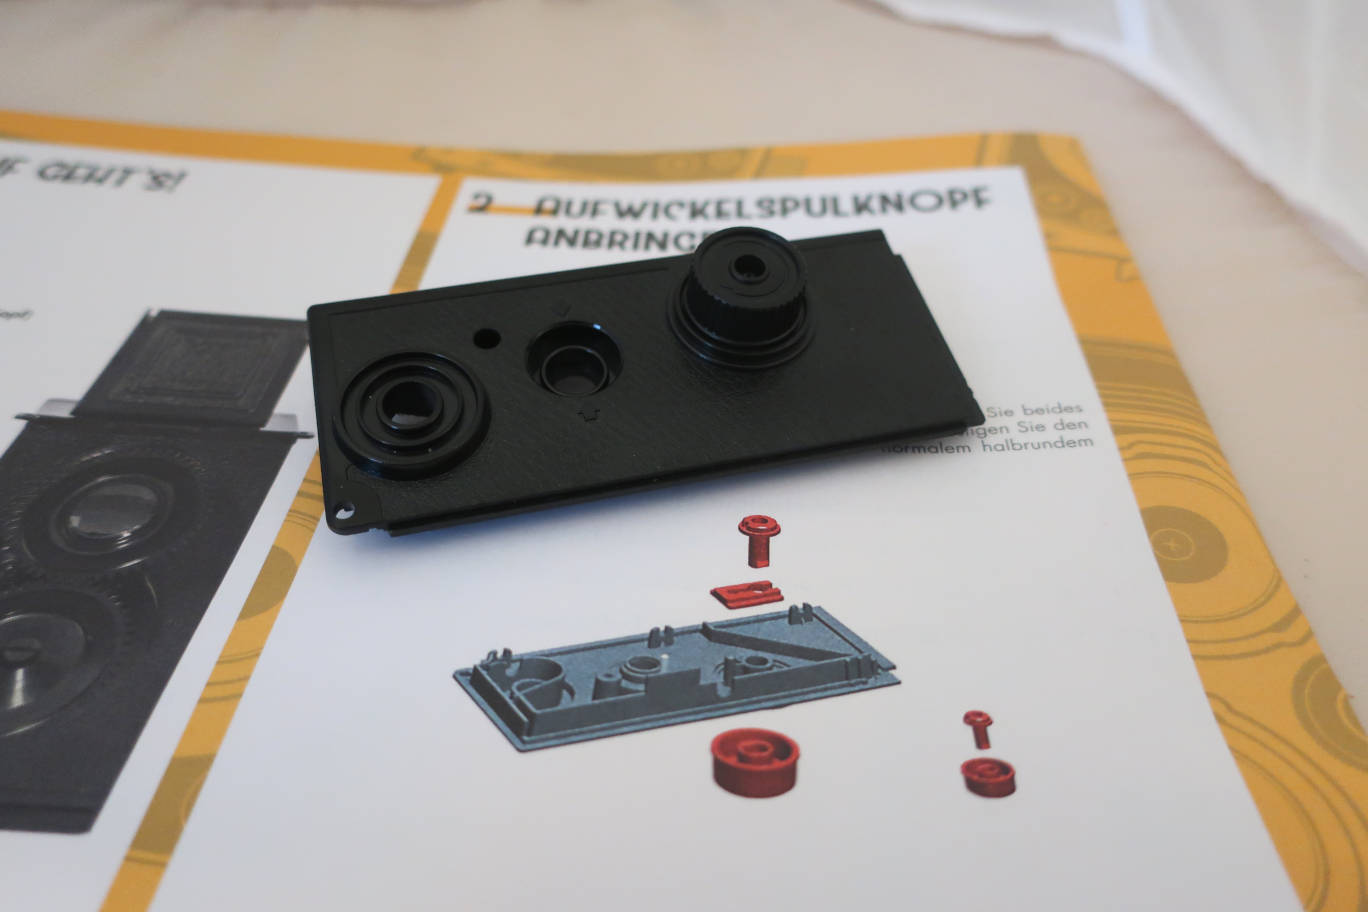
December 2nd
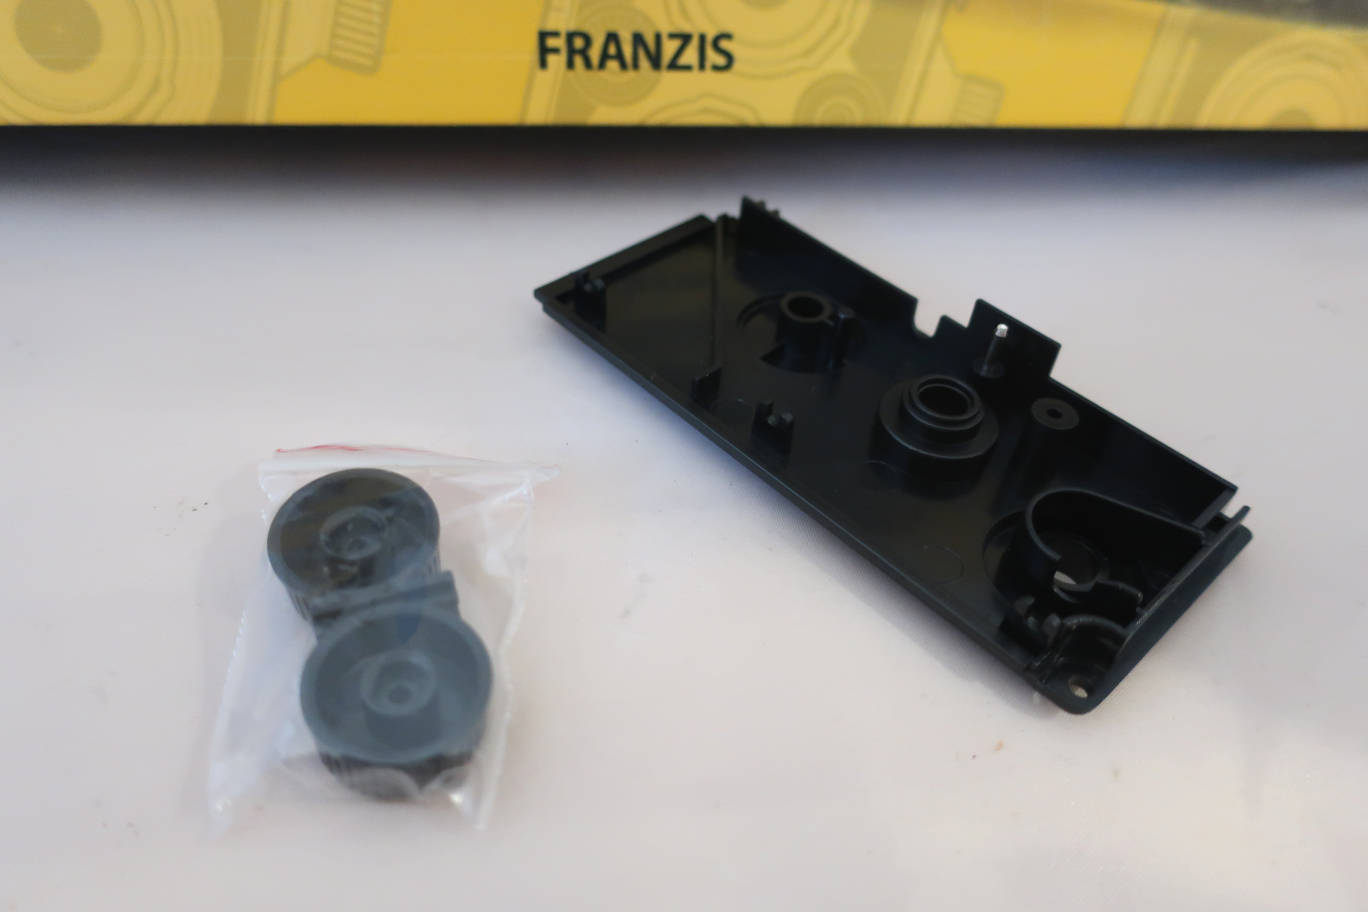
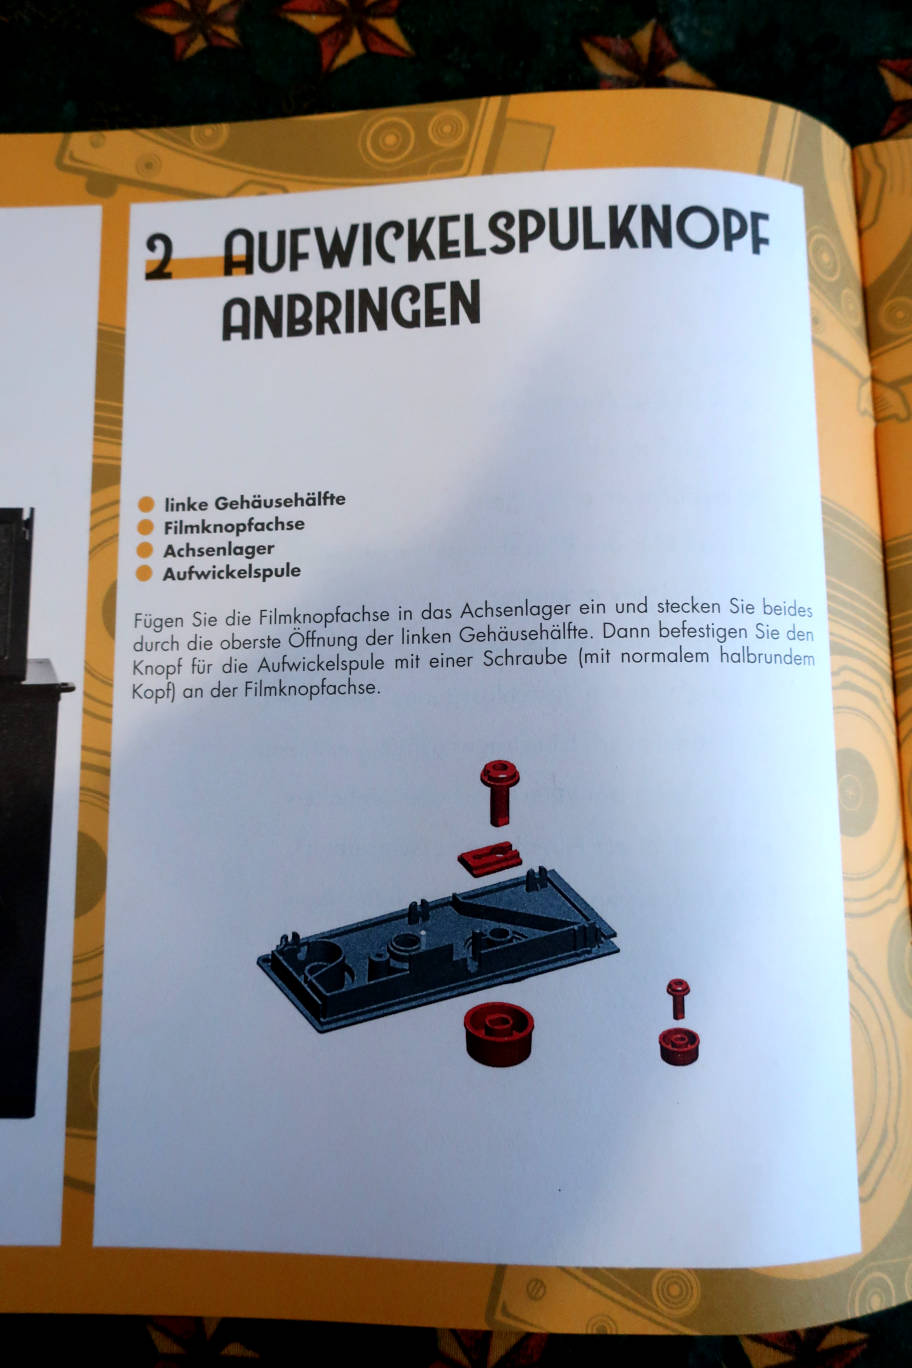
We should have: left side of the body, axle for winding knob, axle
bearing, winding knob. But there is no axle, instead we have 2 winding
knobs. We peeped into number 15 with the spool going into the axle, but
there was none. Obviously an error of packing and no way to get a spare
part. End of the project? Happily my love is good with tinkering
smallest things and he has a Dremel. So out of an old furniture screw
with a hollow shaft he cut the axle, cut a notch into the scew head
where the pin of the spool should go, inserted a mini dowel into the
shaft for the screw holding the knob and injected some 2 component glue
before fixing the knob on the axis. It worked out well. So here are the
parts finally assembled.
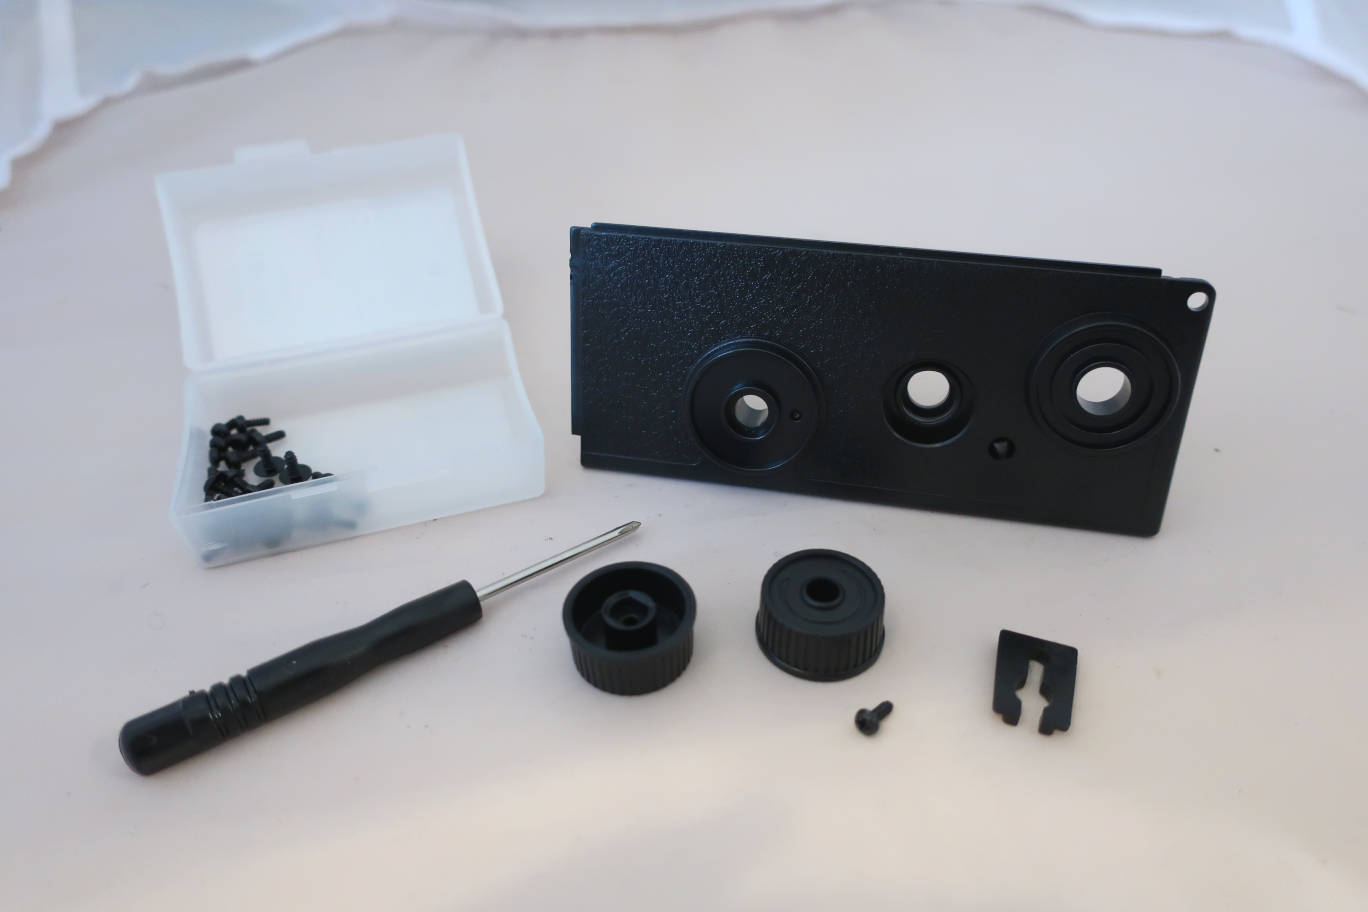
December 3rd.
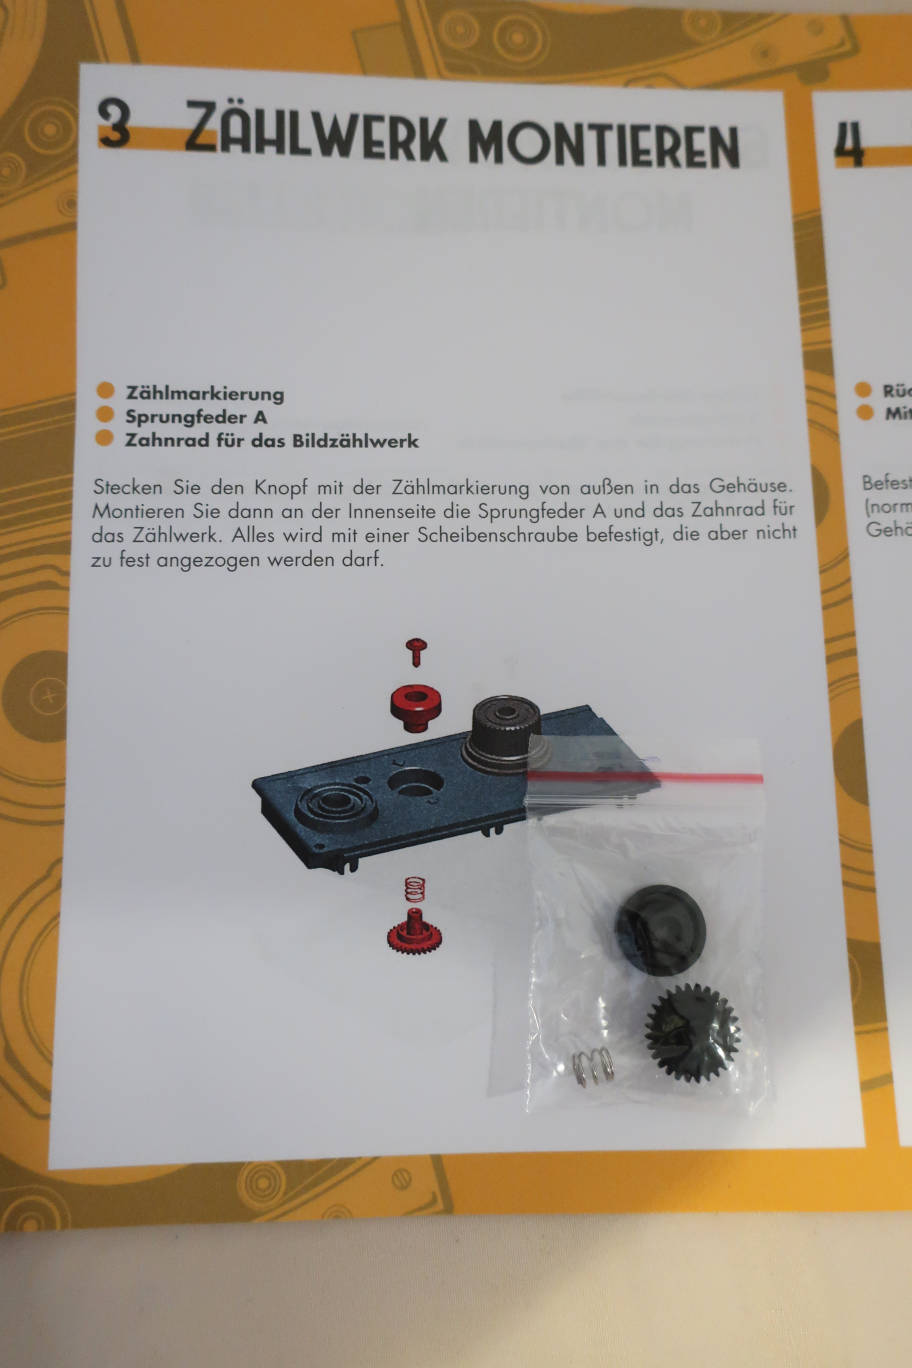
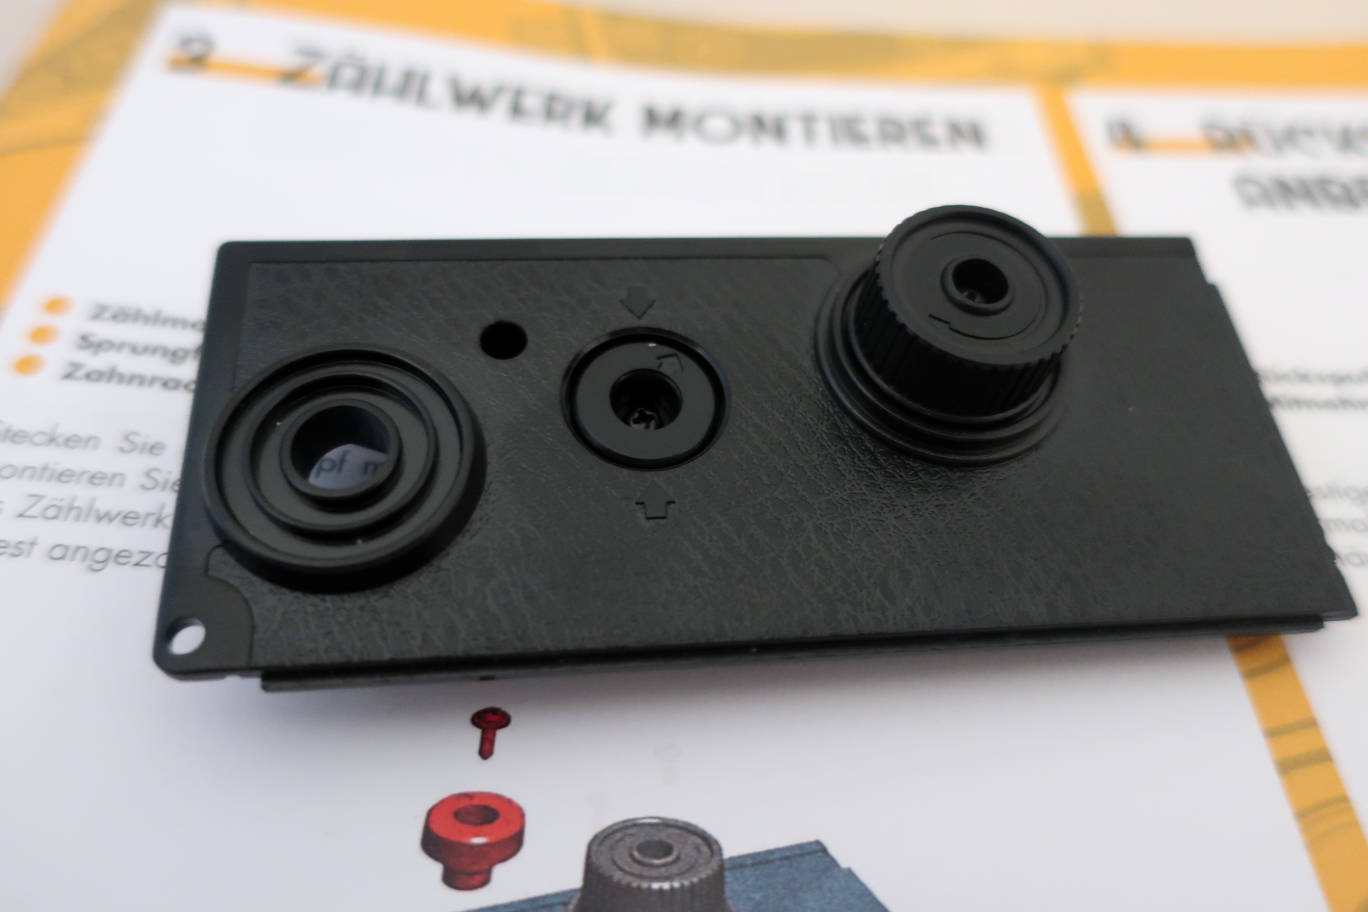
We have: film advance marking wheel, coil spring, gearwheel. Half a
turn of the marking wheel meets one of the pointers and tells you the
the film moved for the next picture. The gear wheel goes to the inside
with the spring on its shaft and the marking wheel is on the outside.
It is fixed by a washer-screw. Don't fasten the screw too tight. That's
it for today.
December 4th.
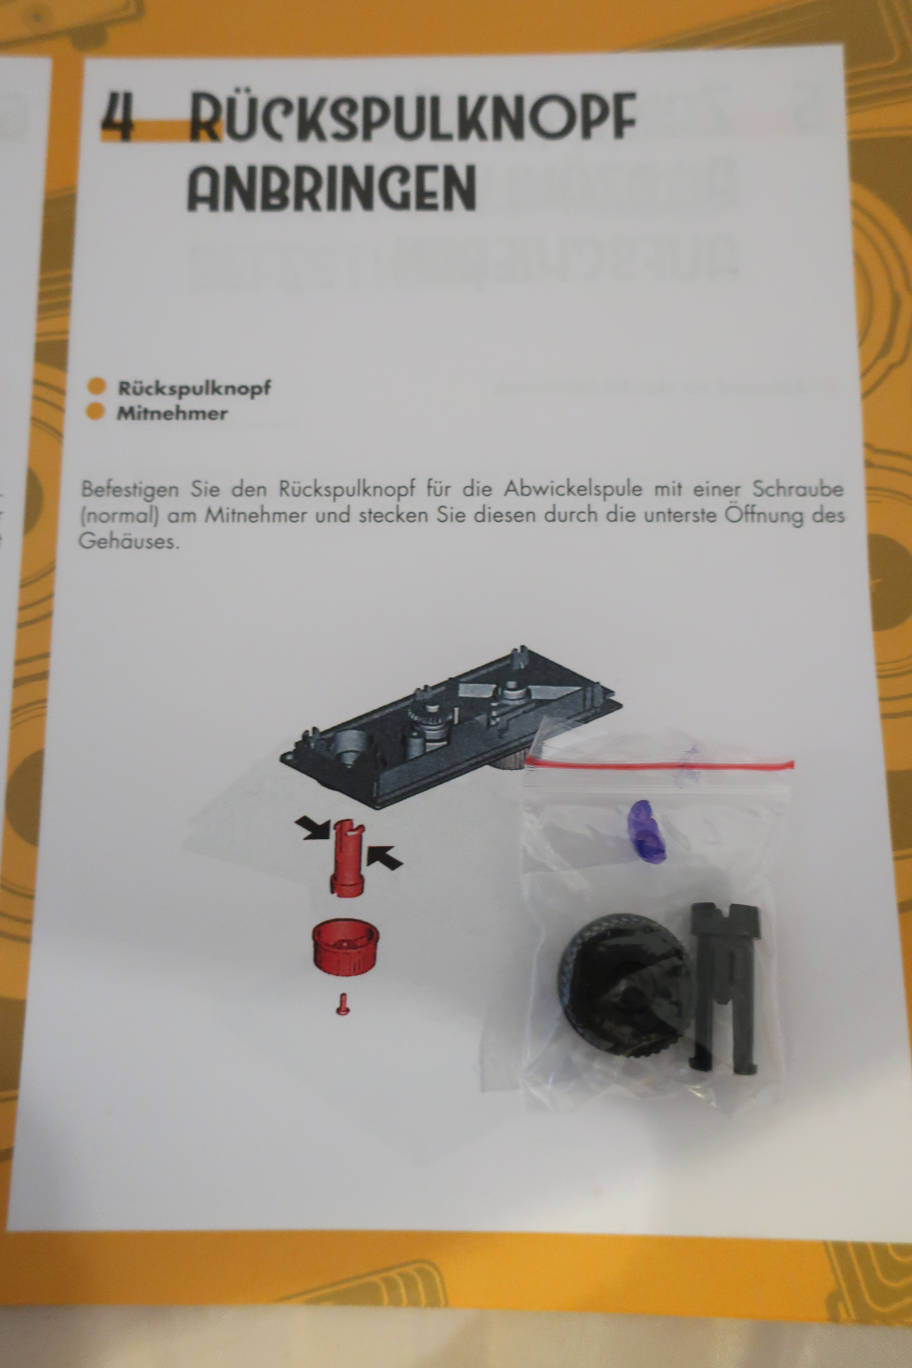
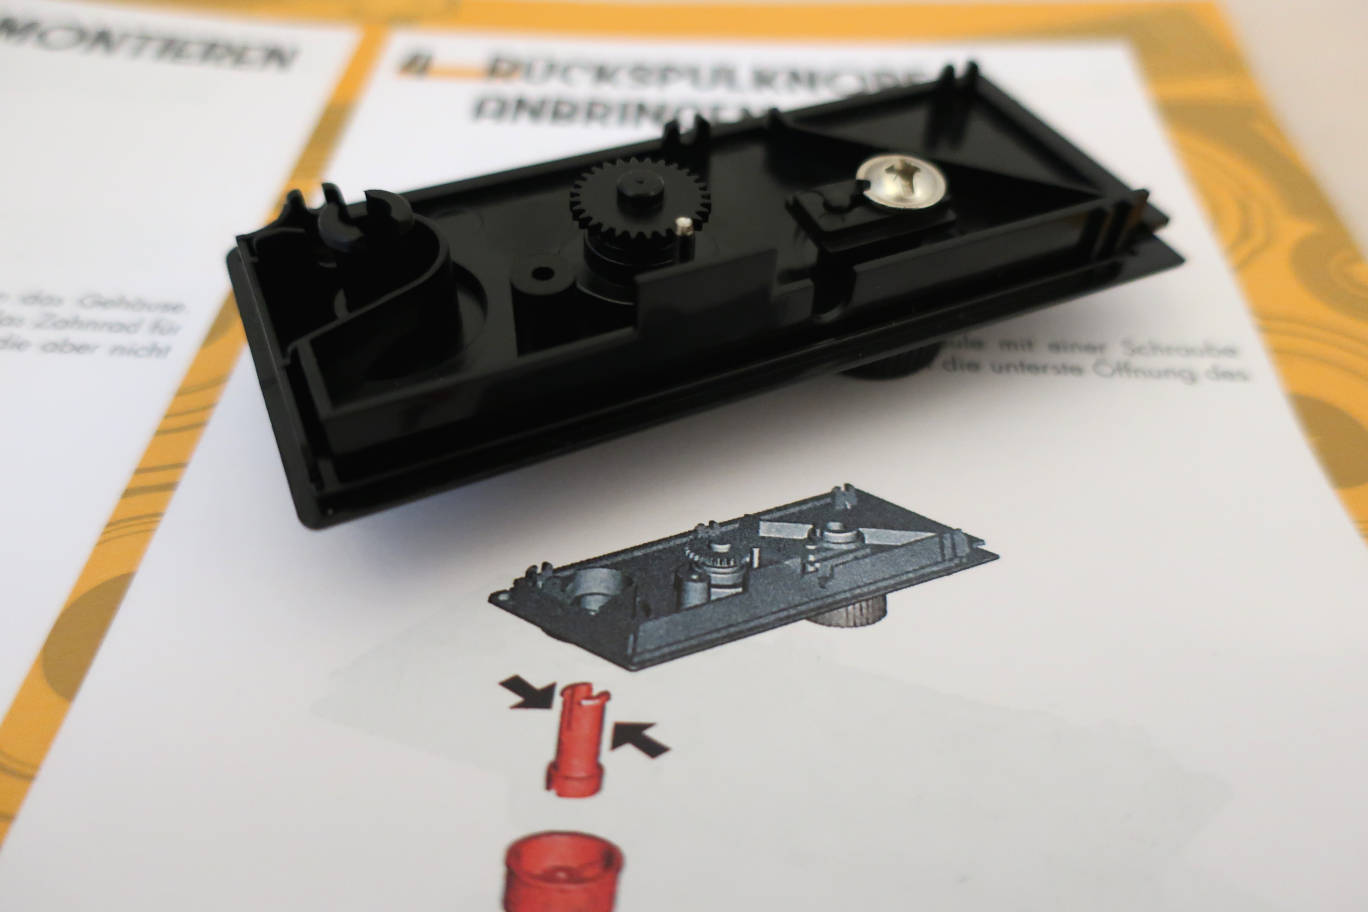
An easy task today: we have a rewinding knob and its shaft. Both are
fixed together with a standard screw and the just pushed into place.
December 5th.
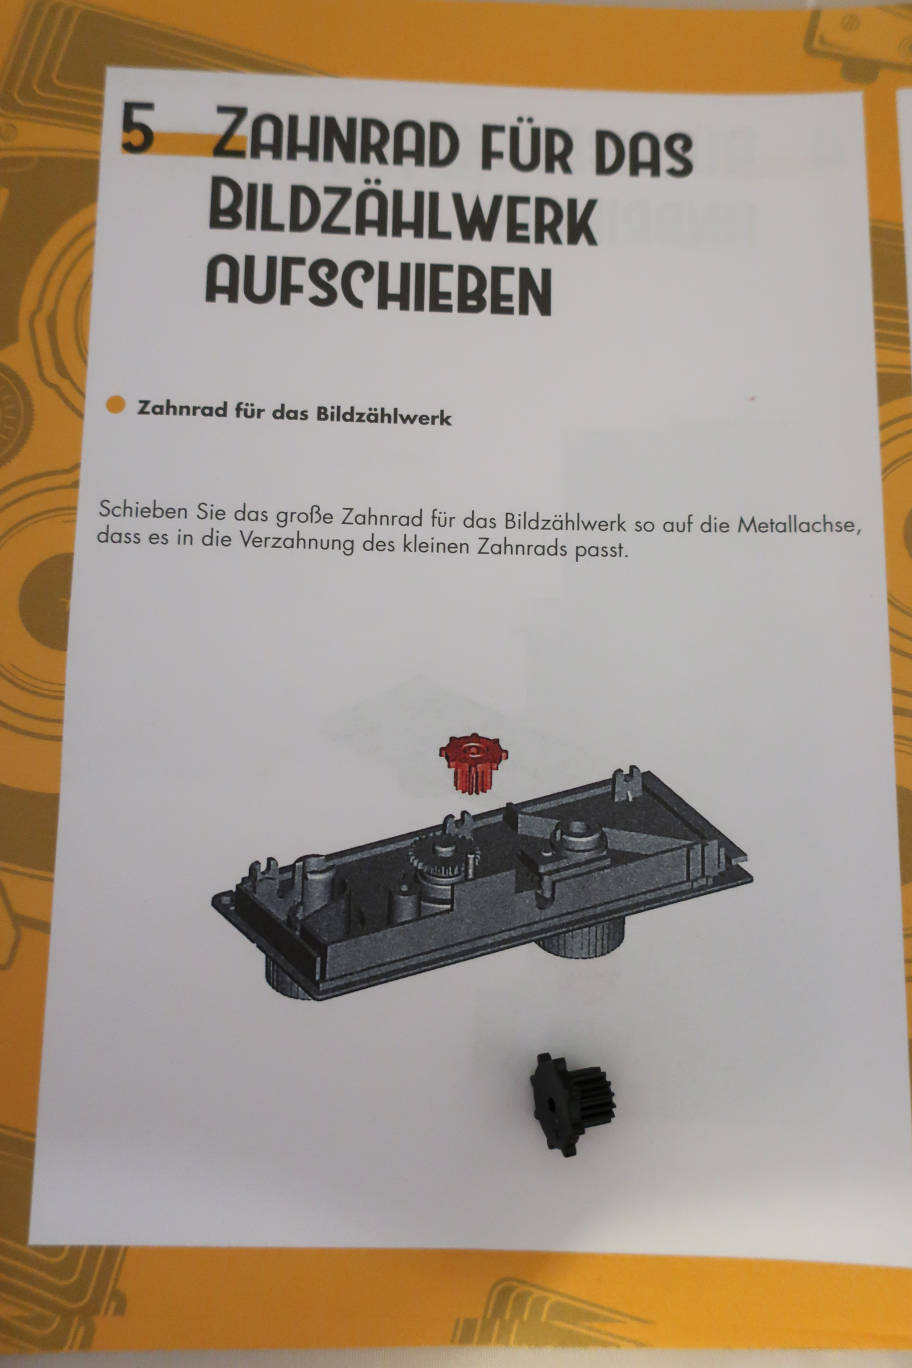
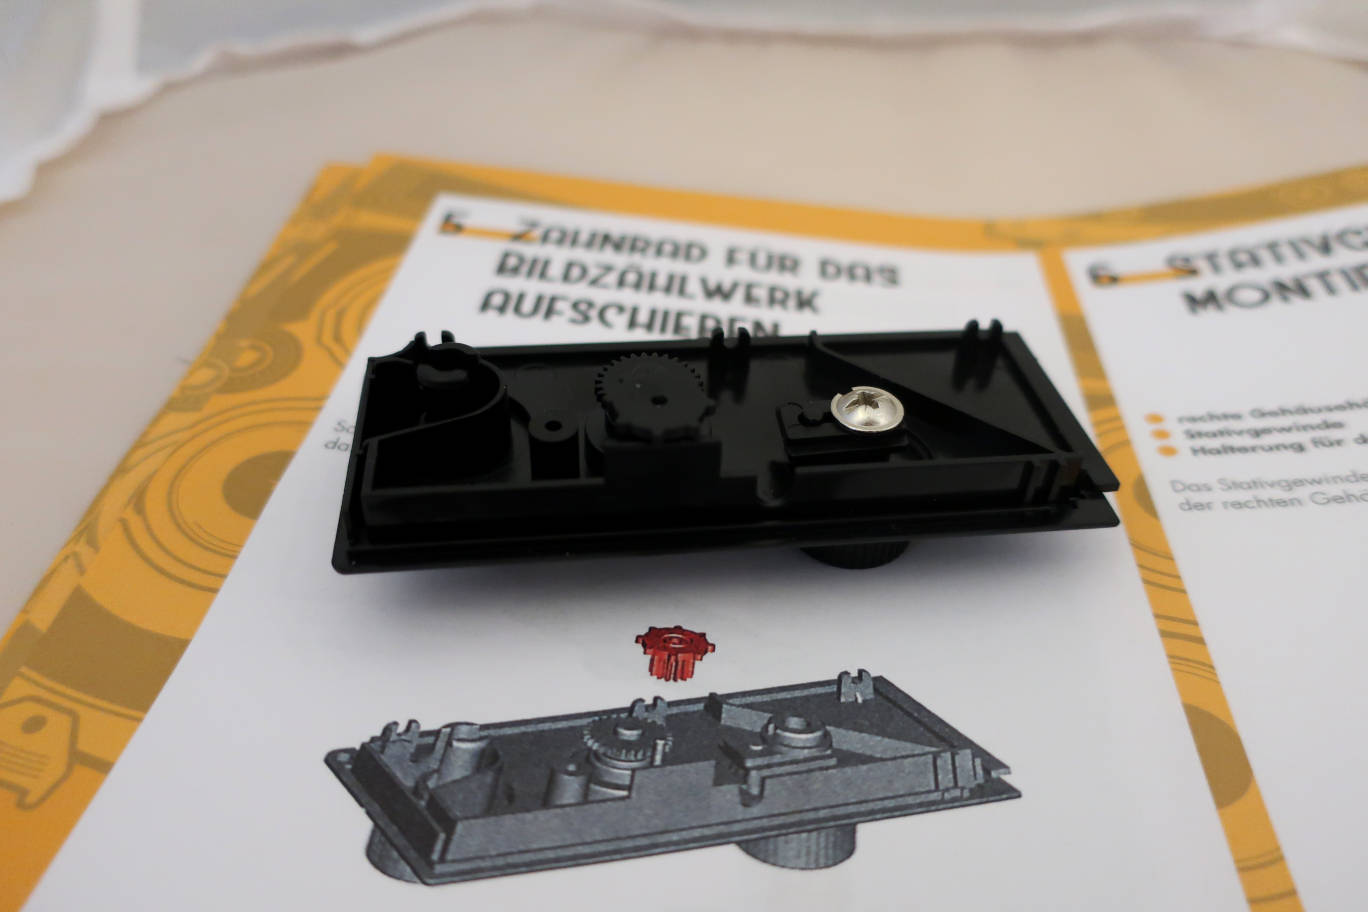
This is the easiest task of all: putting a gearwheel into place. It isn't fixed, so be cautious not to lose it.
December 6th. Saint Nicholas day.
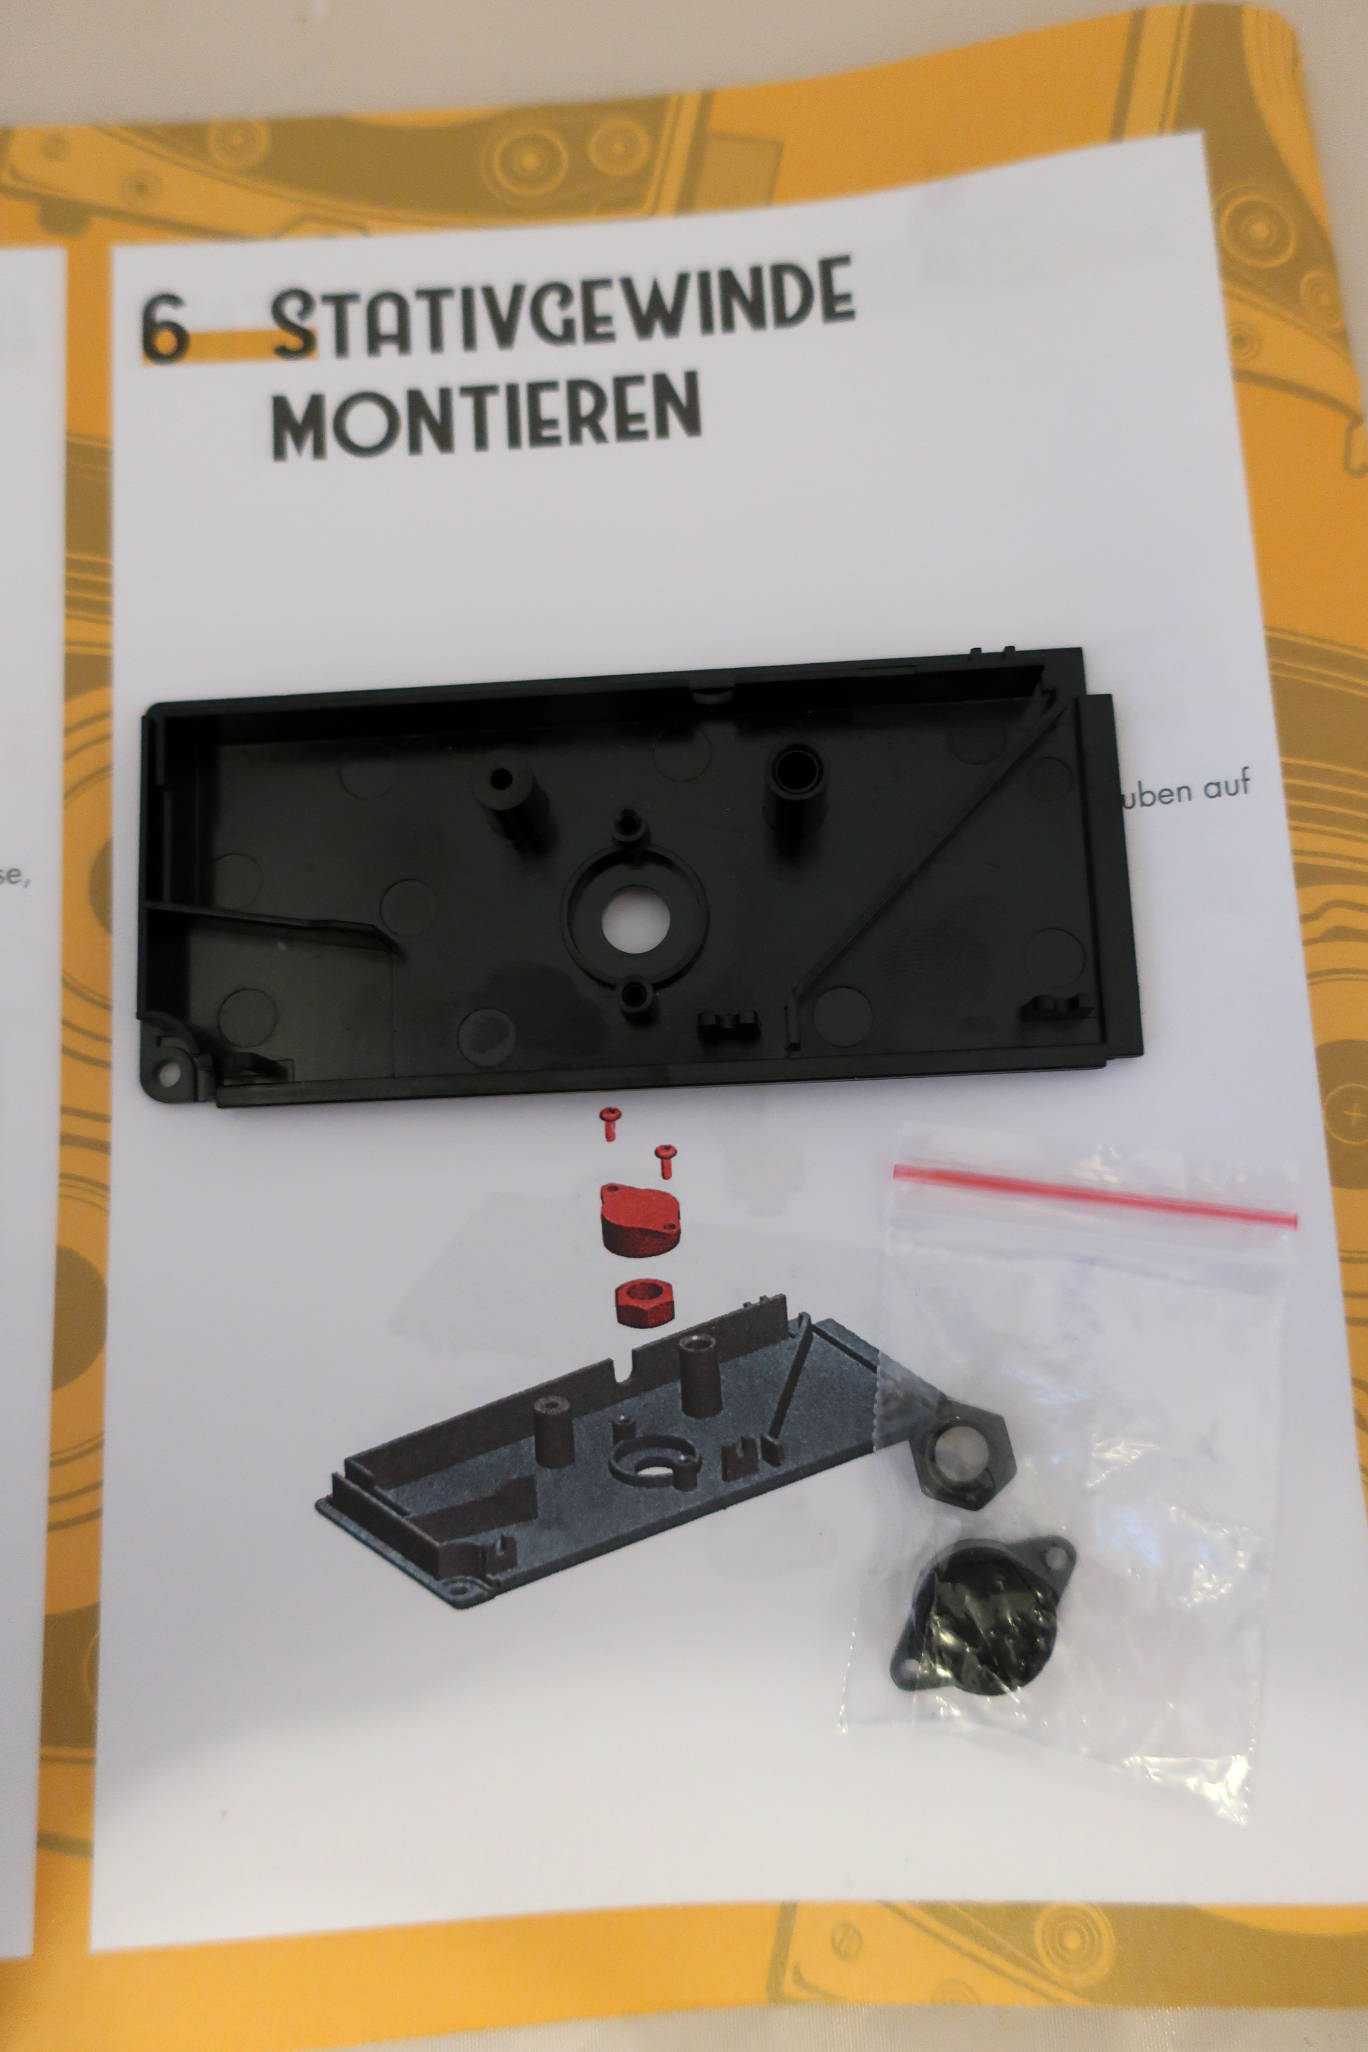
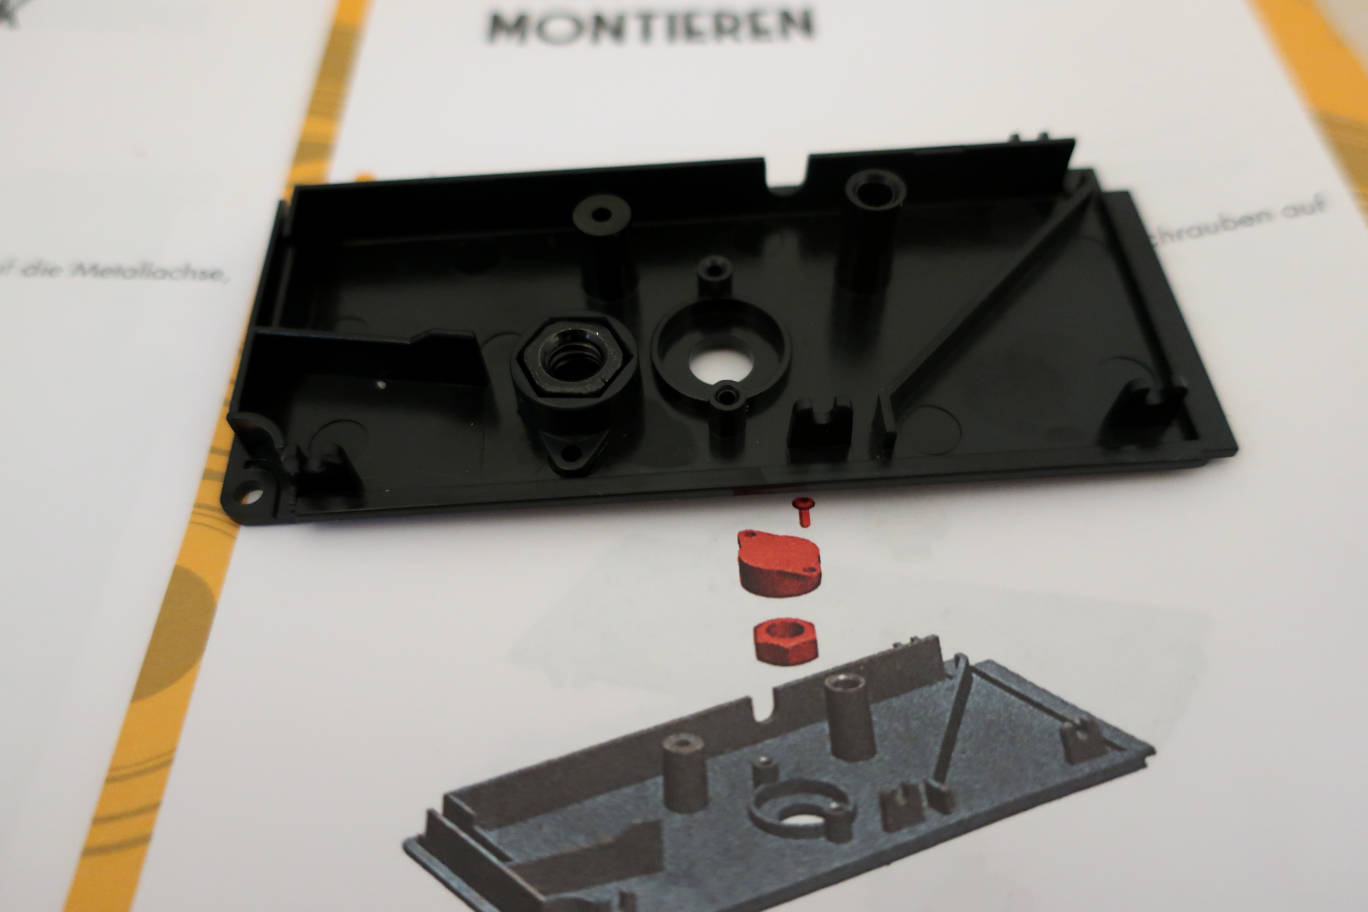
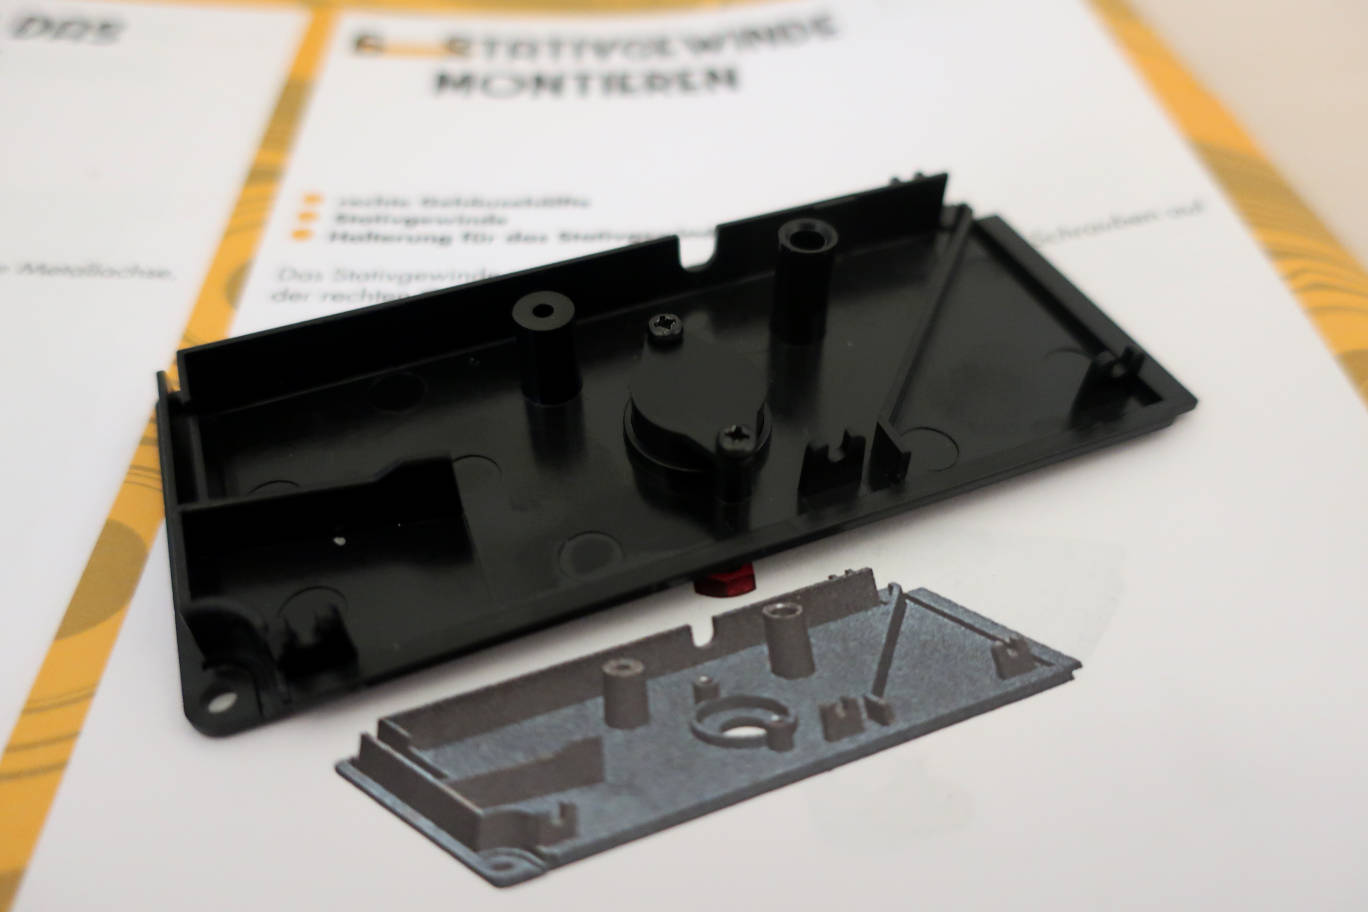
We get a second big part, the right side of the body, a tripod screw
and a holder for the screw. It's easy to put the screw into its holder
and then fix it with 2 standard screws.
December 7th.
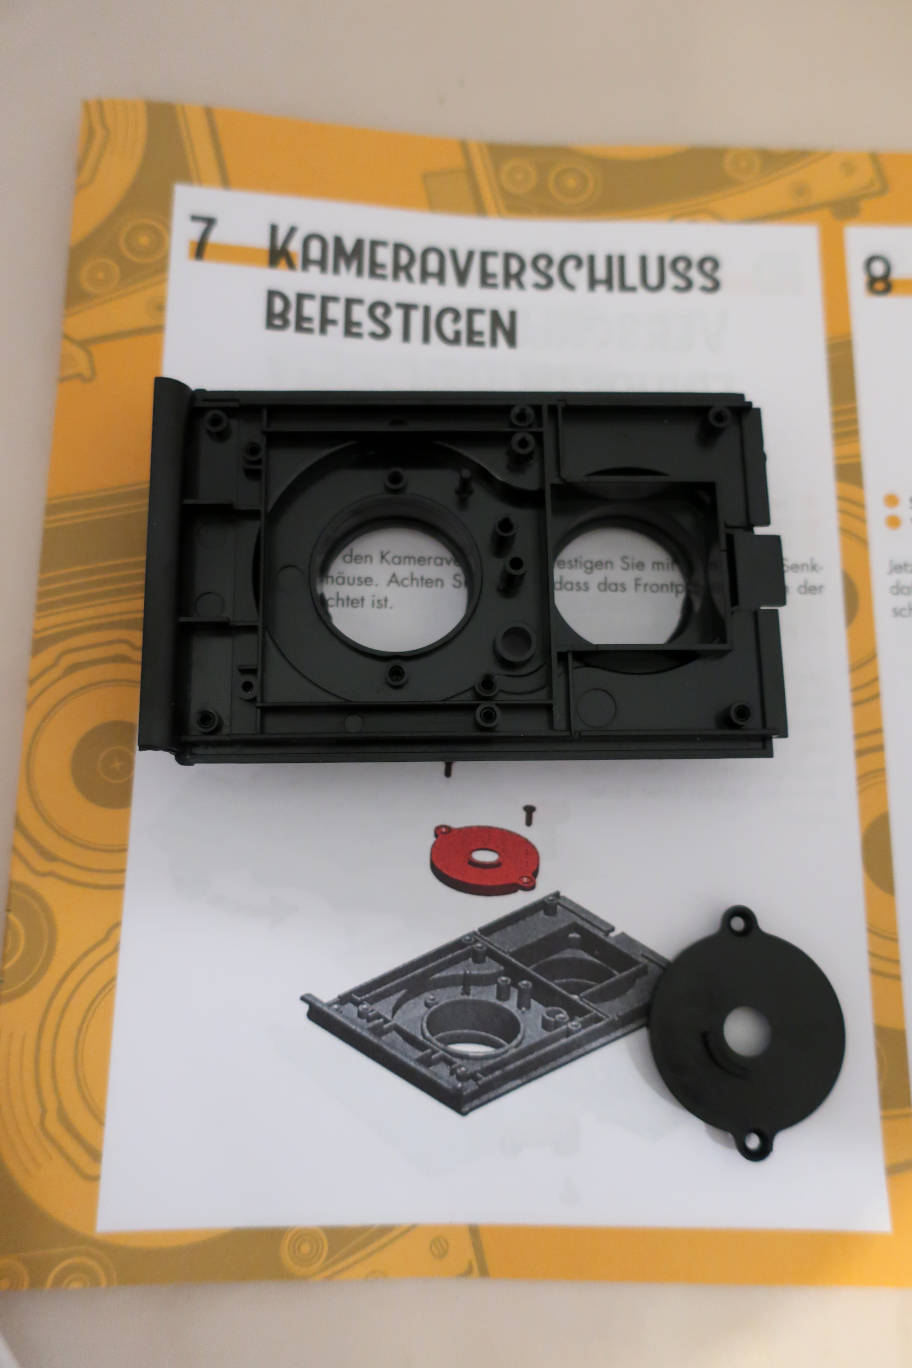
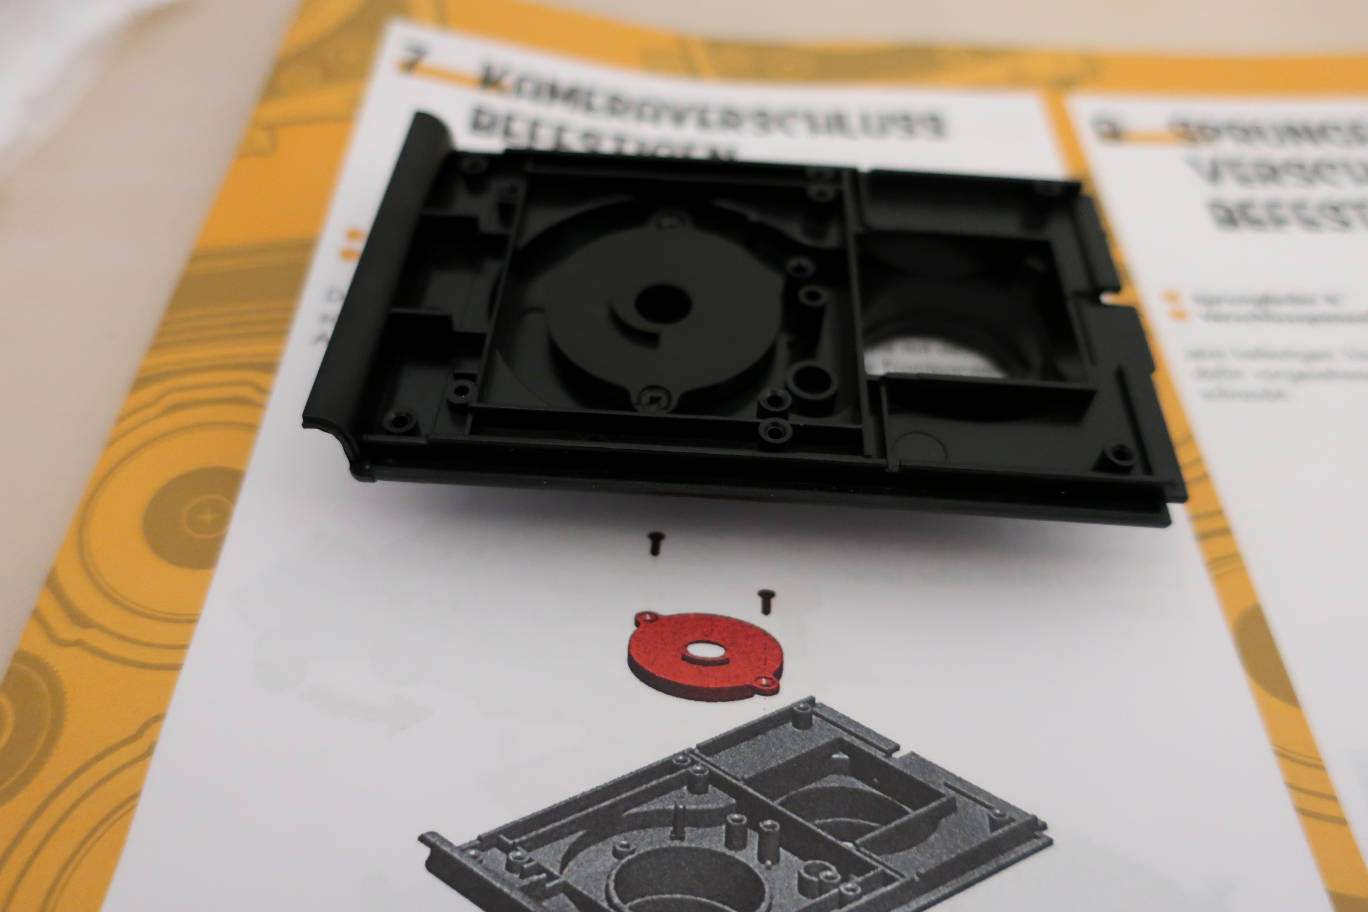
We get another important part, the camera front and the front panel of
the shutter. The panel is screwed to the front via 2 special screws,
they are only 2 among the screws. It's important to fix it in the
right way, the tiny rail towards the bottom.
December 8th. 2nd Advent.
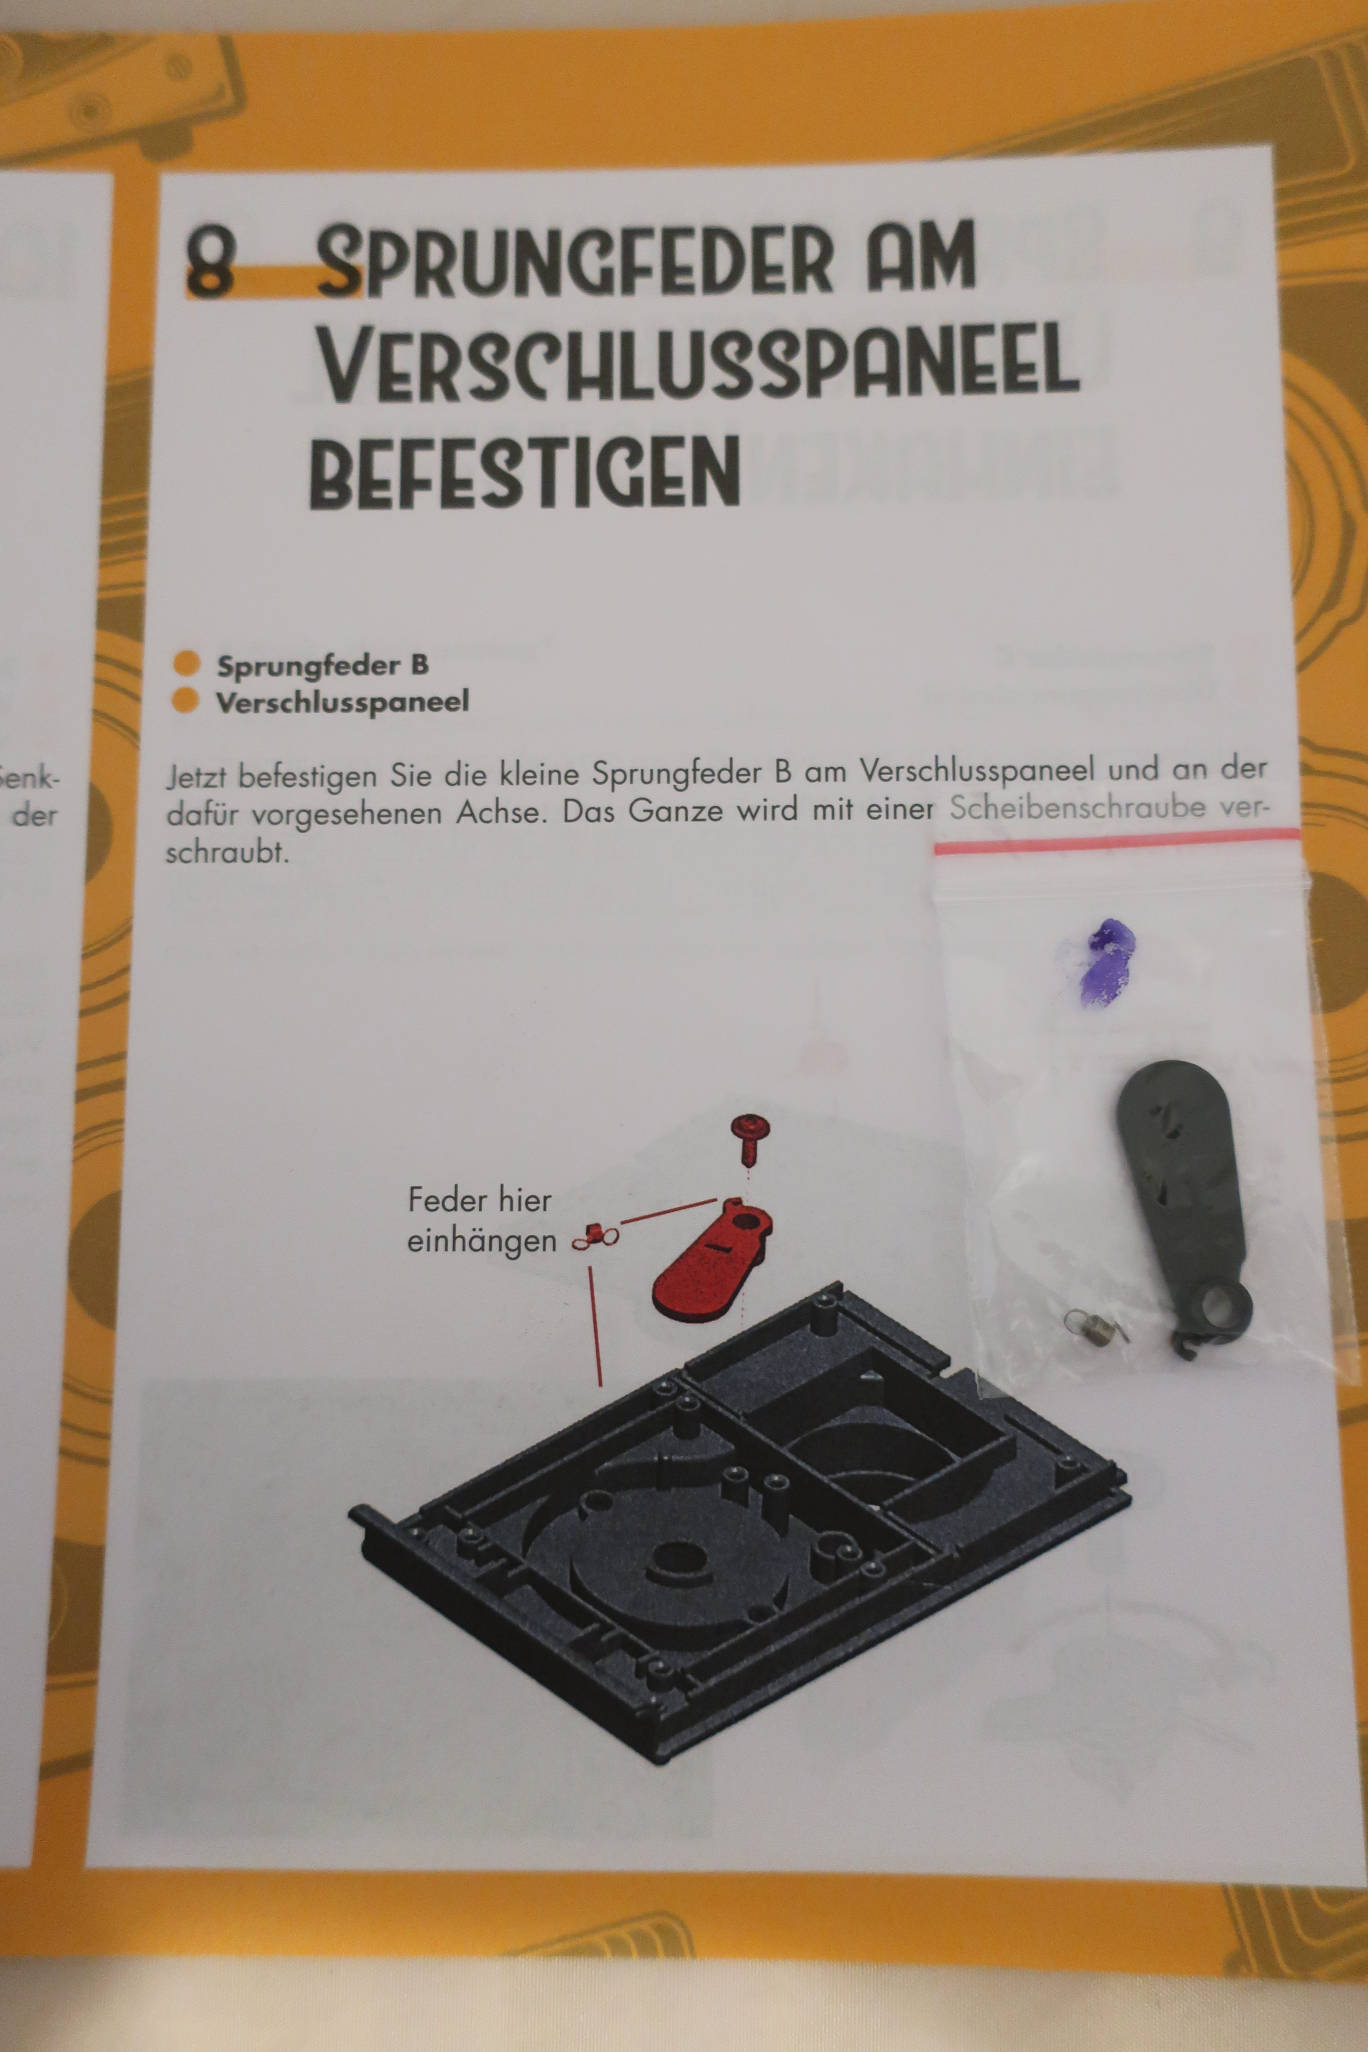
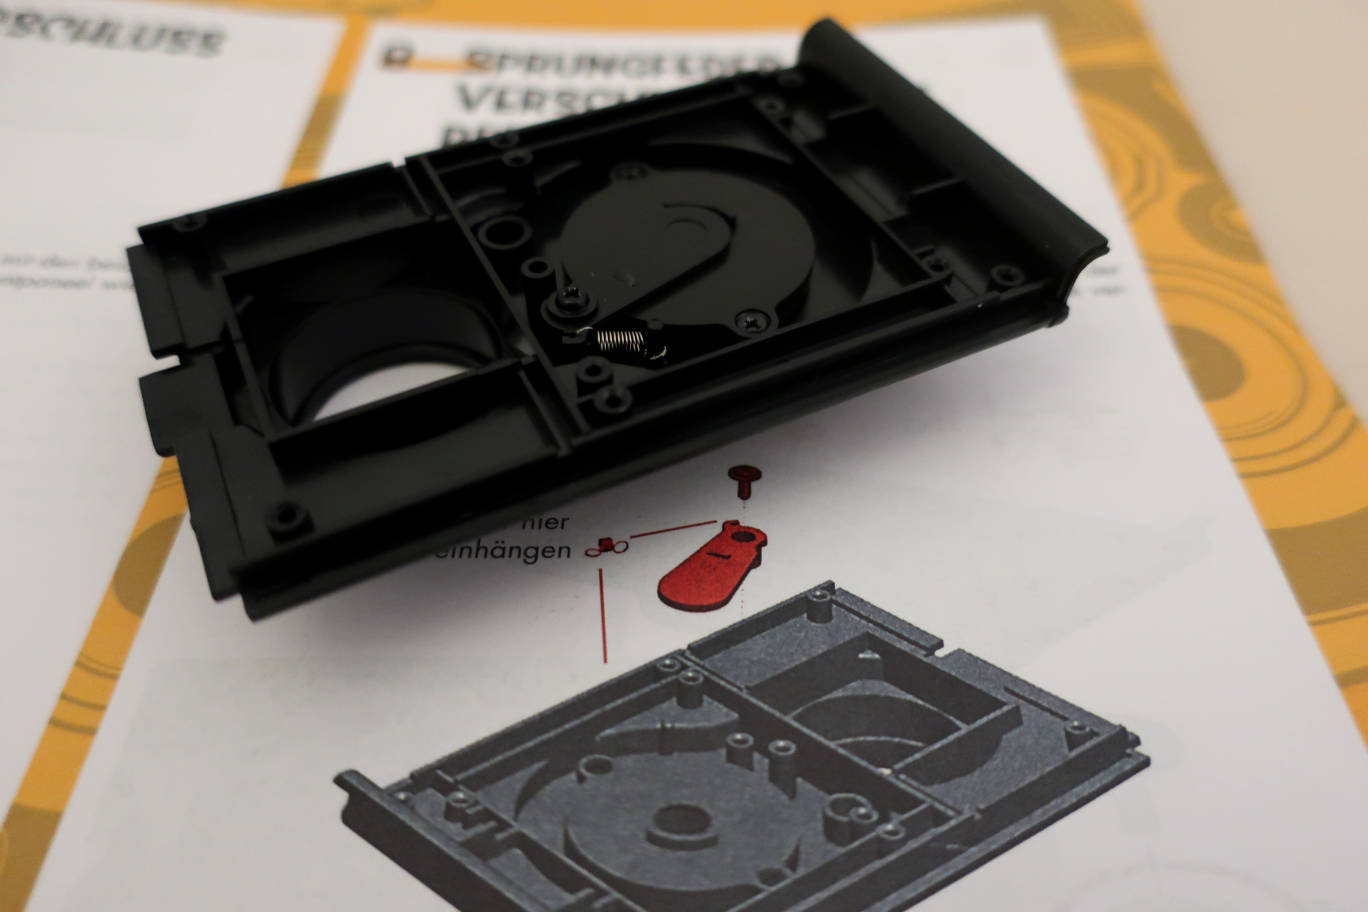
So here we are with more complicated tasks: we have the shutter blade
and its coil spring B. The blade is fastened by a washer screw. It
needs some patience. Hinge the spring into its hook on the blade, stick
the washer-screw into its hole and hold everything in place with one
hand. Then try to hook the other end of the spring onto the axle and
hold it there with your other hand. Then cautiously move the blade
until it sits in place. Take the screwdriver with the other hand (the
spring should now rest on its axle) and fasten the screw, not too
tight, the blade should move freely. Done.
December 9th.
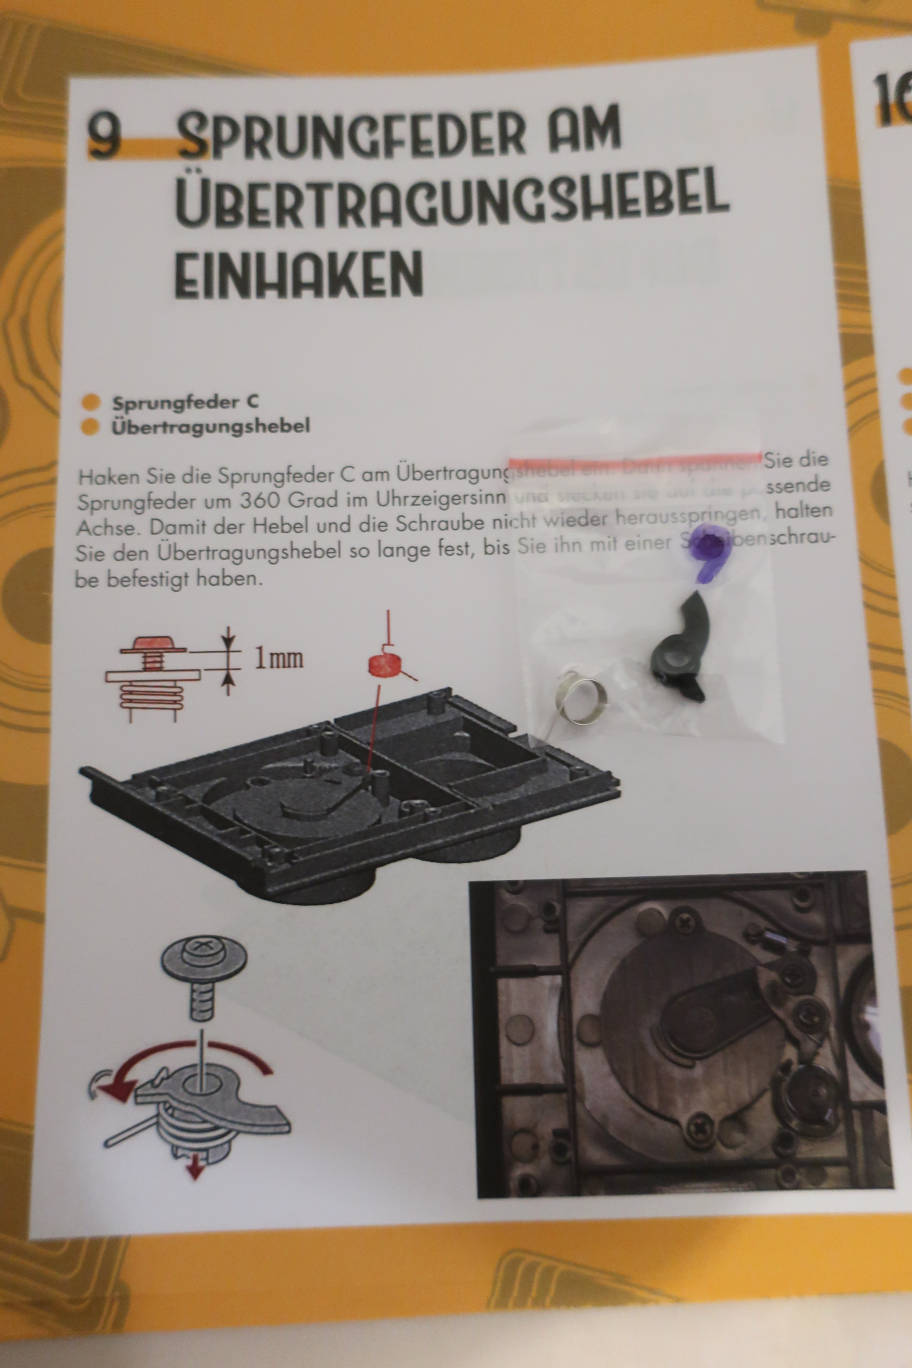
Another day of fiddly work: we have coil spring B and a tiny lever,
both to be secured with another washer-screw. You will have to hook the
spring into the shorter arm of the lever, wind it one full turn and put
it into its place. The drawing is wrong, the lever on the drawing is
inversed. Have a try without the spring to see the function. Then hook
the spring into the lever. Insert the screw into its hole. hold the
lever between 3 fingers of one hand. Wind the spring with the other
hand and squeeze it wound up between your fingers. Take the screwdriver
with the other hand. Try to insert hook and spring into its mount, the
screwdriver may help to get the spring inserted. Screw, not too tight,
the lever must still move. I had several tries before it worked. If you
move the short end of the lever up, the long end slides against a tiny
tiny bulge on the shutter blade, pushes the blade open until it reaches
the end of the curve and then lets it snap back. Your shutter is
working now.
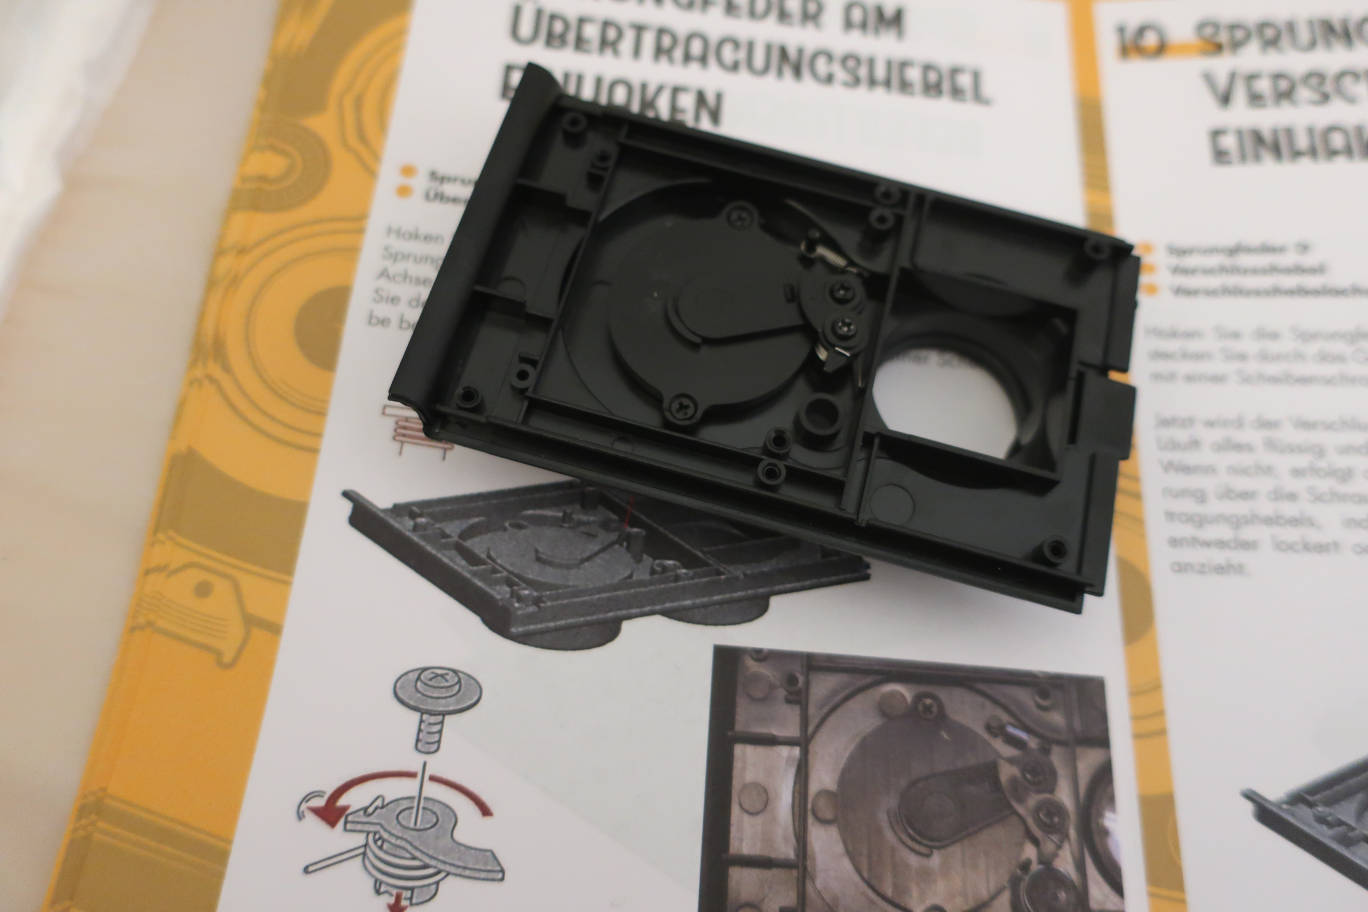
December 10th.

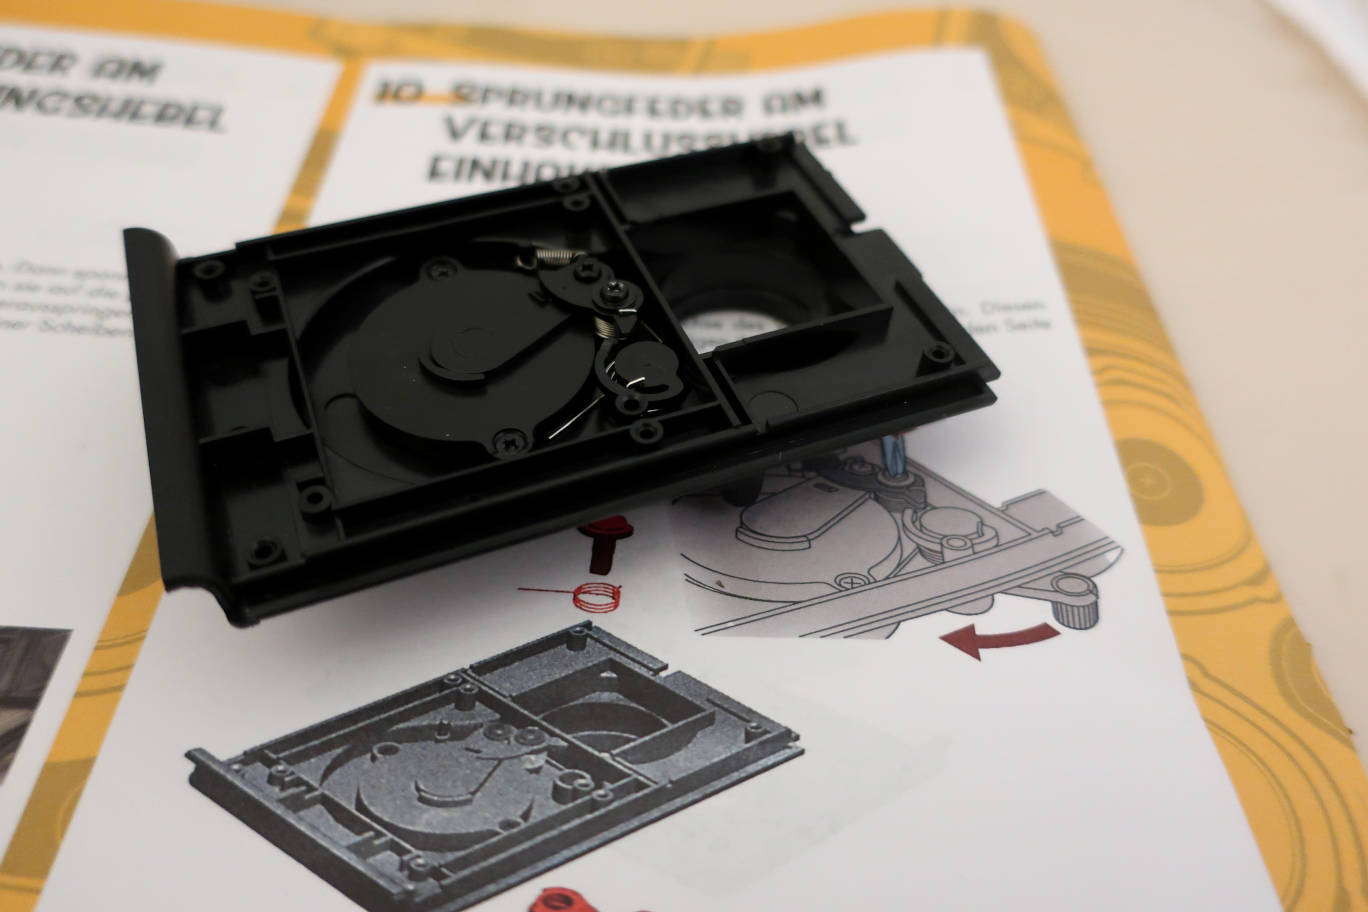
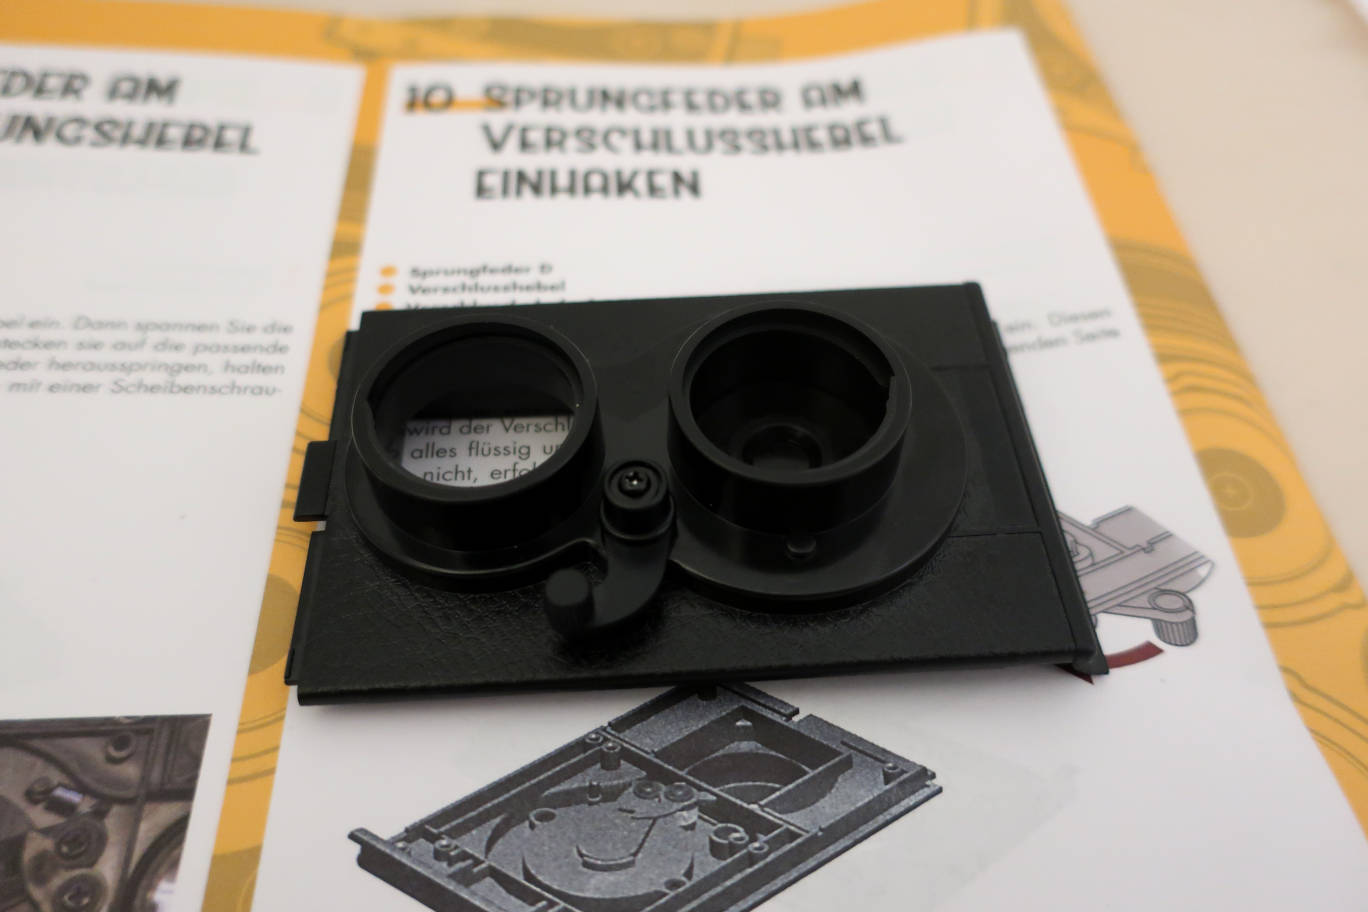
A third day of fiddly work, but easier than the preceeding ones. We
have: coil spring D, shutter trigger axle and a shutter lever. We need
1 washer screw. Hook the coil spring into the trigger end of the
axle. Insert the axle and help the long end of the spring to
slide into place, a screwdriver may help. Hold it in place and turn the
camera front. Put the lever on the axle and secure with a washer-screw.
Your shutter should be operating now. You can fine-tune the smoothness
of operation be tightening or loosening the screw of the lever we put
the day before.
December 11th.
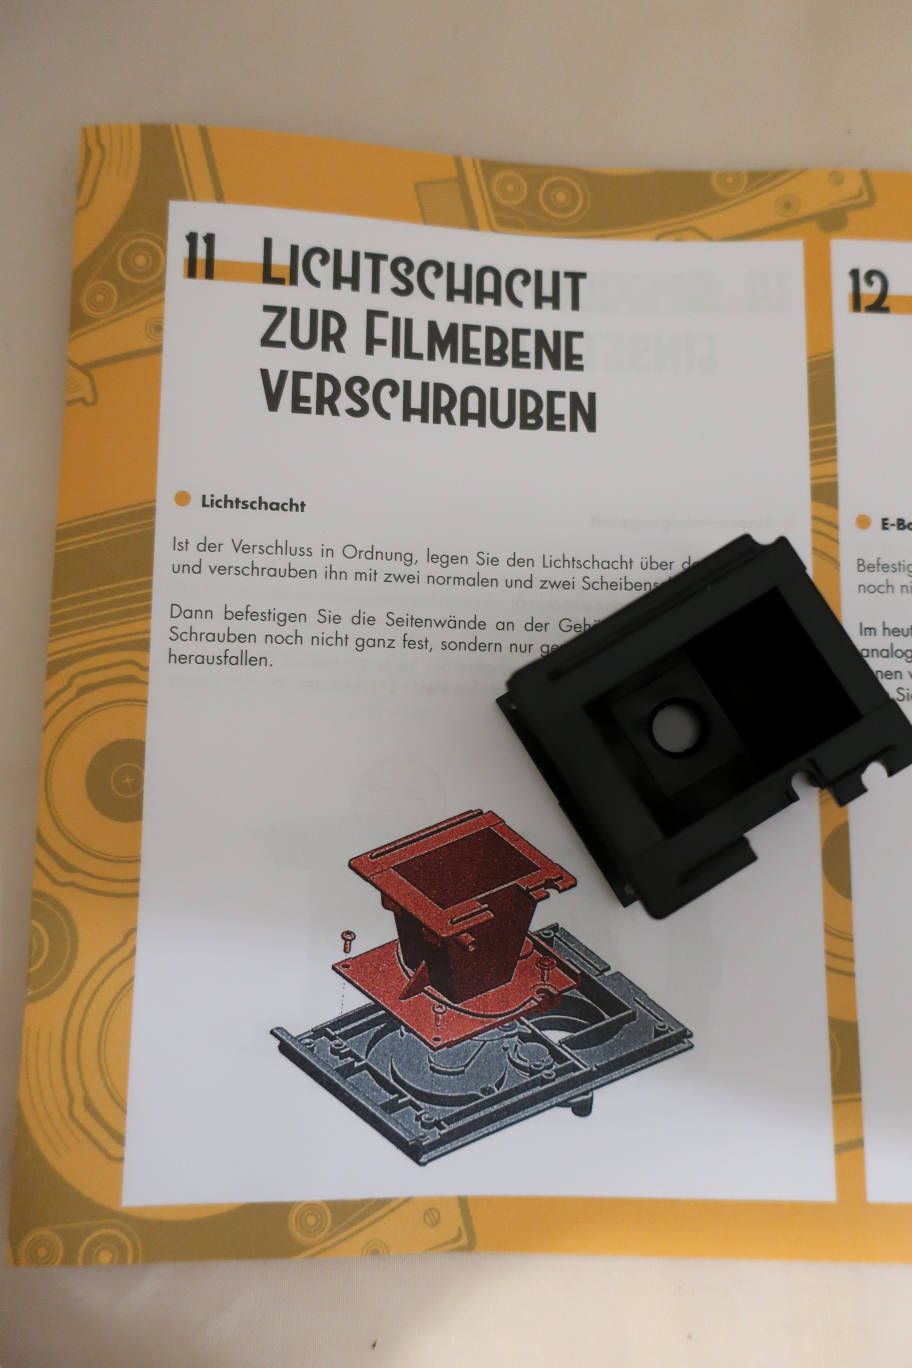
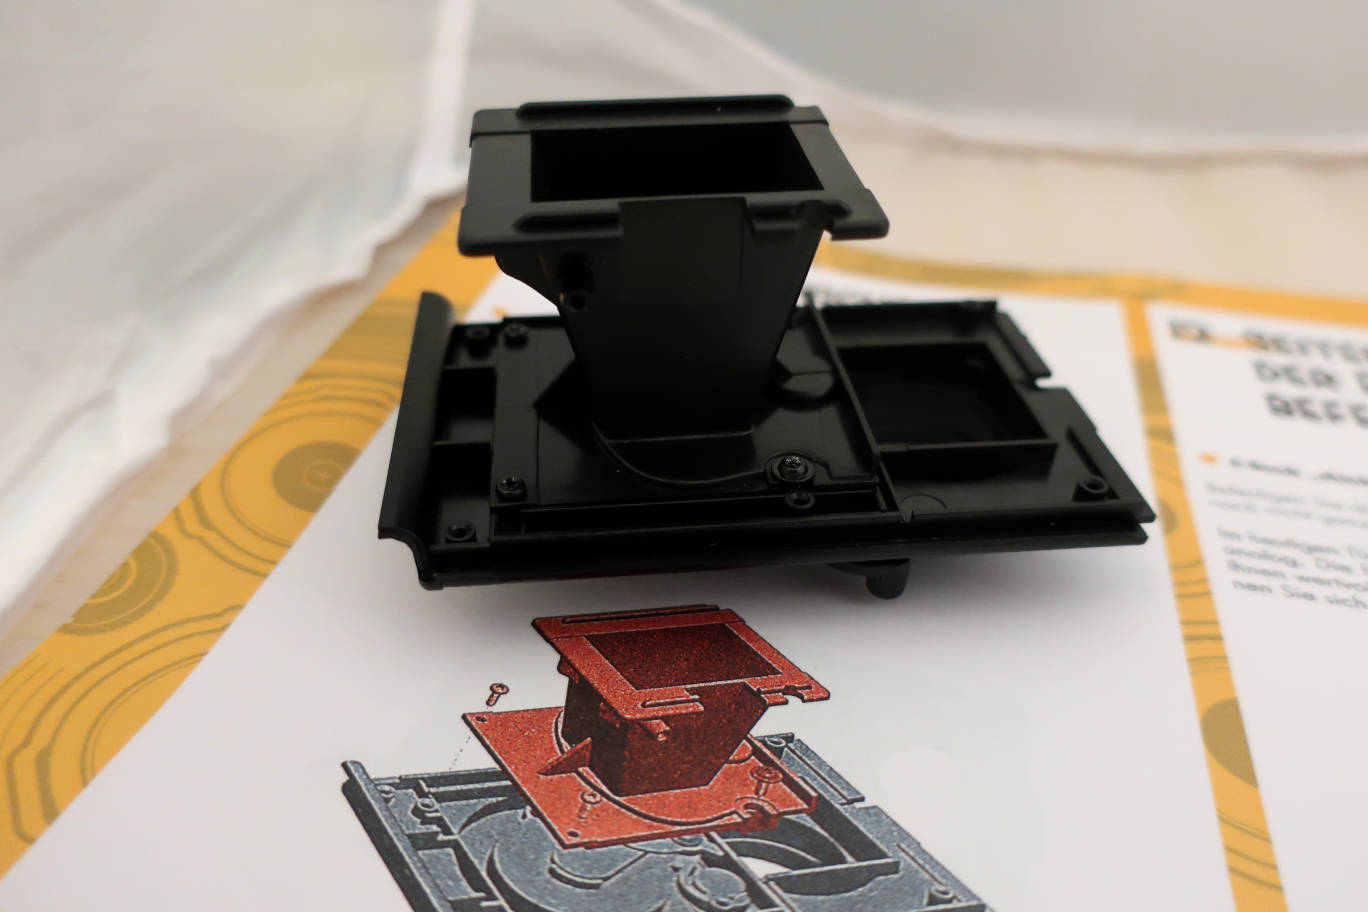
A bigger part today: the light shaft towards the film plane. It is held
by 2 standard screws and 2 washer-screws. As the acces to the screws is
difficult, a longer screwdriver will help. Check the shutter before, it
will no longer be accessible.
December 12th.
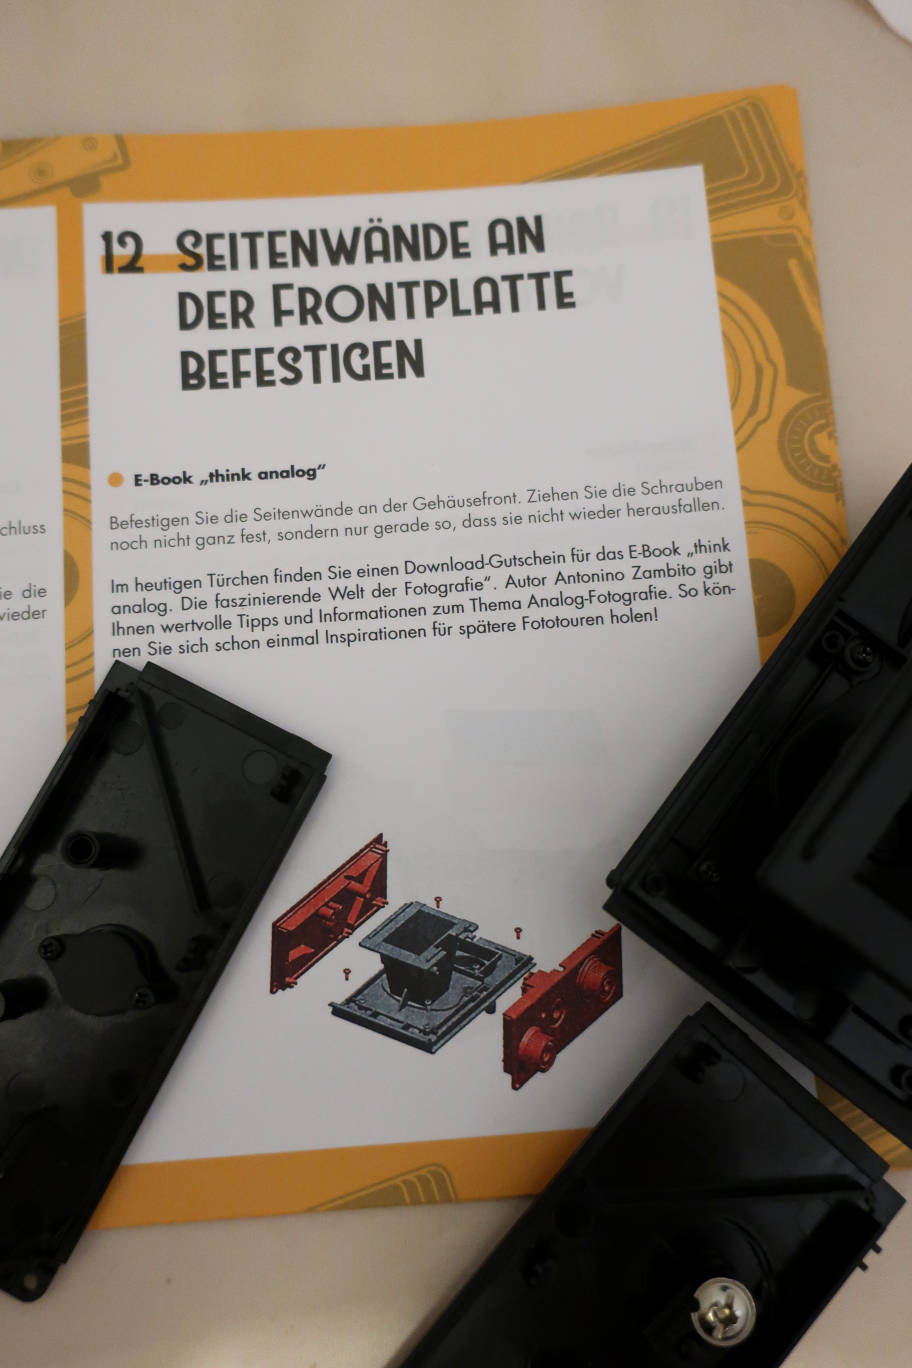
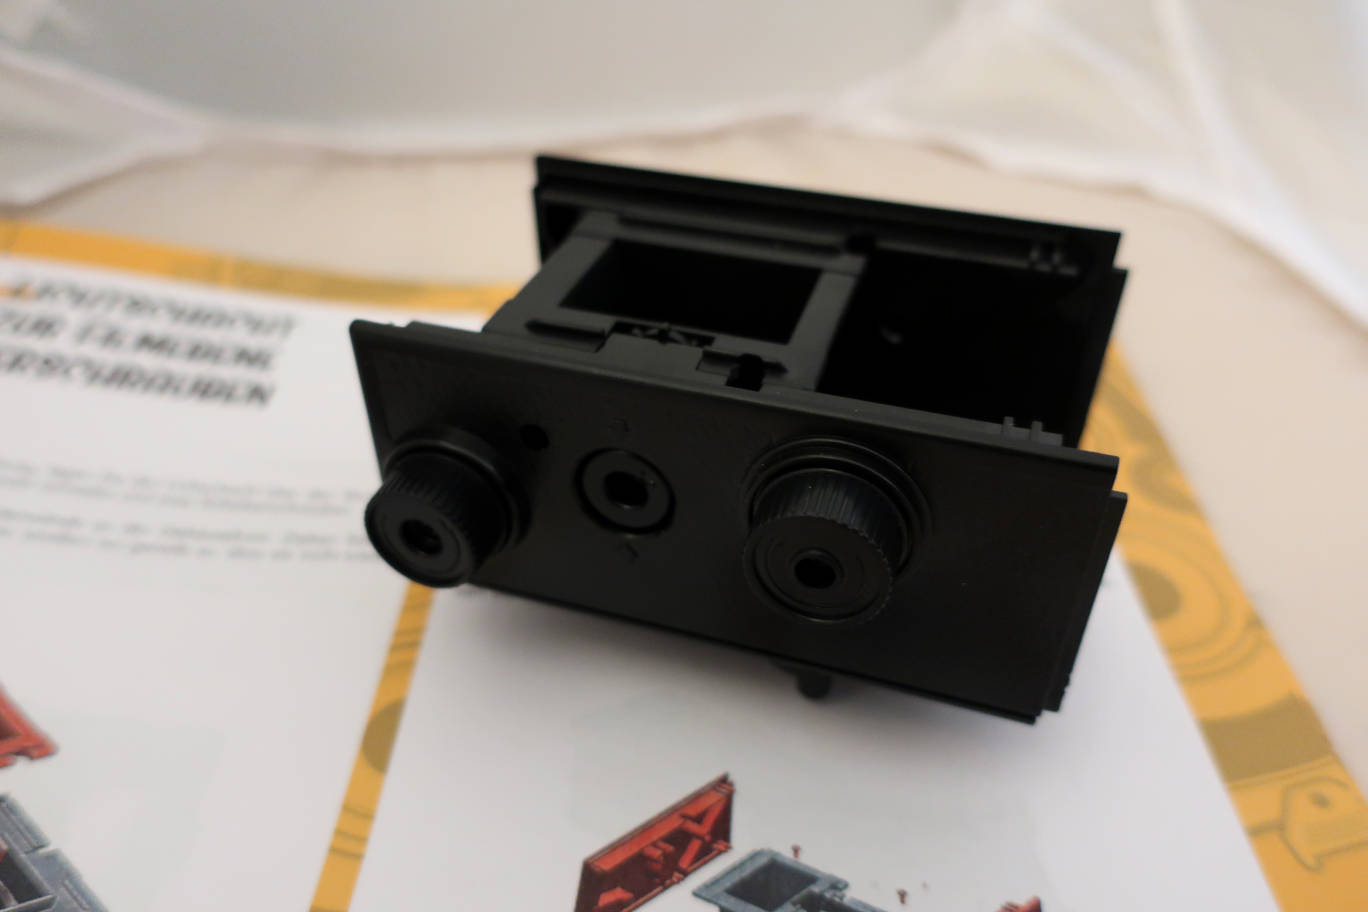
Today we are getting nearer to a camera: the parts we have prepared
will be assembled. We need 6 ordinary screws. The access to the screws
is difficult, so a long screwdriver will help again. A trick to make it
easier: put the screws into the front plate first and make 2 turns. You
can then insert the plates and fasten the screws a bit more. Do not
screw them completely, you need a certain looseness of the parts during
further assembly.
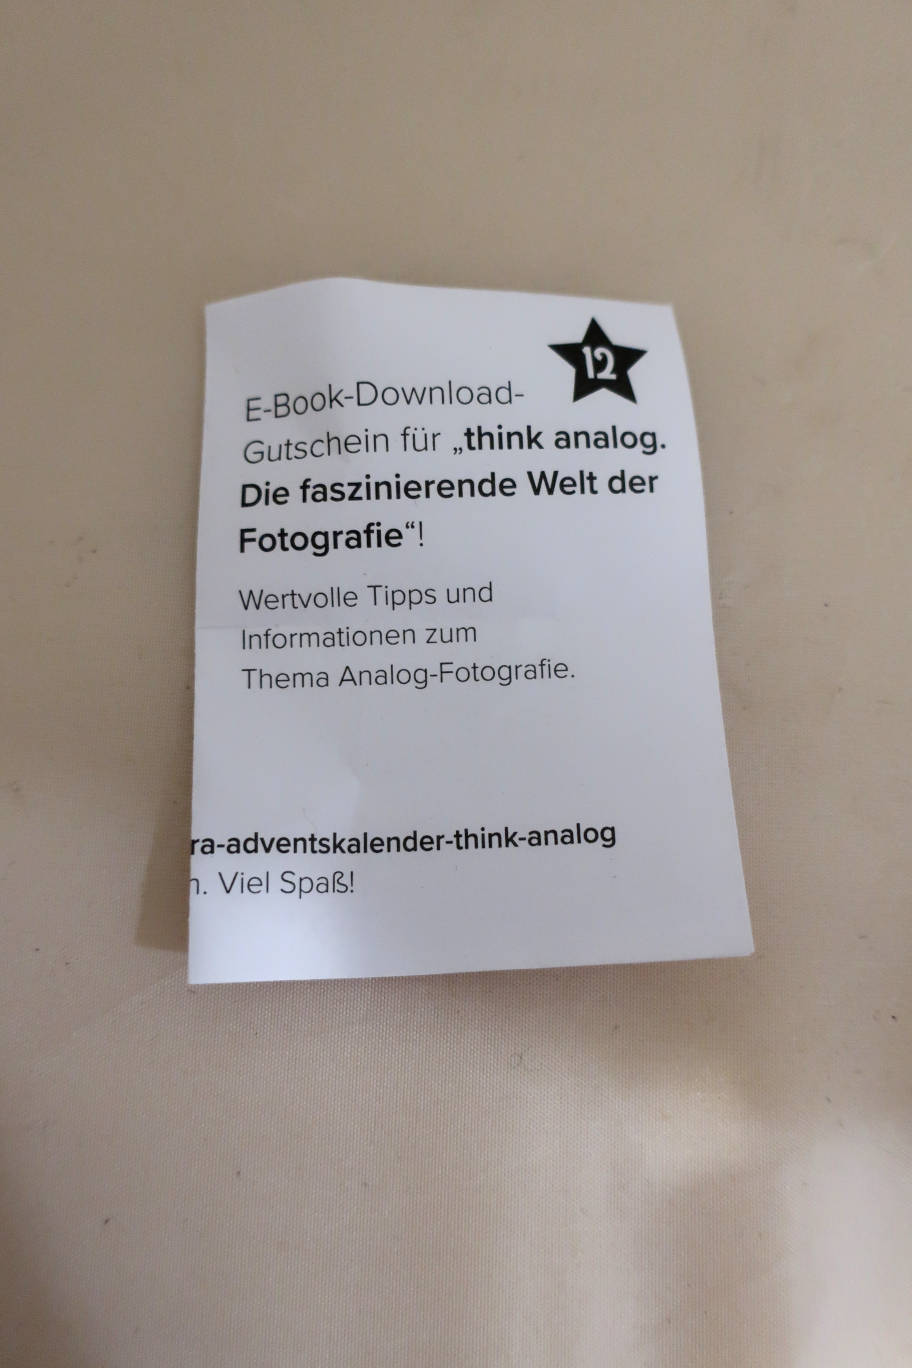
As we needed no new parts, we got a voucher in today's compartment of
the calendar. It's for the download of an e-book about analog
photography.
December 13th.
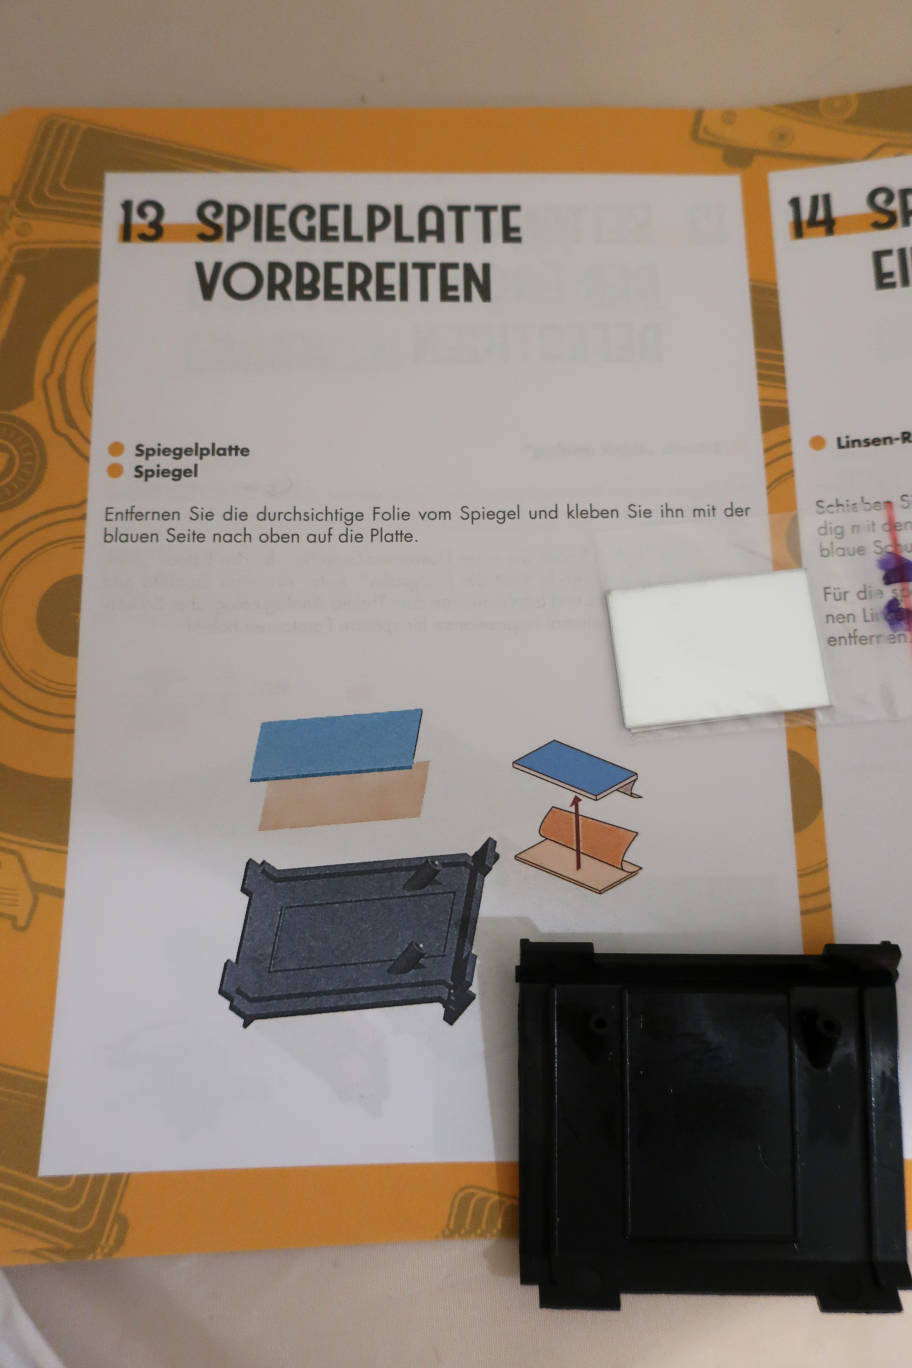
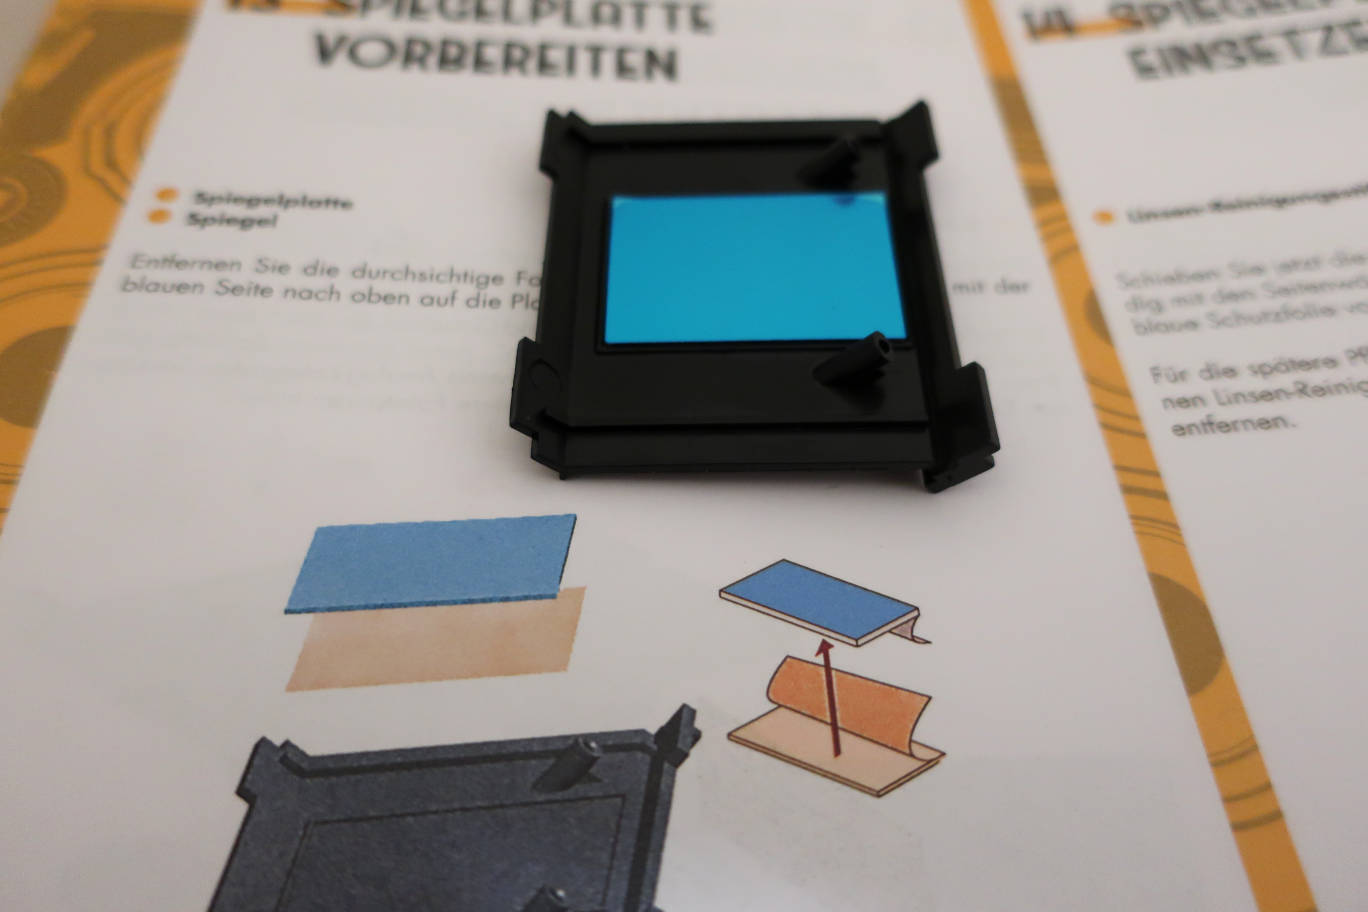
Today we have: a mirror, protected by a blue layer, a mirror support
and a piece of double faced scotch. The task is easy. Fix one side of
the double faced scotch on the shiny, non-blue side of mirror and then
glue the mirror with the other side of the double faced scotch into the
mirror support. Do not yet take away the blue protection.
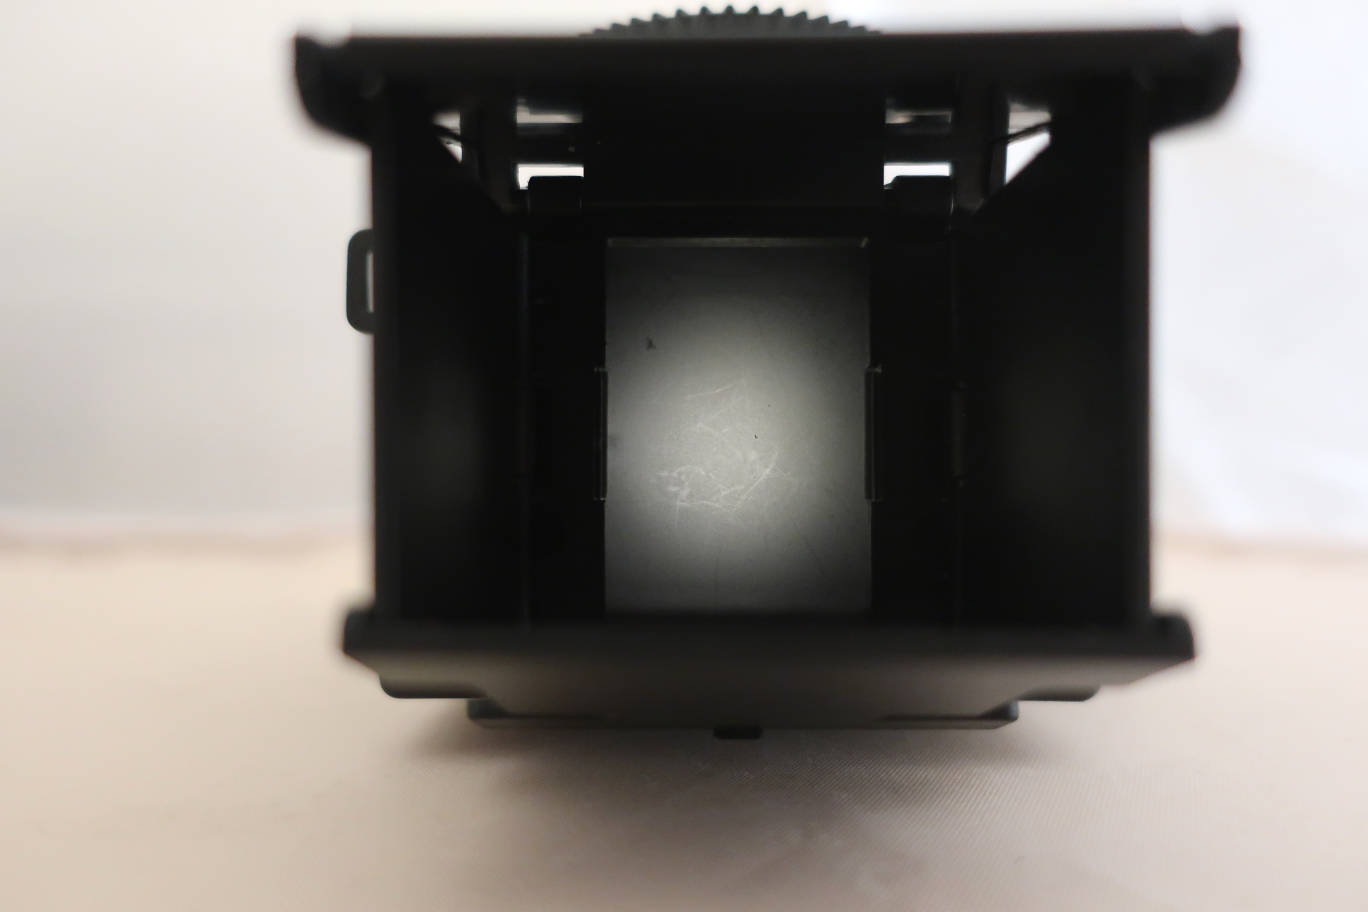
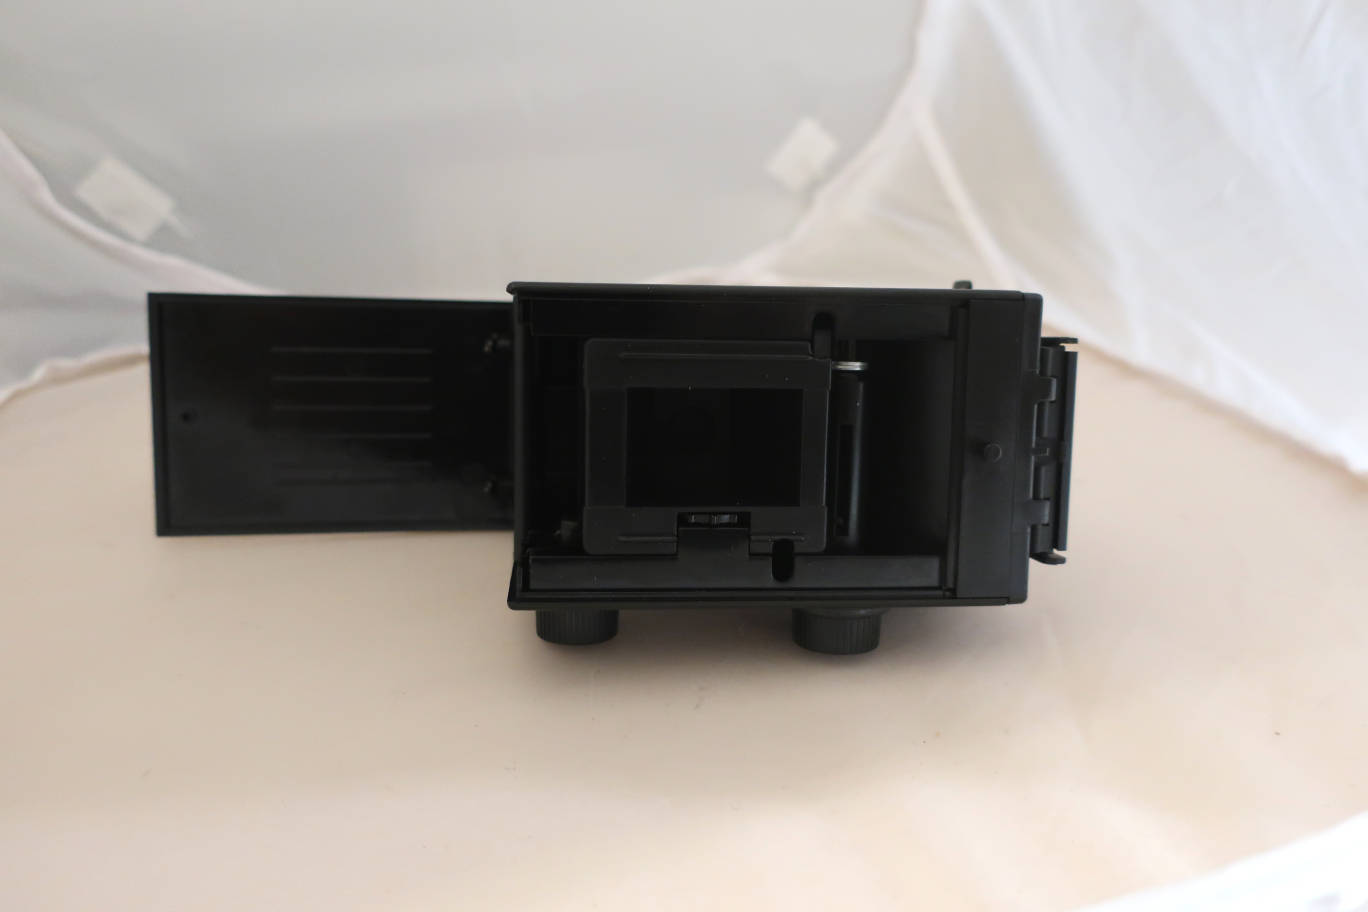
December 14th.
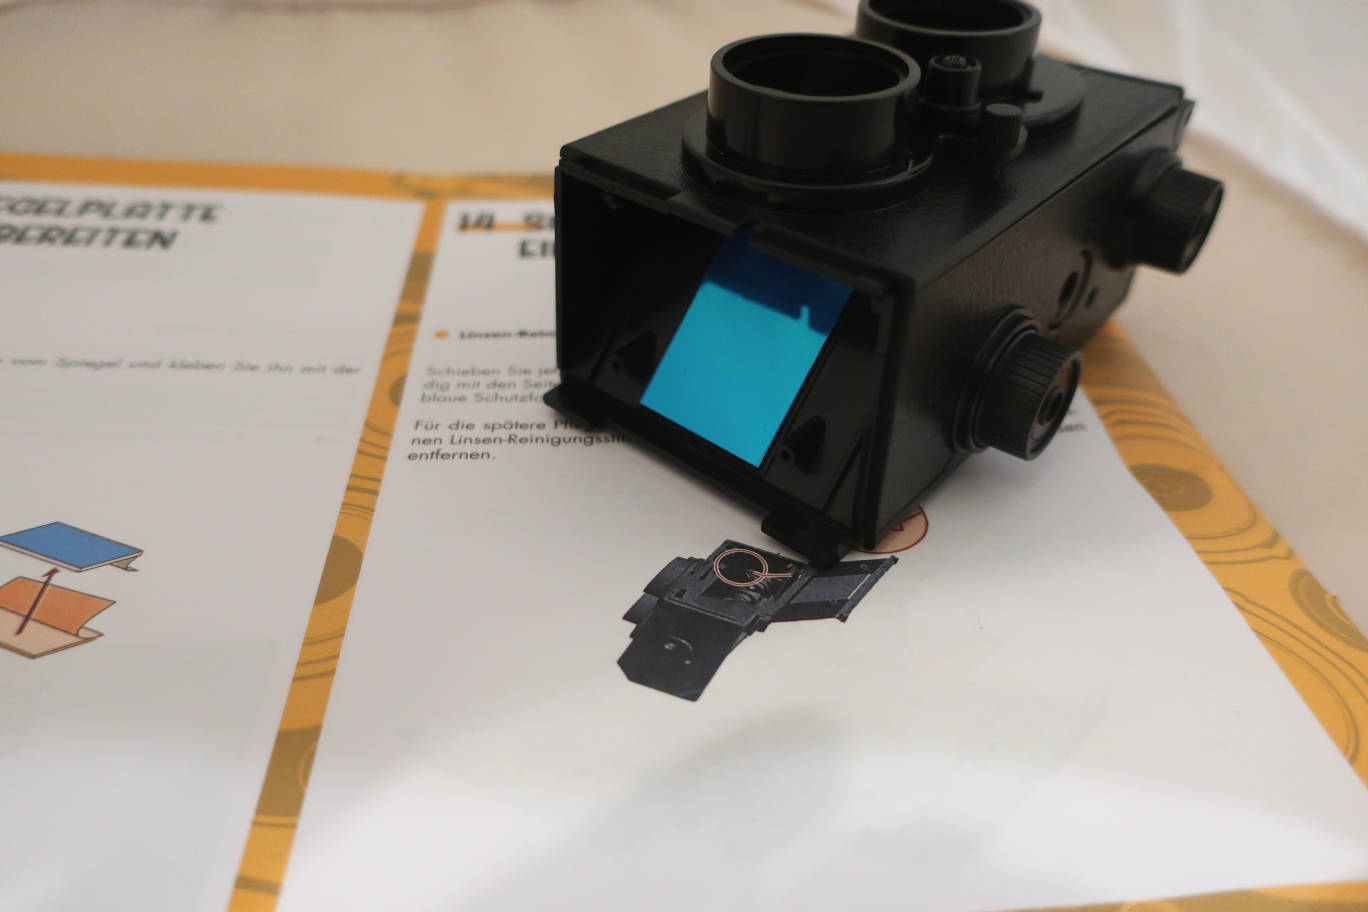

We are getting nearer to a result: the mirror plate has to be mounted.
You can mount it the wrong way, above the rails, as in the first
picture. The second picture shows the right position, under the rails,
so the end of the plate has the same height as the side panels. You
have to bend the side panels to get it there, don't break them off.
That's why they are still loose yet. When you are finished, you can
lift the blue protection from the mirror. Do not touch the mirror
surface!
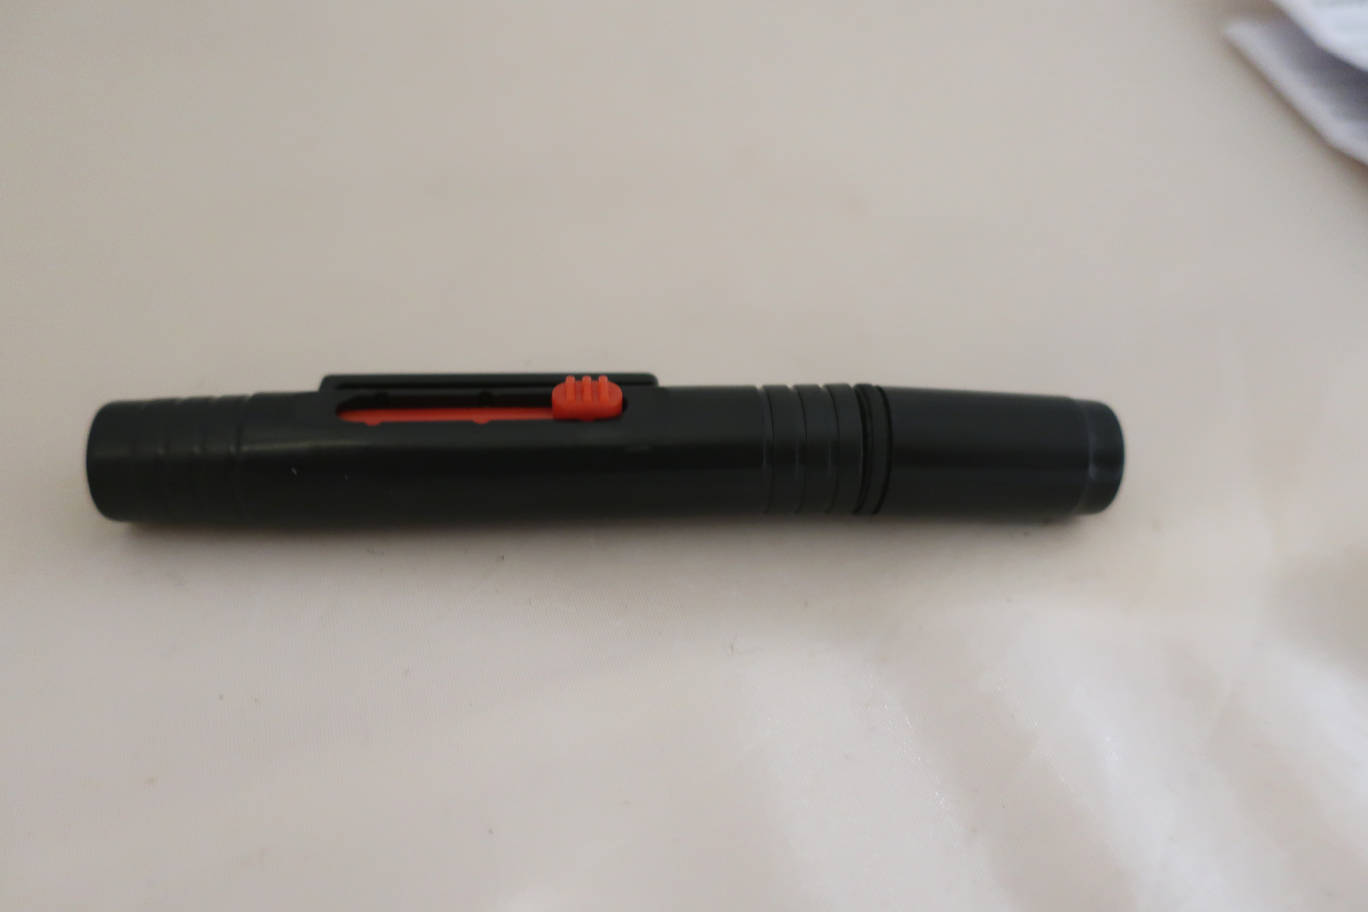
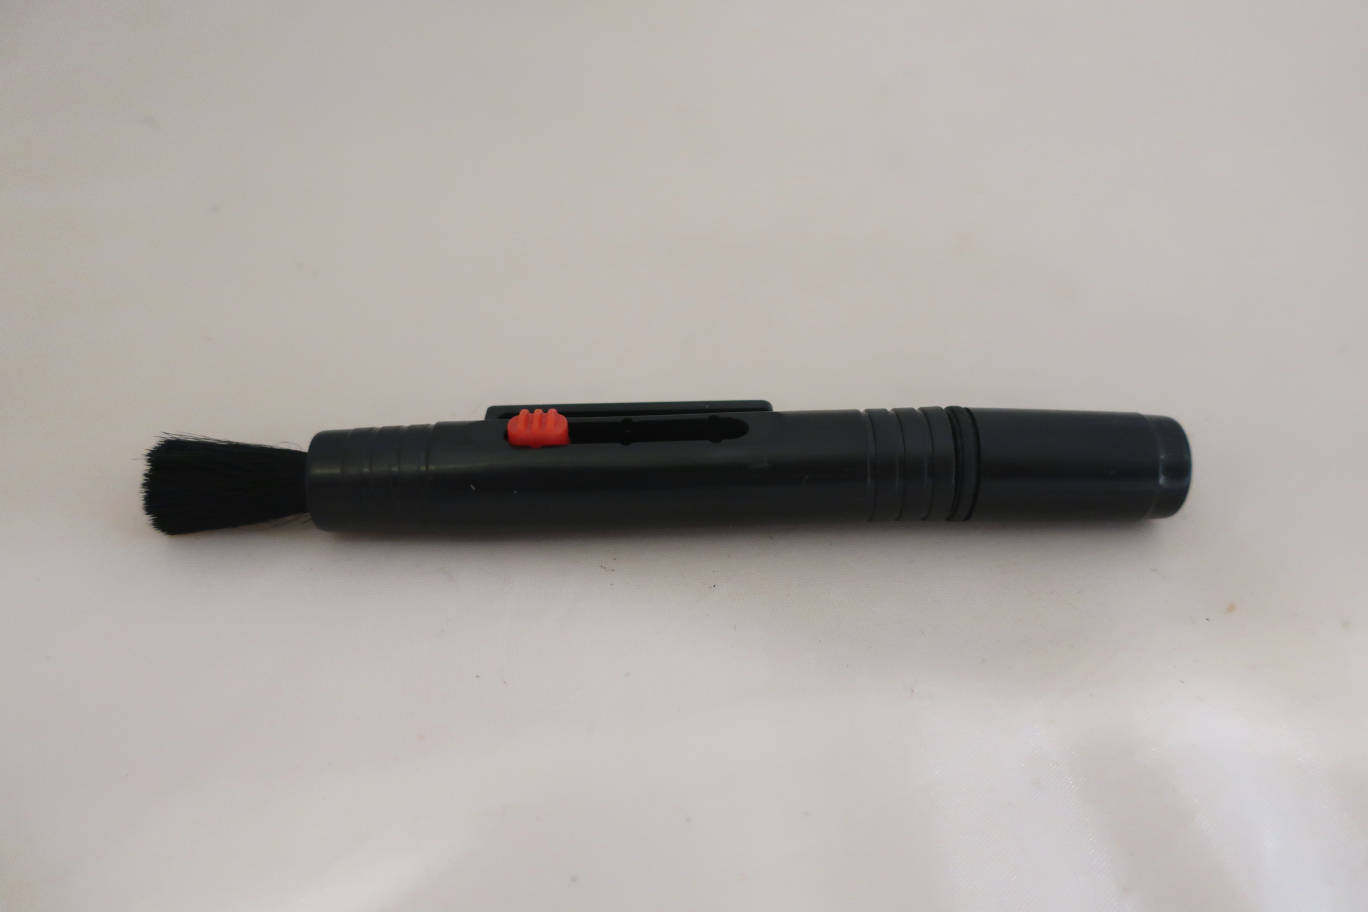
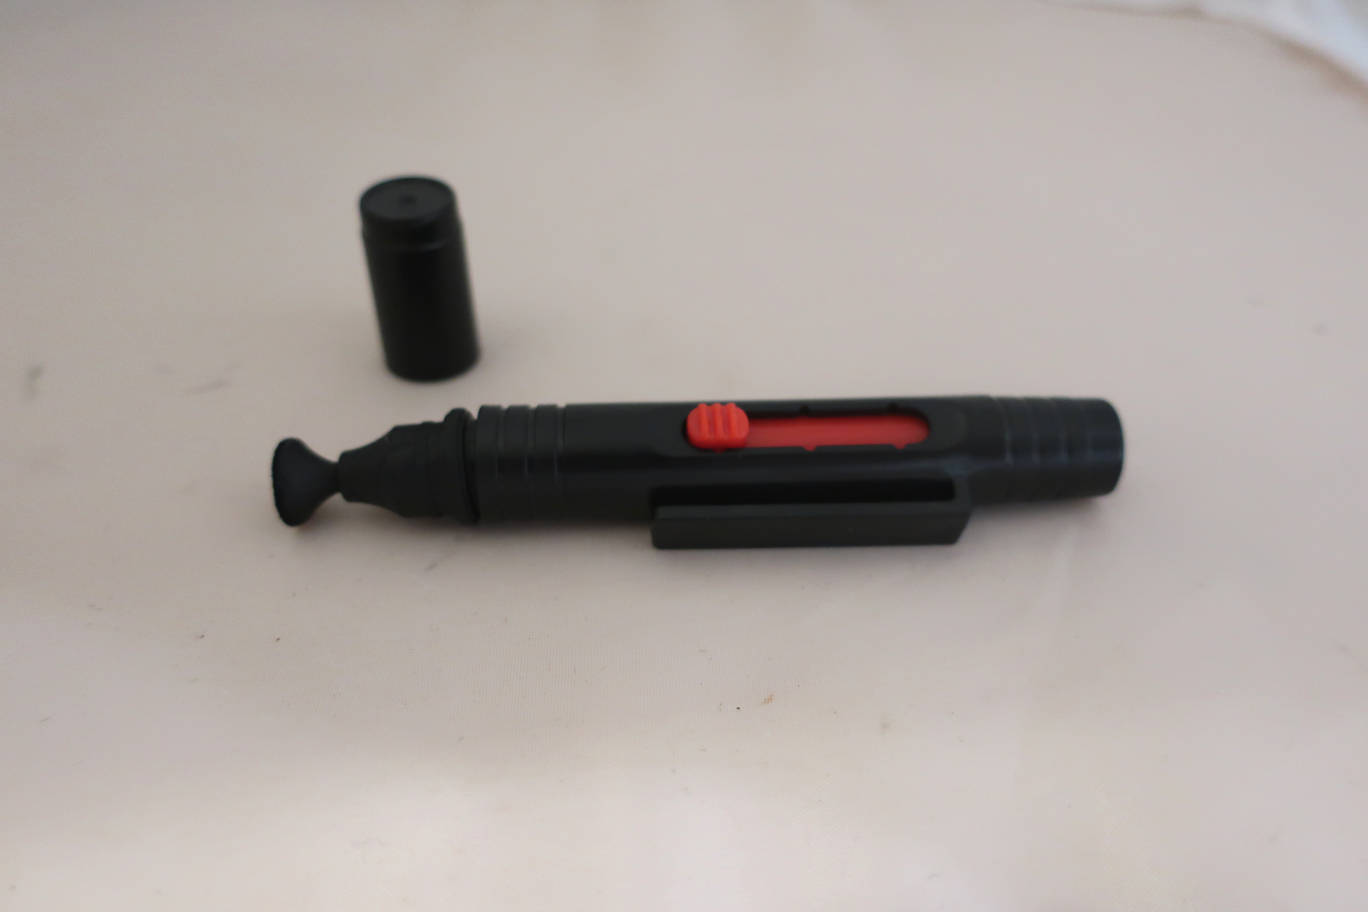
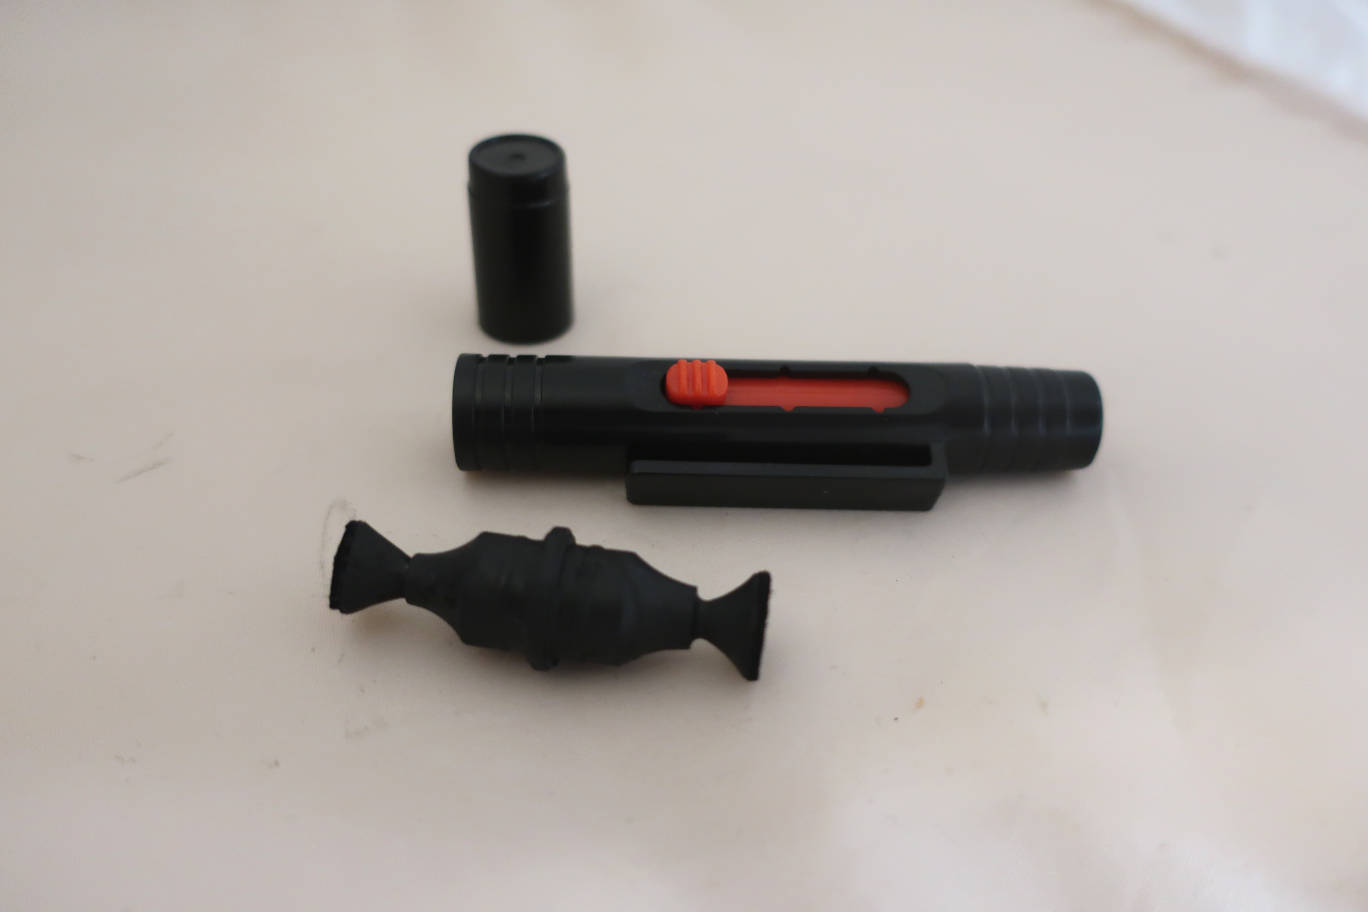
As we needed no new parts, we got a present in today's compartment of
the calendar. It's a nice lens cleaning pen, very handy.
December 15th. 2nd Advent.
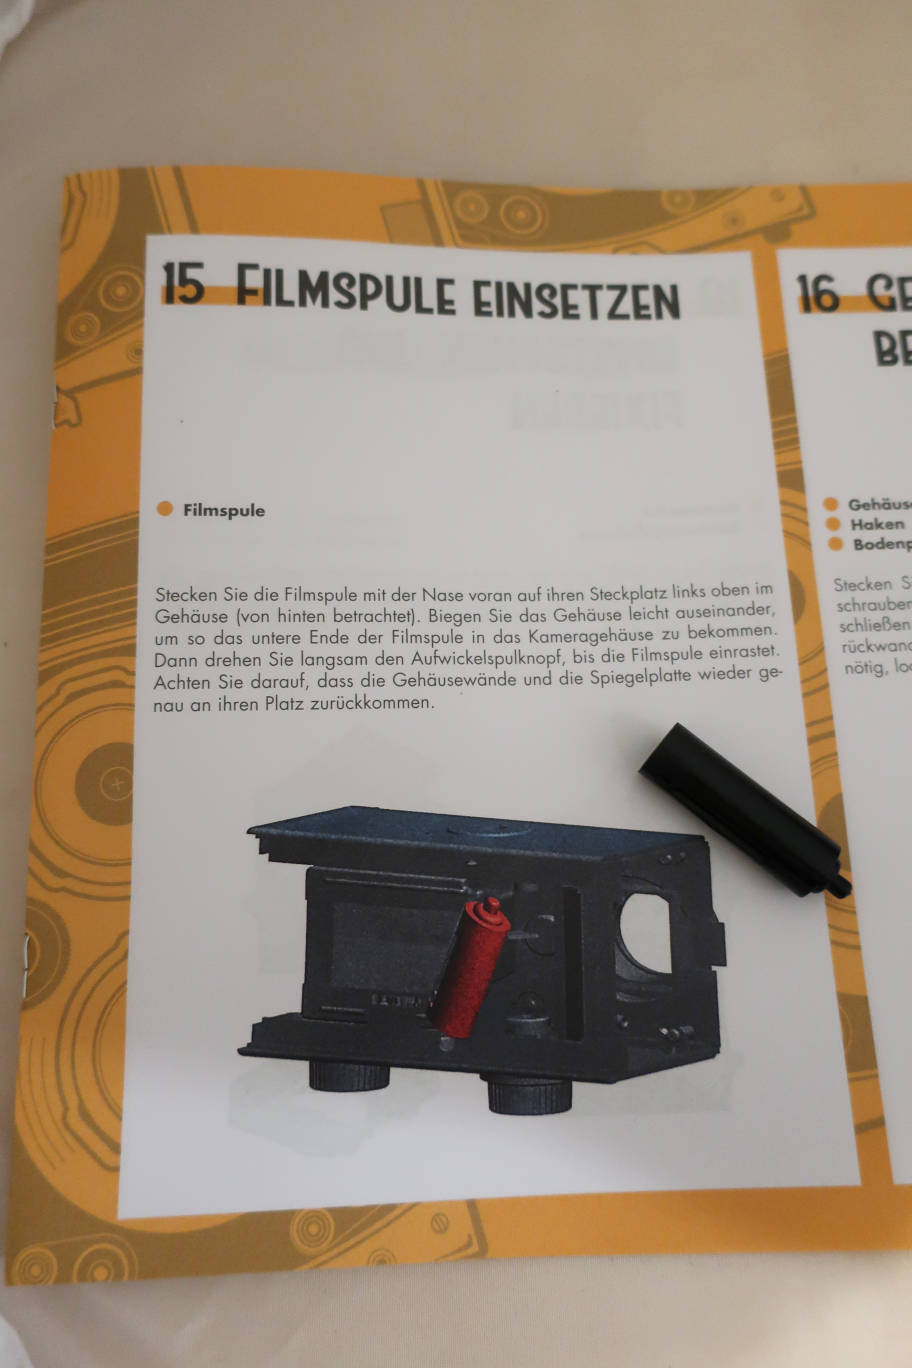
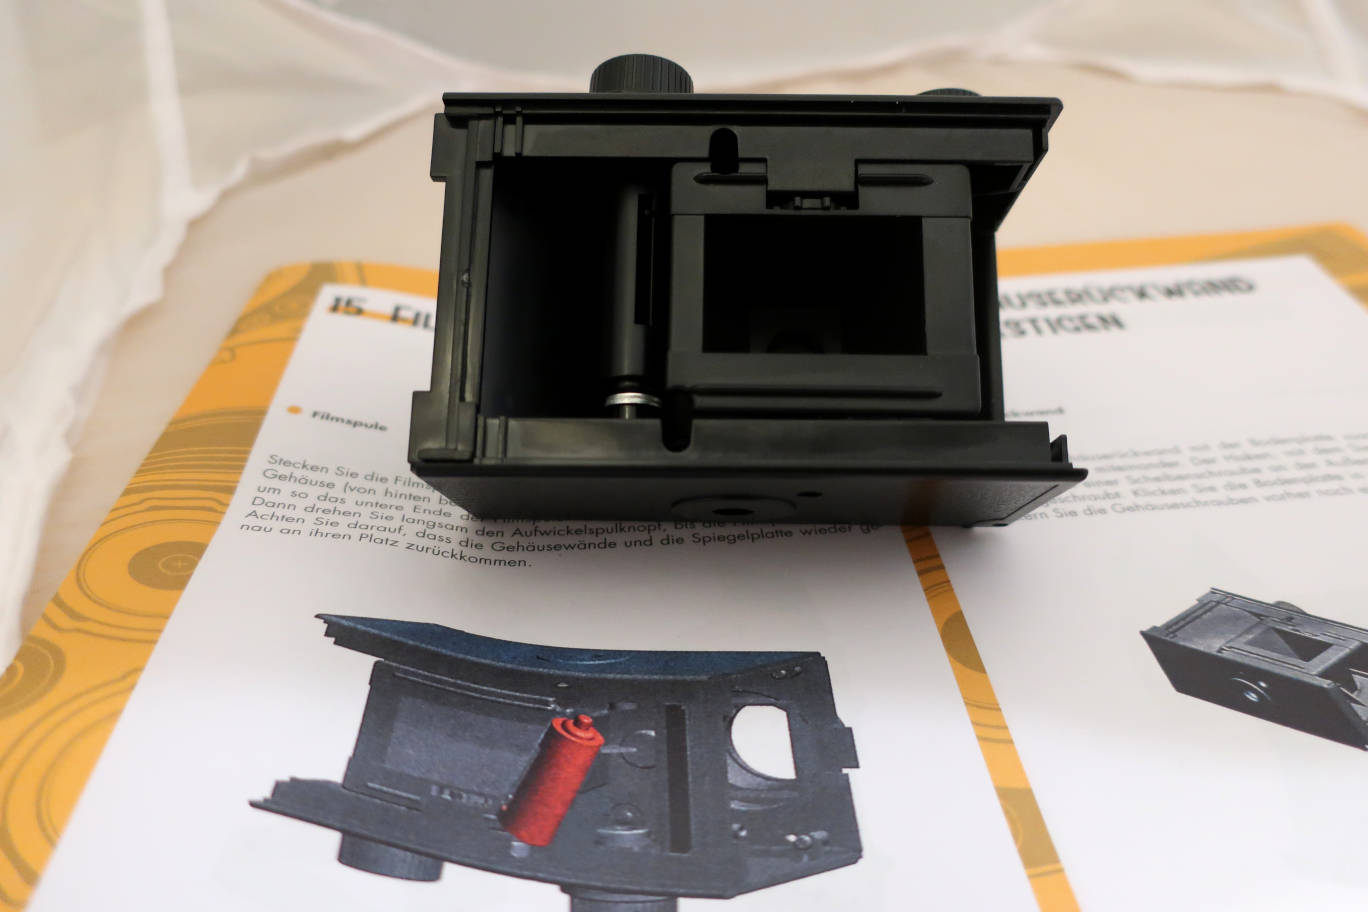
Today's item is the winding spool. Put the axle end first and then
cautiously put the other end on the head of the winding knob axle.
Again you have to bend the side panels a little bit. Then turn the knob
smoothly until the pin inside the spool snaps into the notch of the axle head. As my DIY axle head has not the same hight as the original one, I had to add 2 washers.
December 16th.
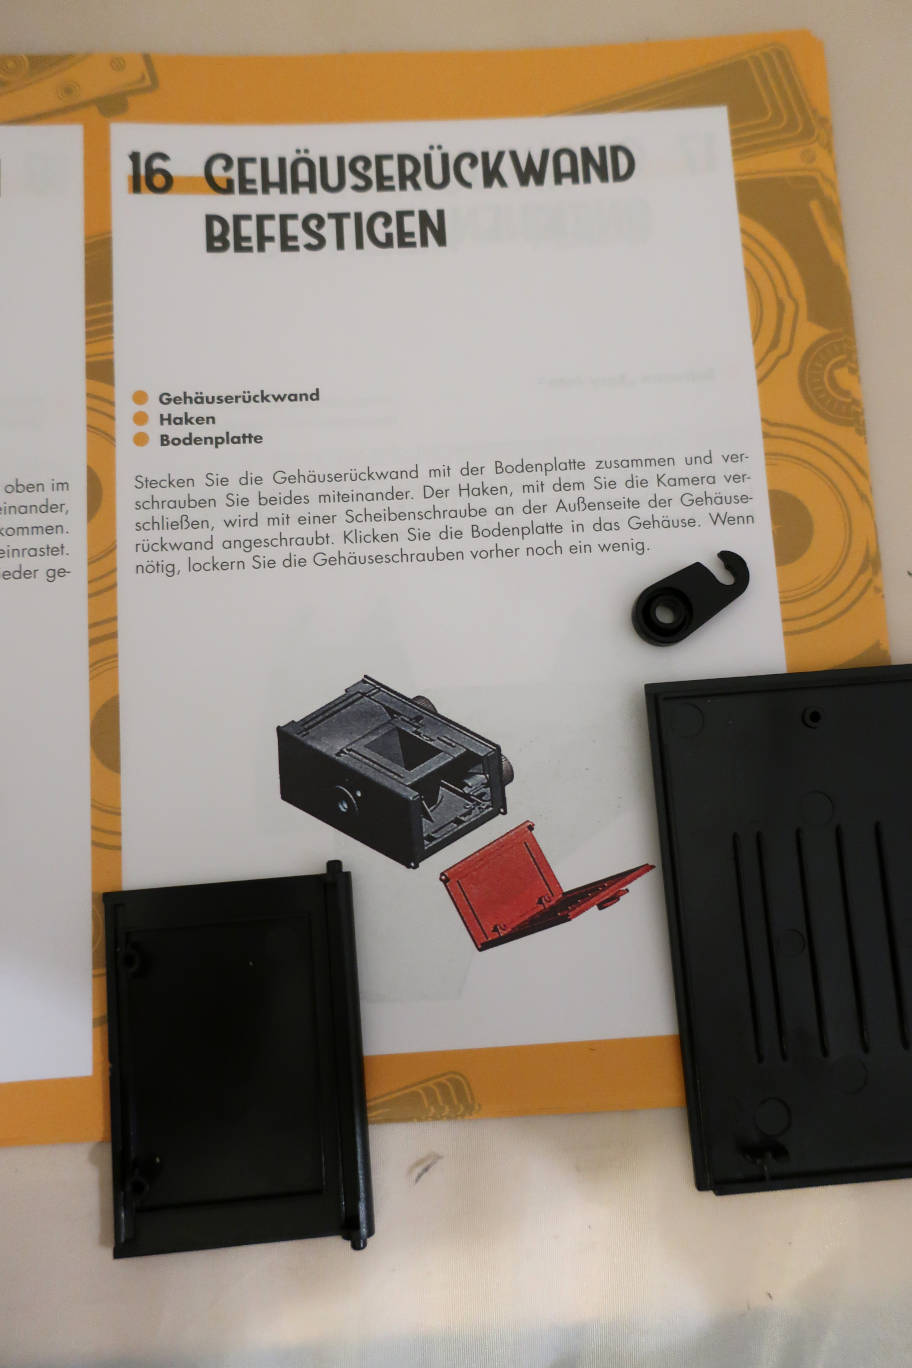
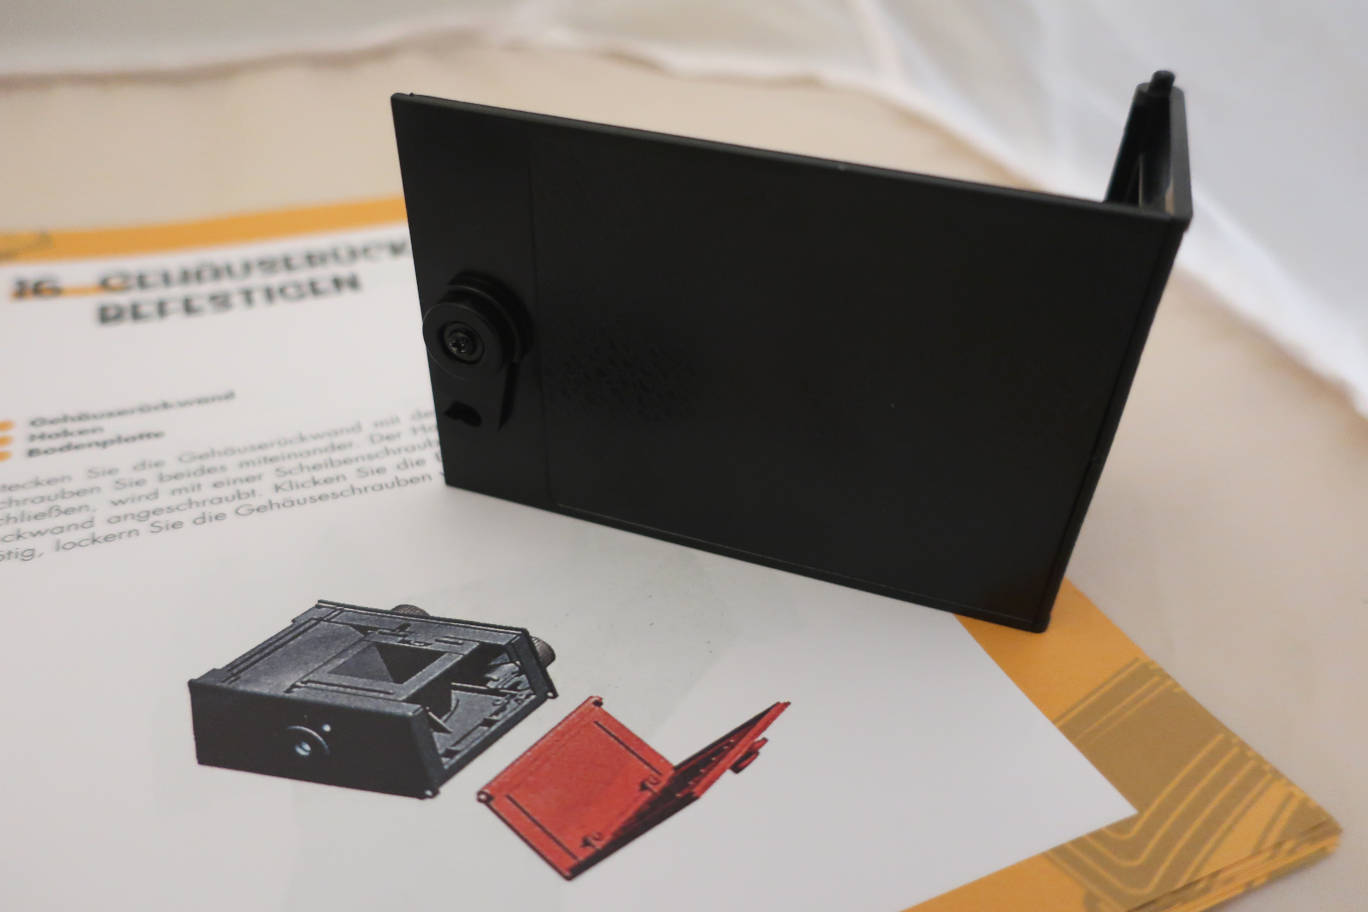
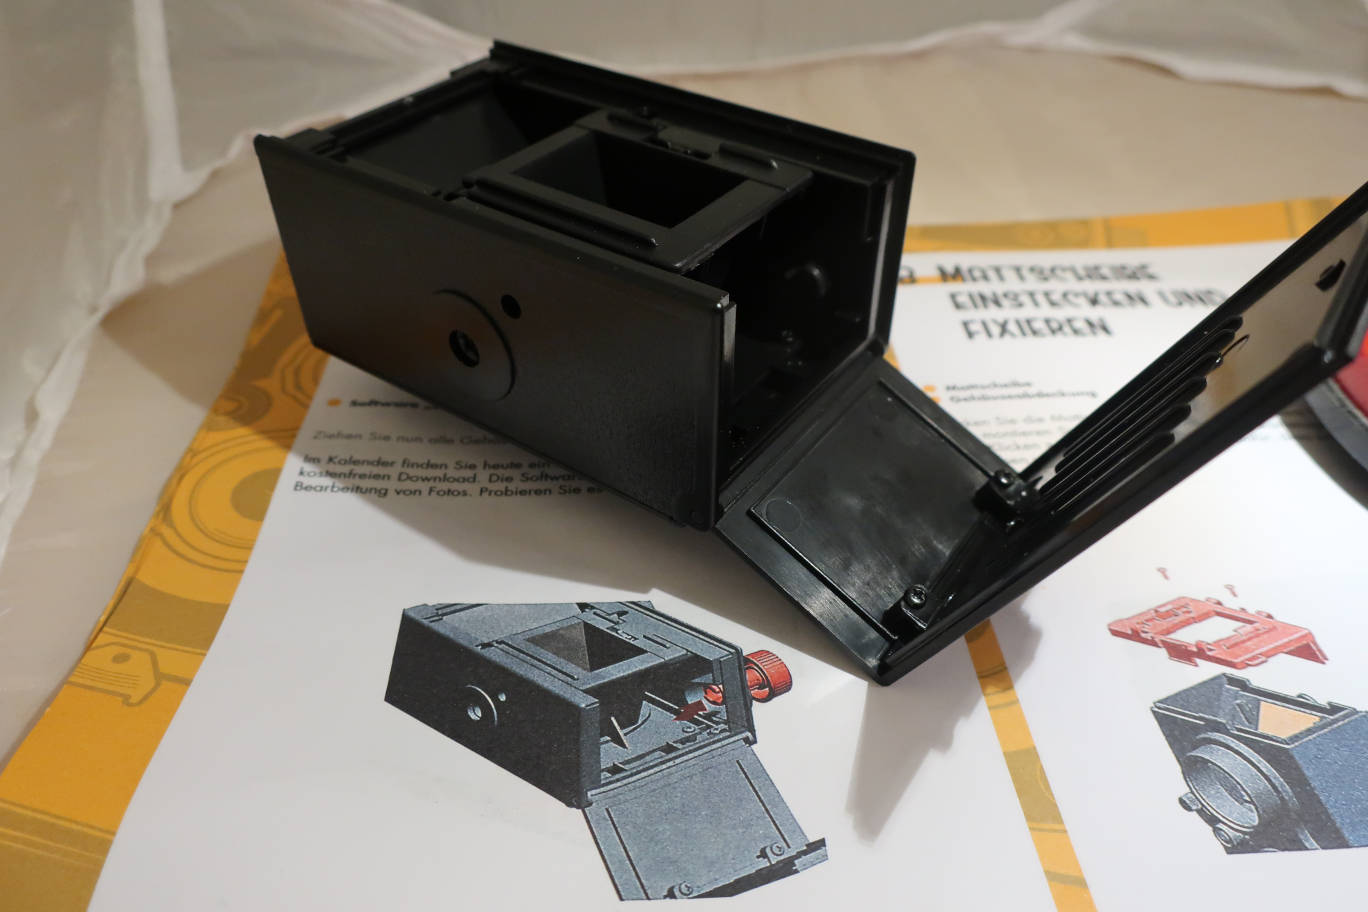
We are now putting the camera back and bottom. There are 3 parts, the
bottom, the back and a hook to keep it closed. The back is screwed to
the bottom via 2 ordinary screws. The
access to the screws in the corner
is a bit difficult, so a long screwdriver will help. A trick to make it
easier: put the screws into the bottom plate first and make 2 turns.
You
can then insert the back plate and fasten the screws. The hook is fixed
by a washer-screw. To insert the back into the body it may be necessary
to loosen one of the body screws a bit more. And yes, there is a little
bit of a dead point when closing the back, you have to get over it
cautiously.
December 17th.
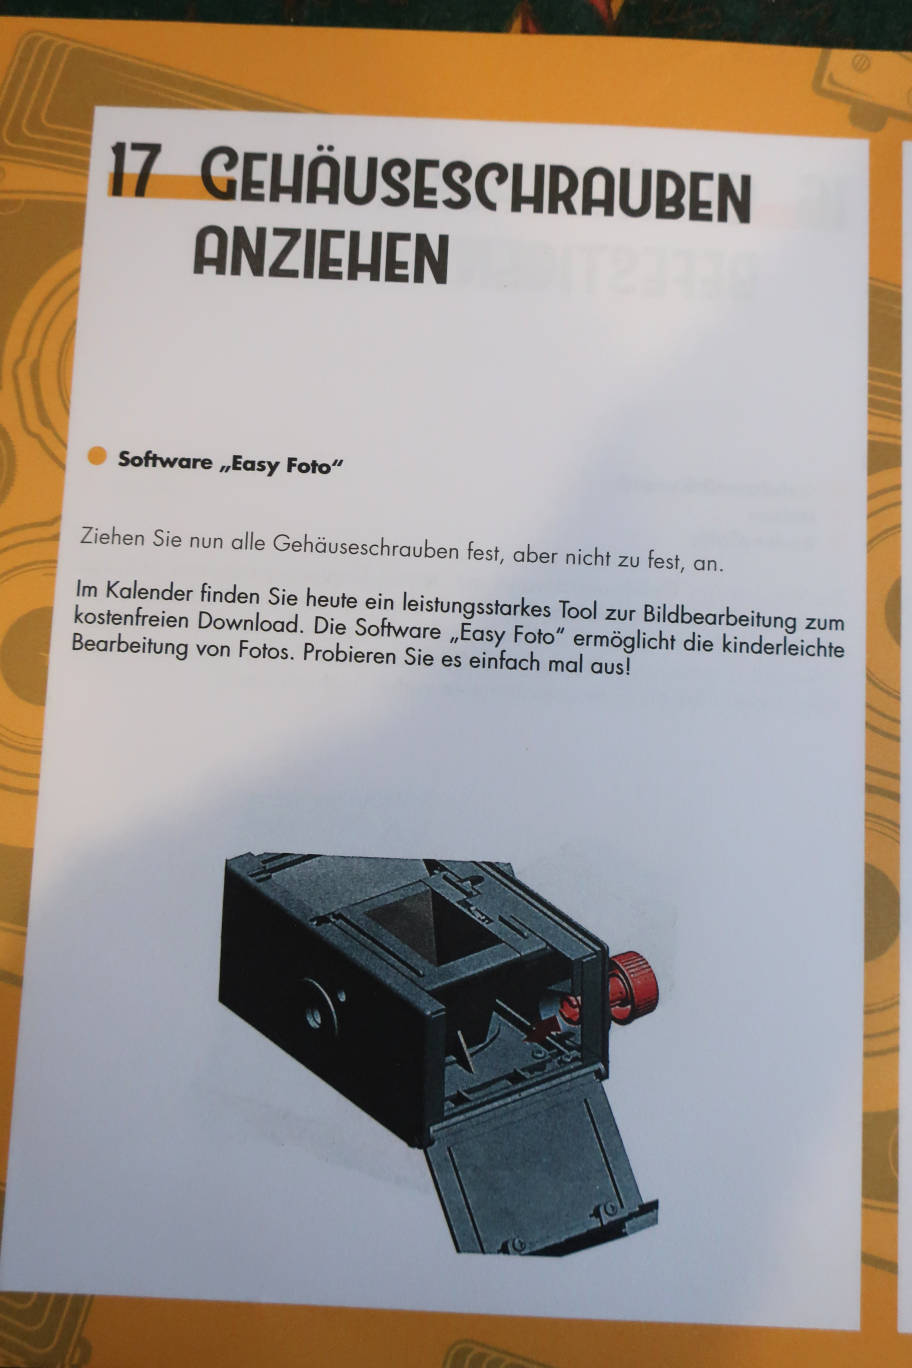
An important step towards our camera: tighten all screws of the body. As the access to the screws in the corners
is a bit difficult, so a long screwdriver will help us again.
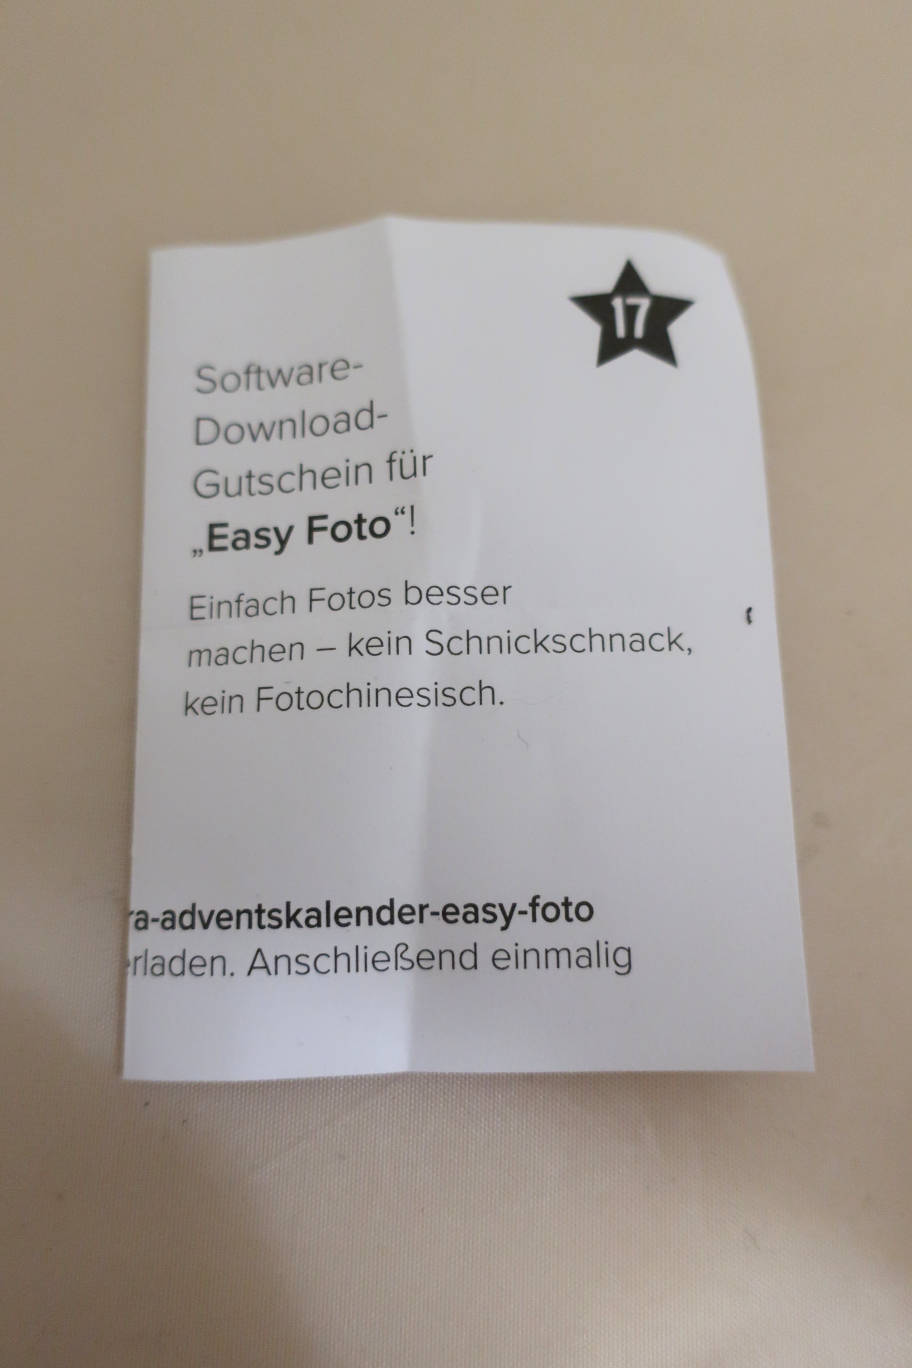
And as we needed no new parts, we got a voucher in today's compartment of
the calendar. It's for the download of an easy, no frills software for photo treatment.
December 18th.
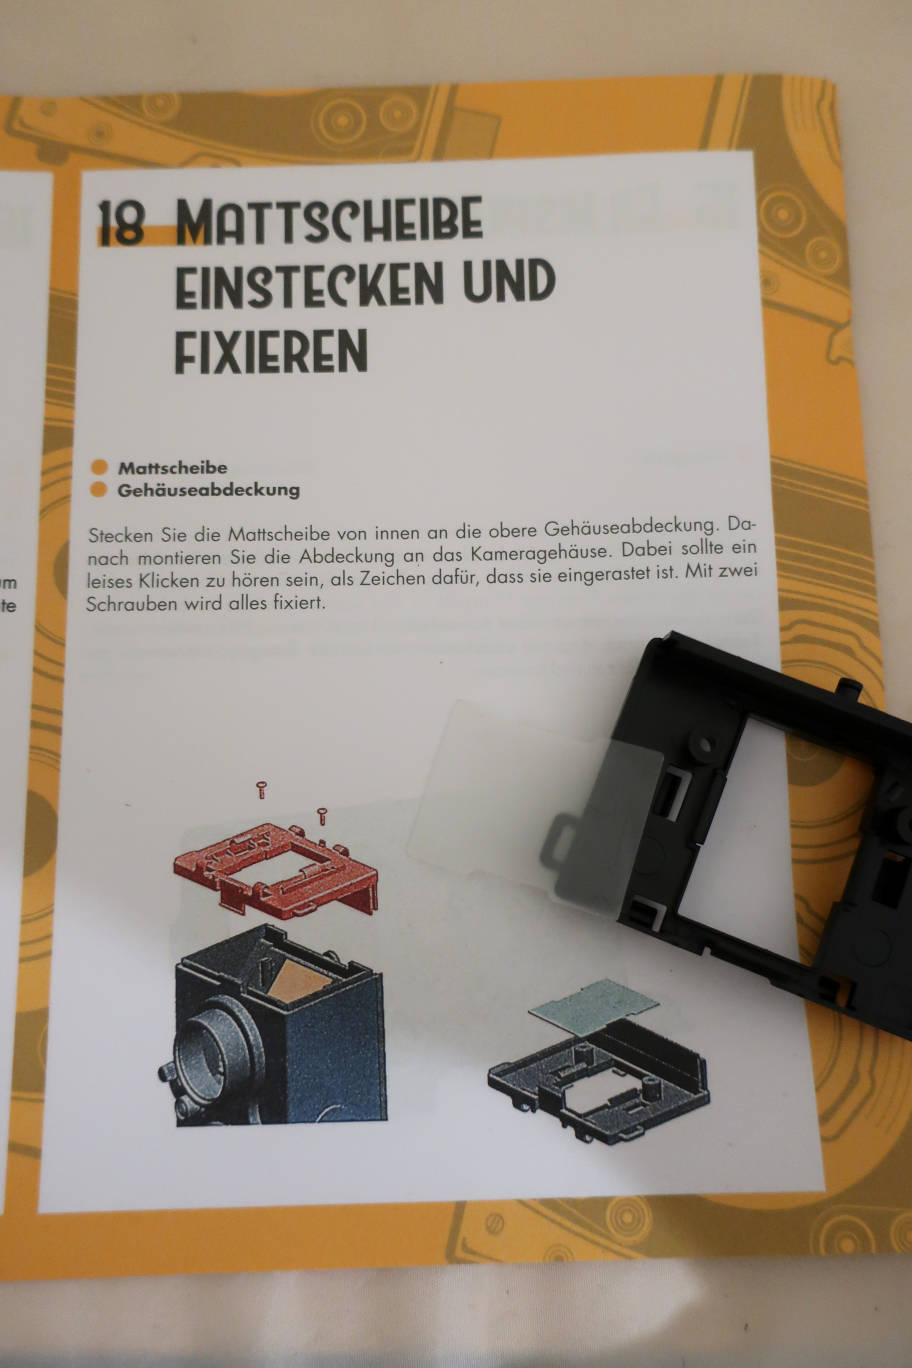
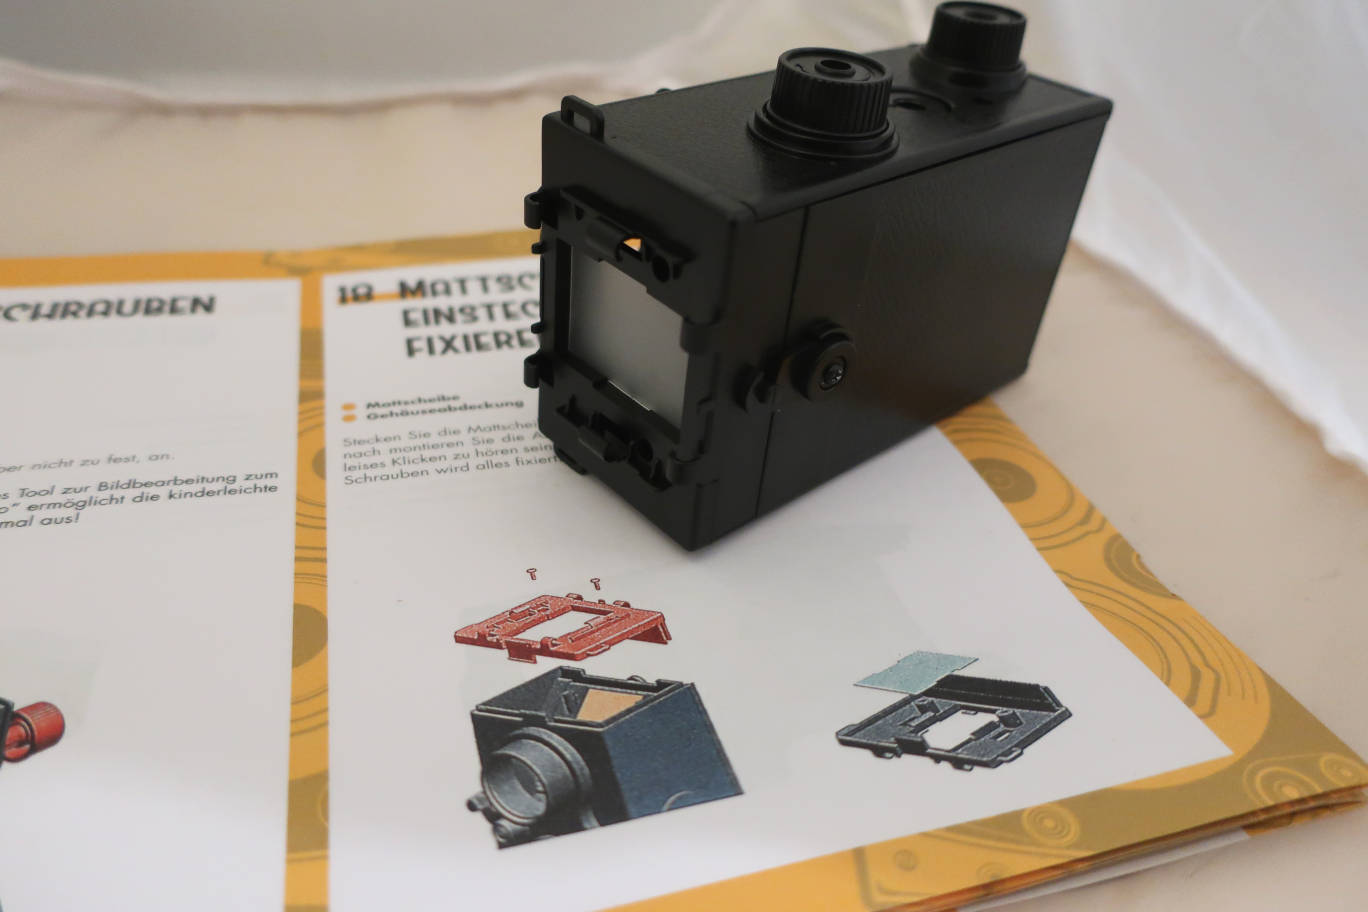
We have got 2 things today: a (plastic) matte screen, easy to overlook
in the compartment, and the top of the camera. The screen is clipsed
from the inside, put it into one clip, bend it a little bit and slide
it into the other clip. Check again whether you removed the blue
protection from the mirror. Then put the top on the body. It's a little
bit of wiggling, but it will snap into place with an audible click. Use
2 standard screws to secure it. Done.
December 19th.
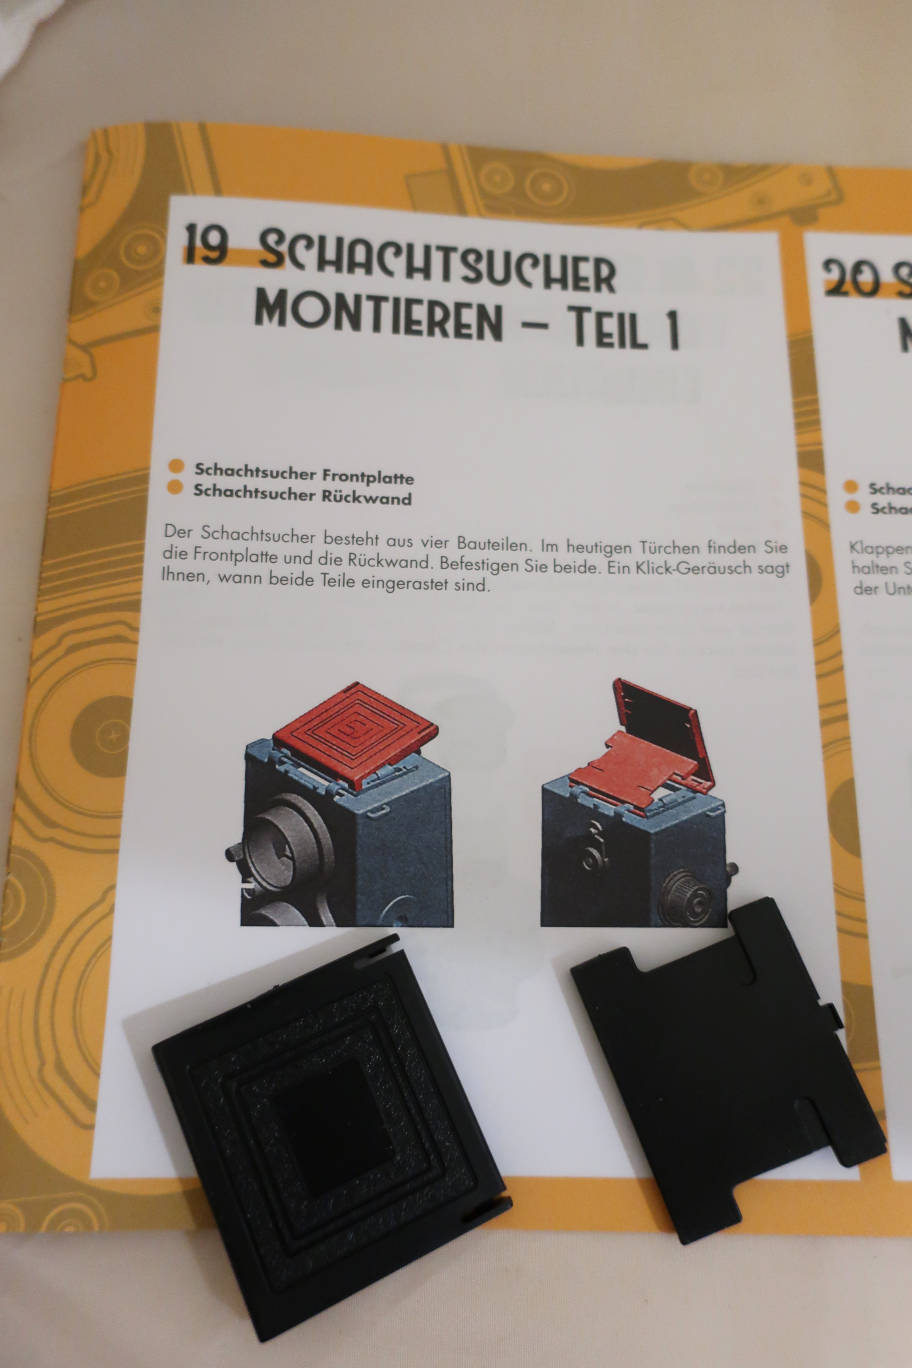
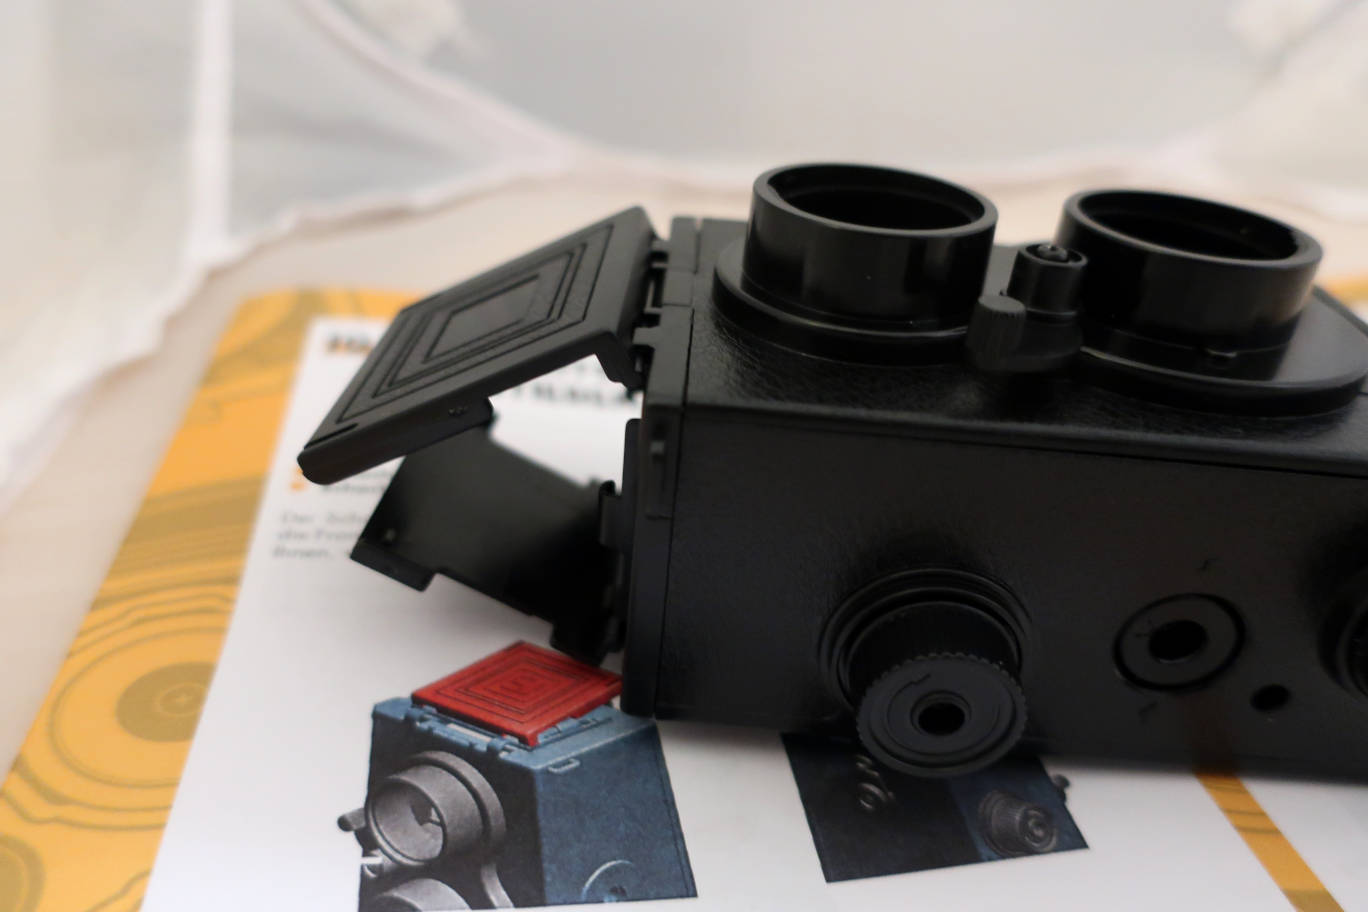
As the top is now installed, we begin with the first part of the
foldable viewer. We have the front and the back part. They are clipsed
into their hooks. Put them in nearly folded position in front of their
hooks and push. A click and it's done. They do not open to a right
angle, that's o.k.
December 20th.
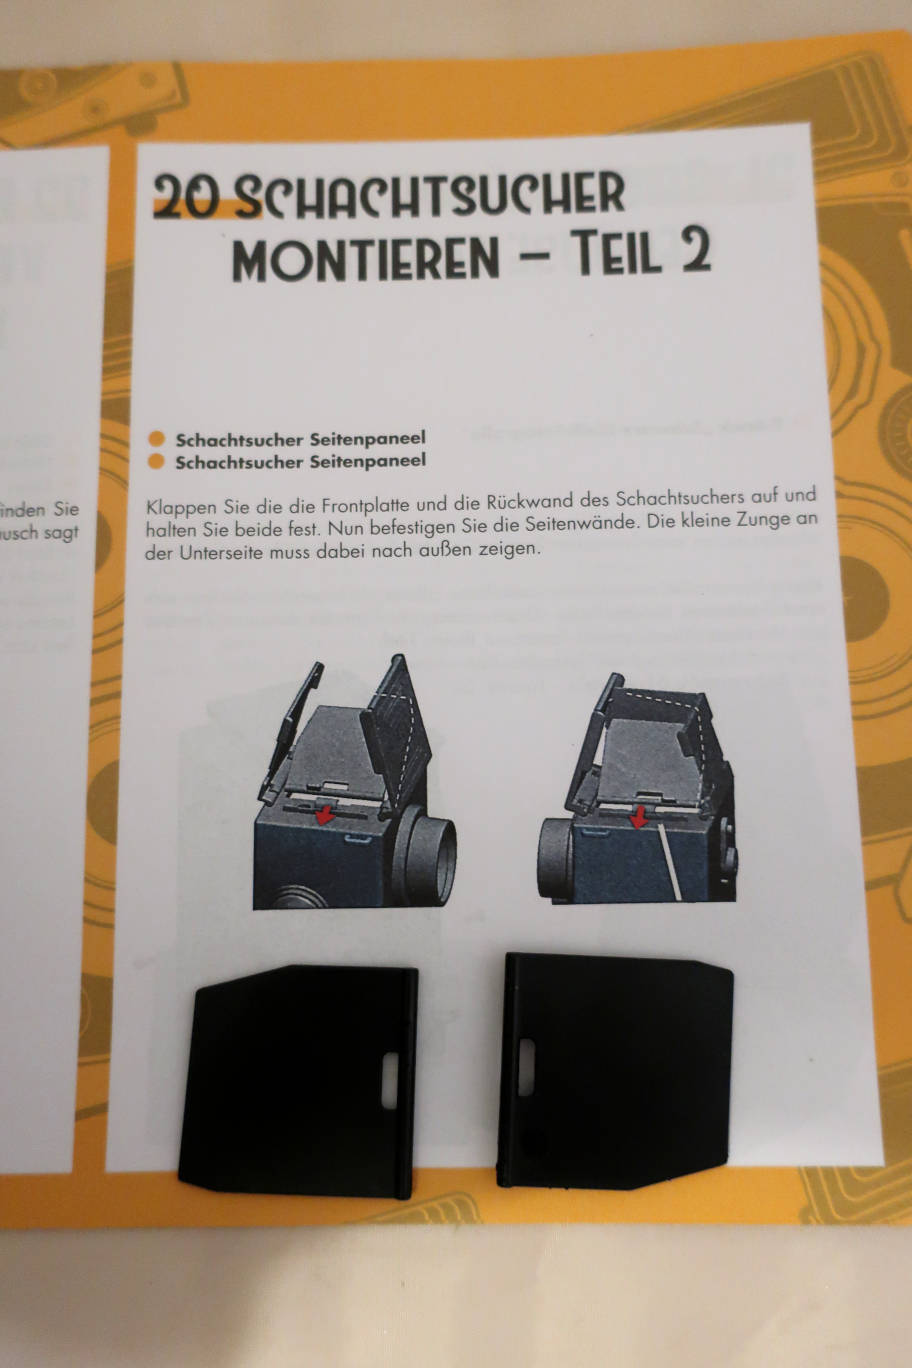
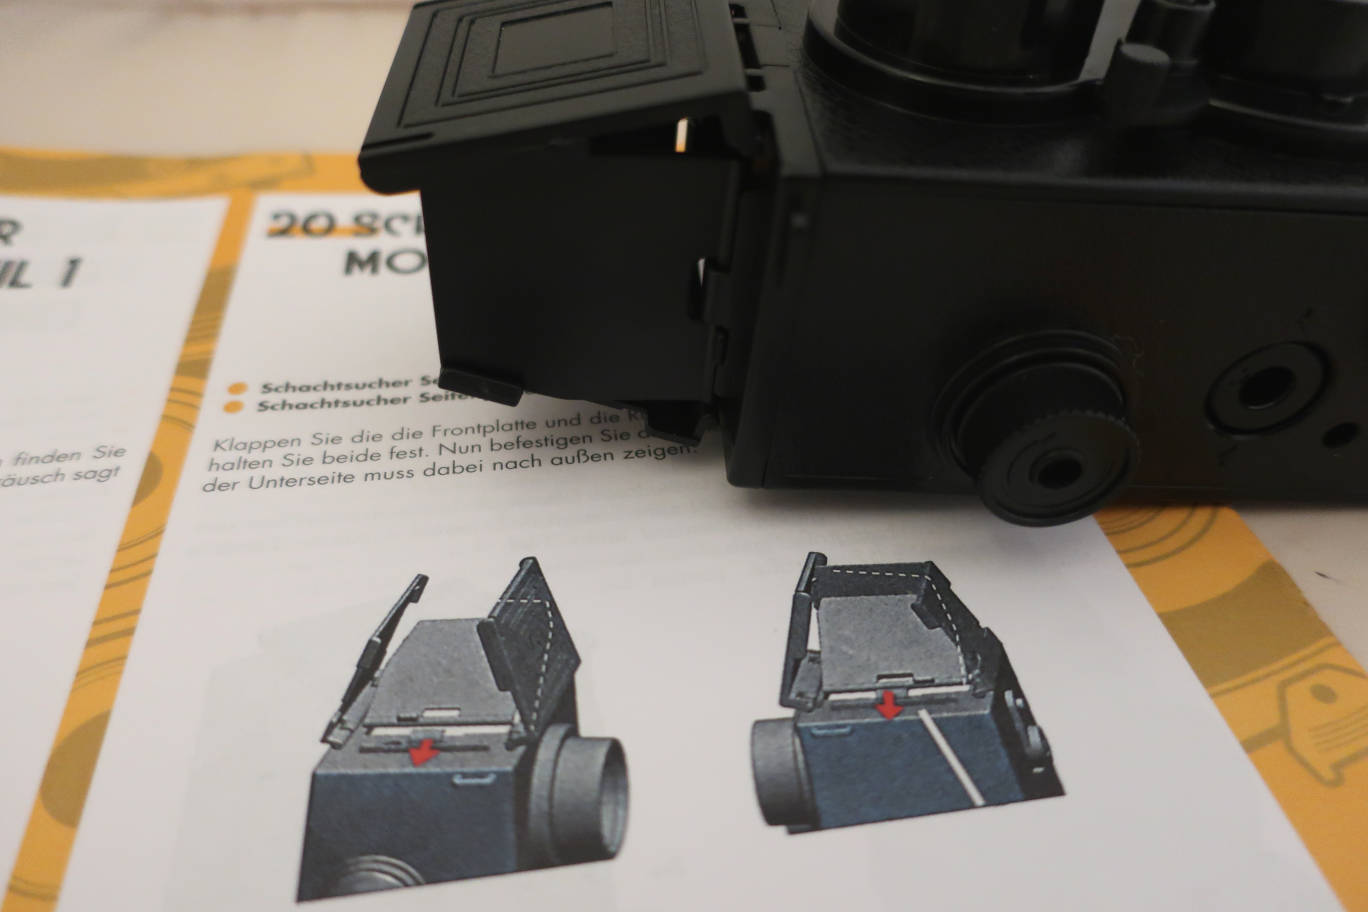
We continue with the side panels of the viewer. Each is clipsed into
its hook. The little tongues should point towards the outside and be
towards the back of the camera. Do not mix them up. So there you are
with a foldable viewer.
Decemer 21st.
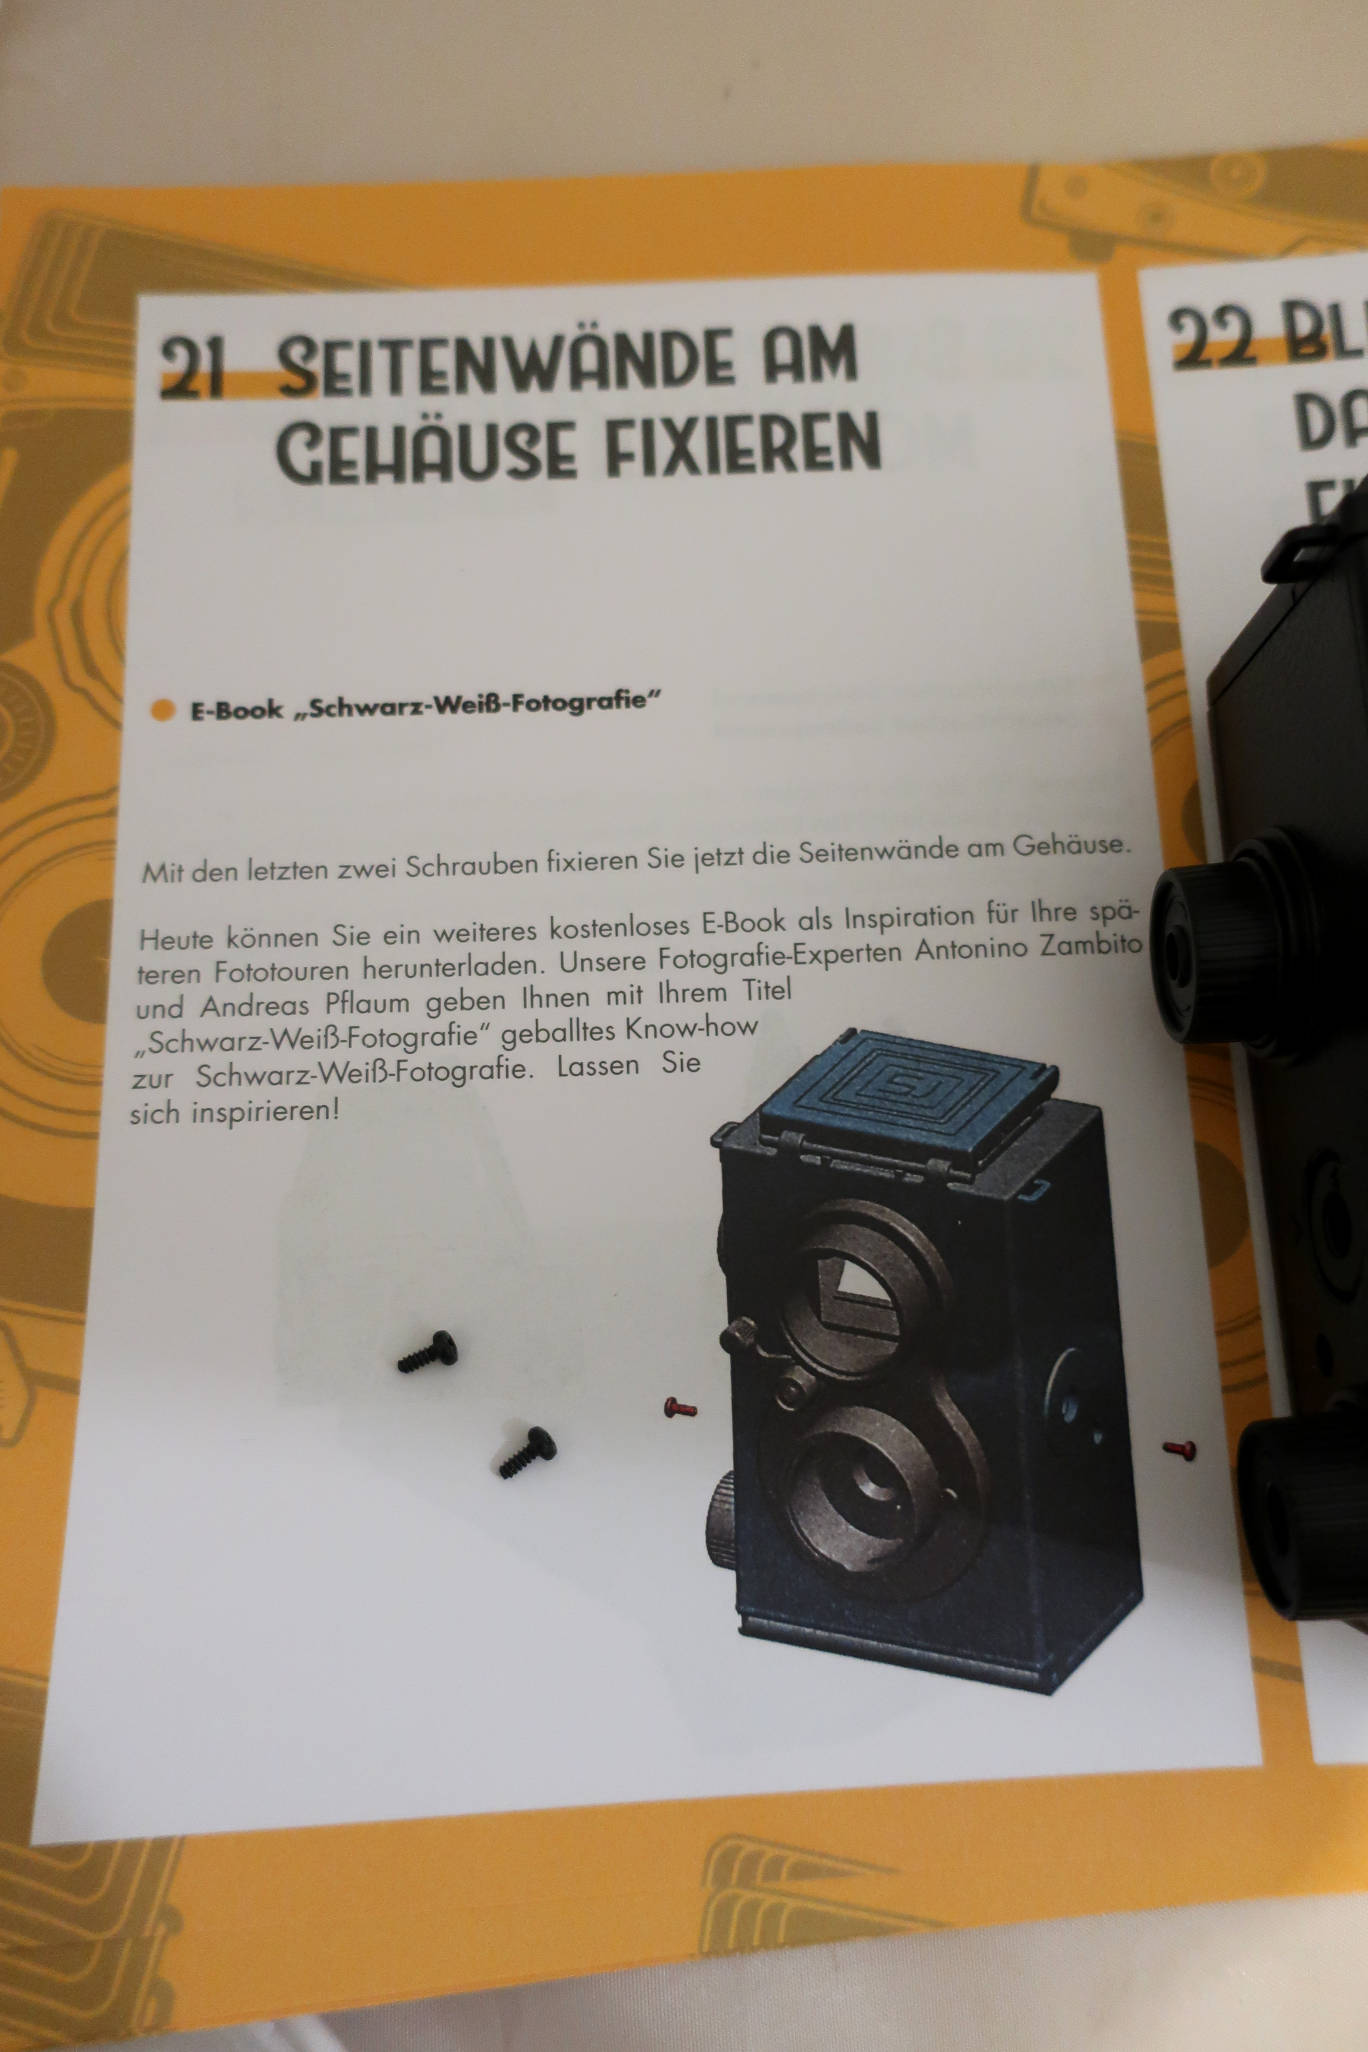
A simple job today: just put 2 standard screws to secure the body of the camera.
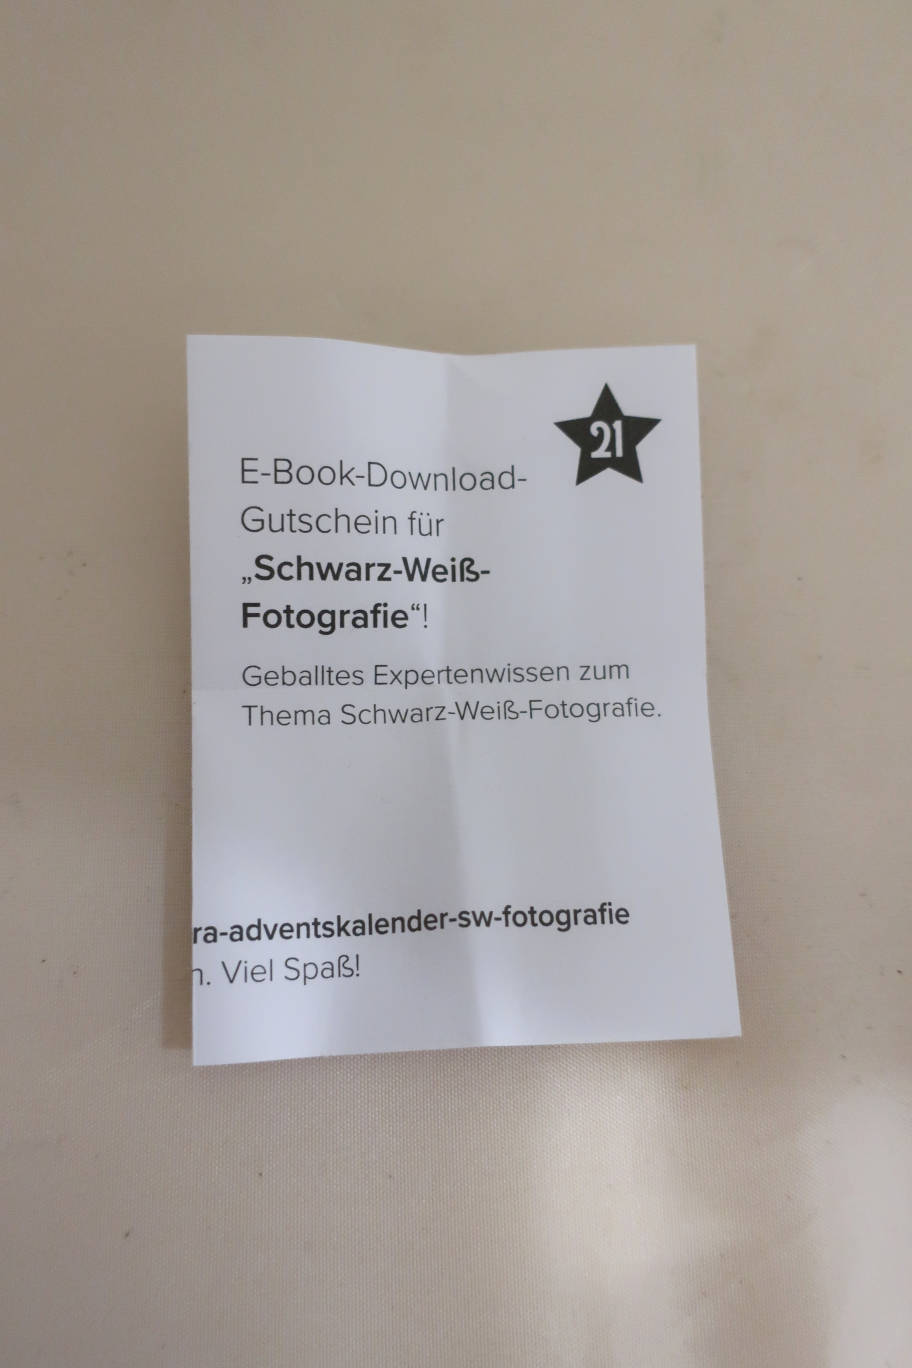
As we again needed no new parts, we got a voucher in today's compartment of
the calendar. It's for the download of an e-book about black&white
photography.
December 22nd. 4th Advent.
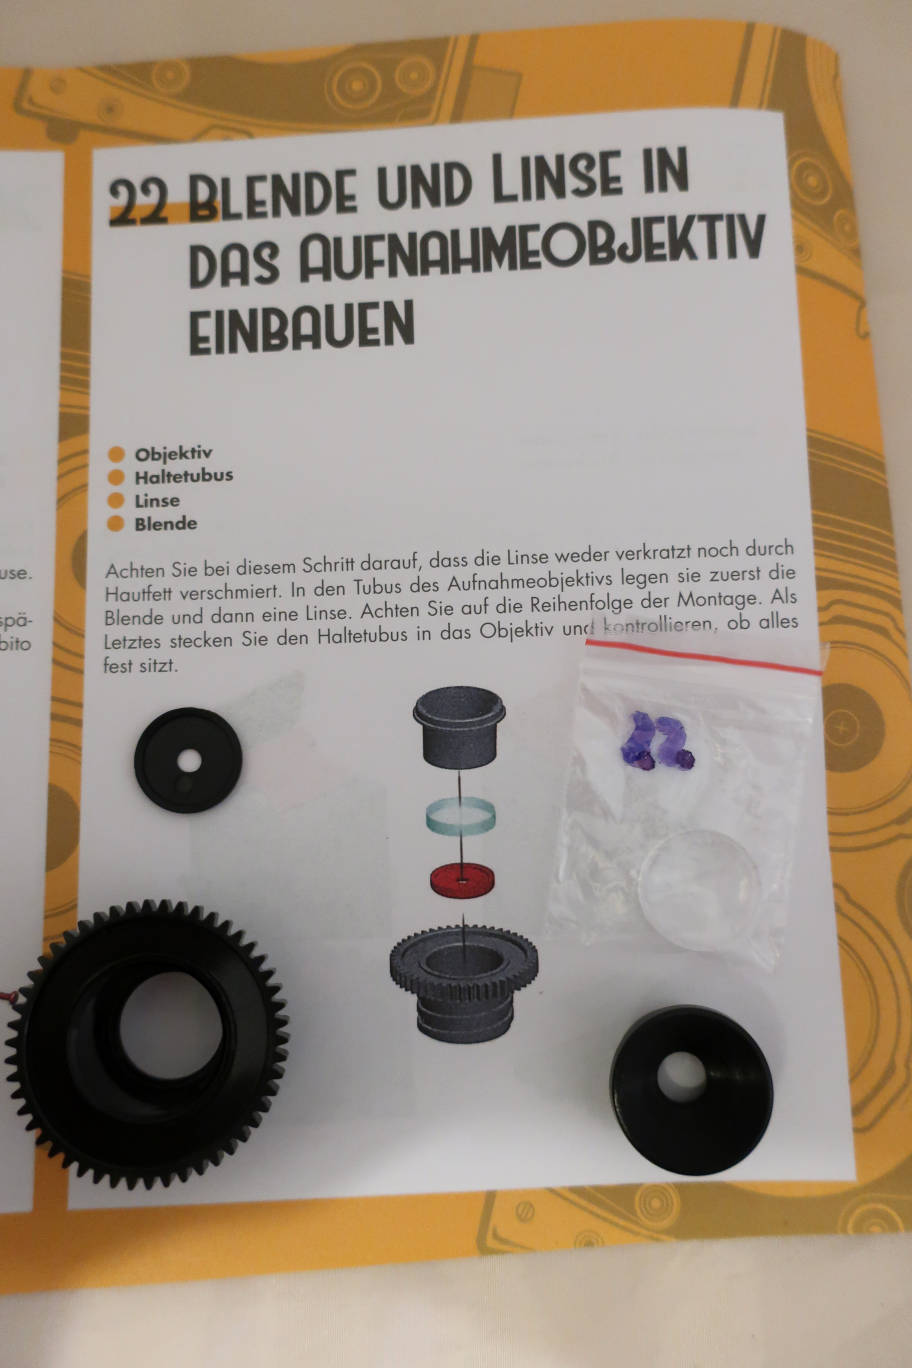
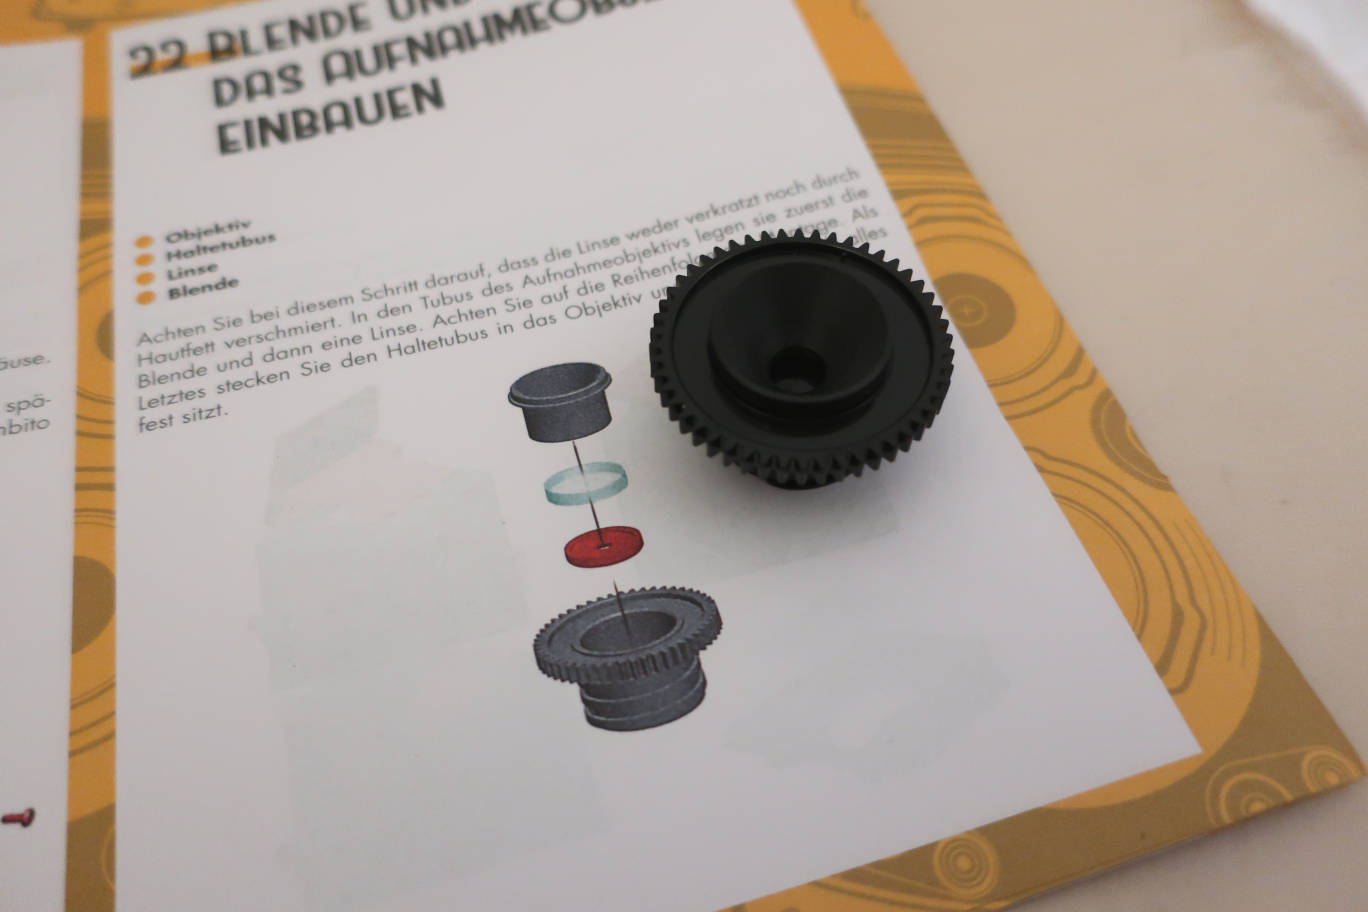
We come to the important part for a photo camera, the lens. We have: a
coiled housing, an aperture disk, the lens and a part that secures the
lens. Just stick it all together in the right order. It's a pity, that
there is no aperture choice. But as the securing part stays accessible
from the outside, you can at least make yourself different aperture
disks later.
December 23rd.
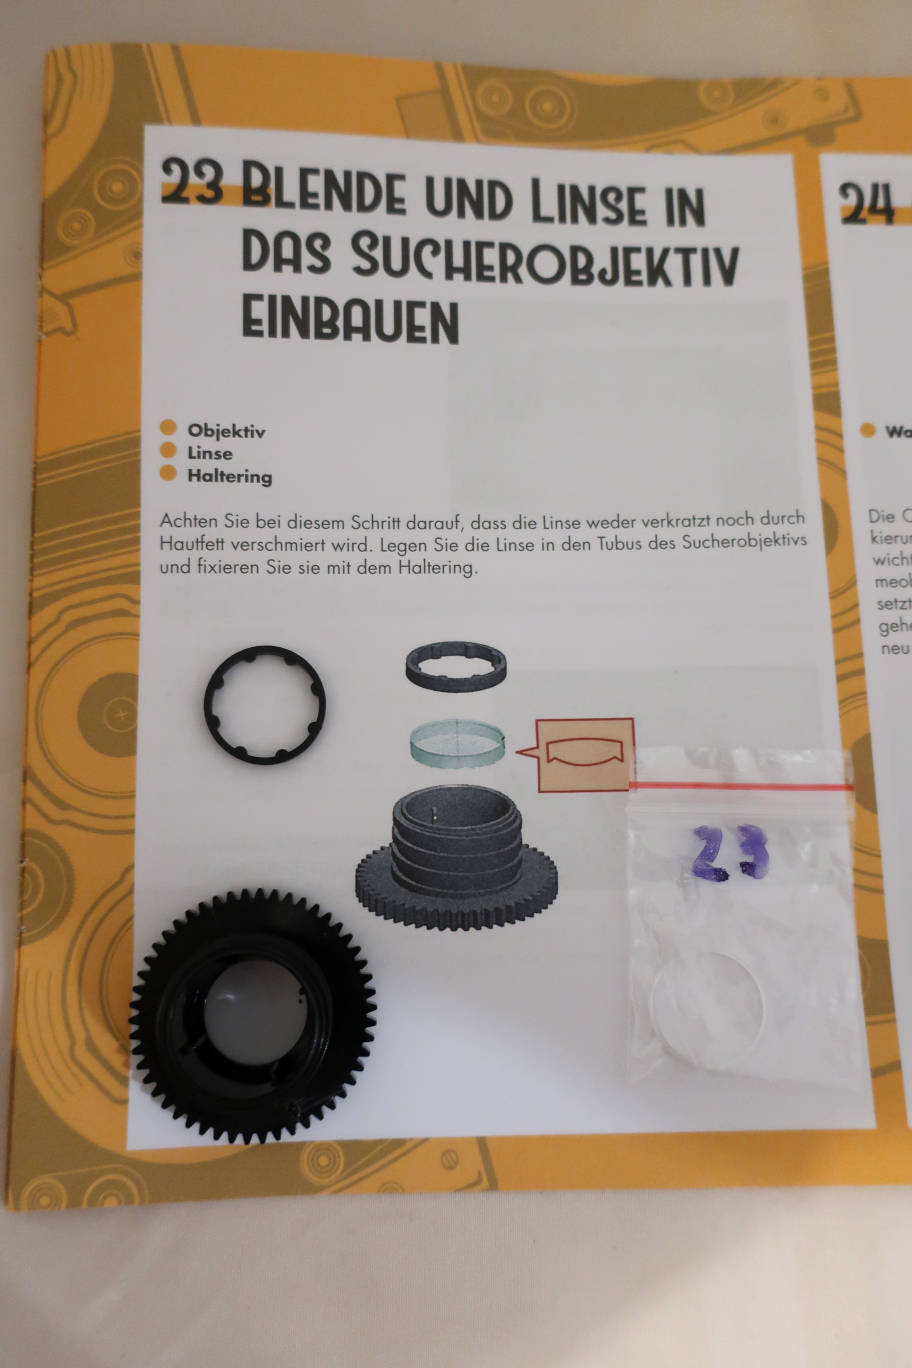
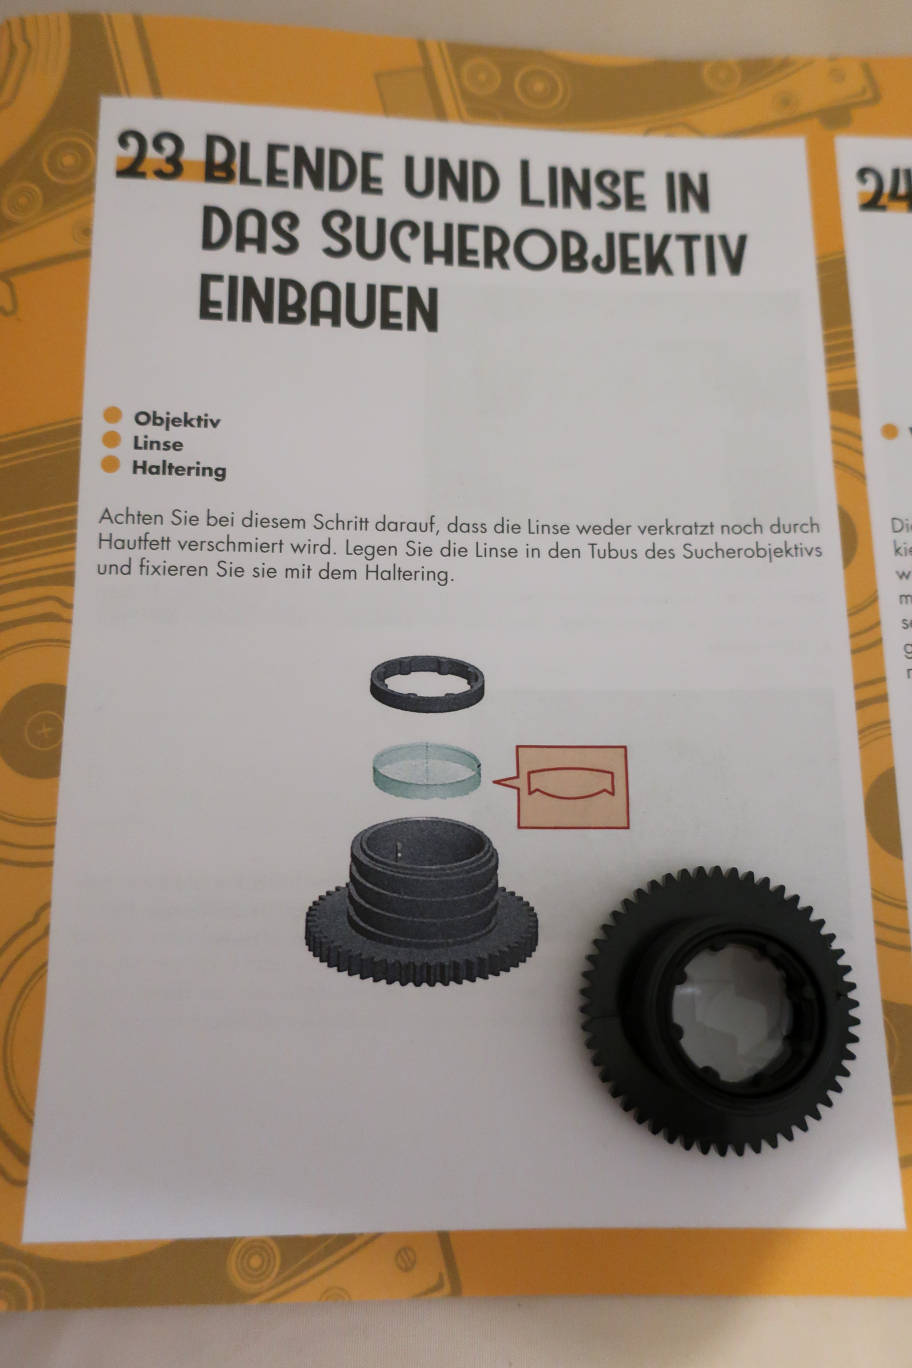
As it's a twin lens camera, we need a viewing lens. We have: another
coiled housing, a lens and a ring to secure the lens. Put it all
together in the right order and you are done.
December 24th. Christmas Eve.
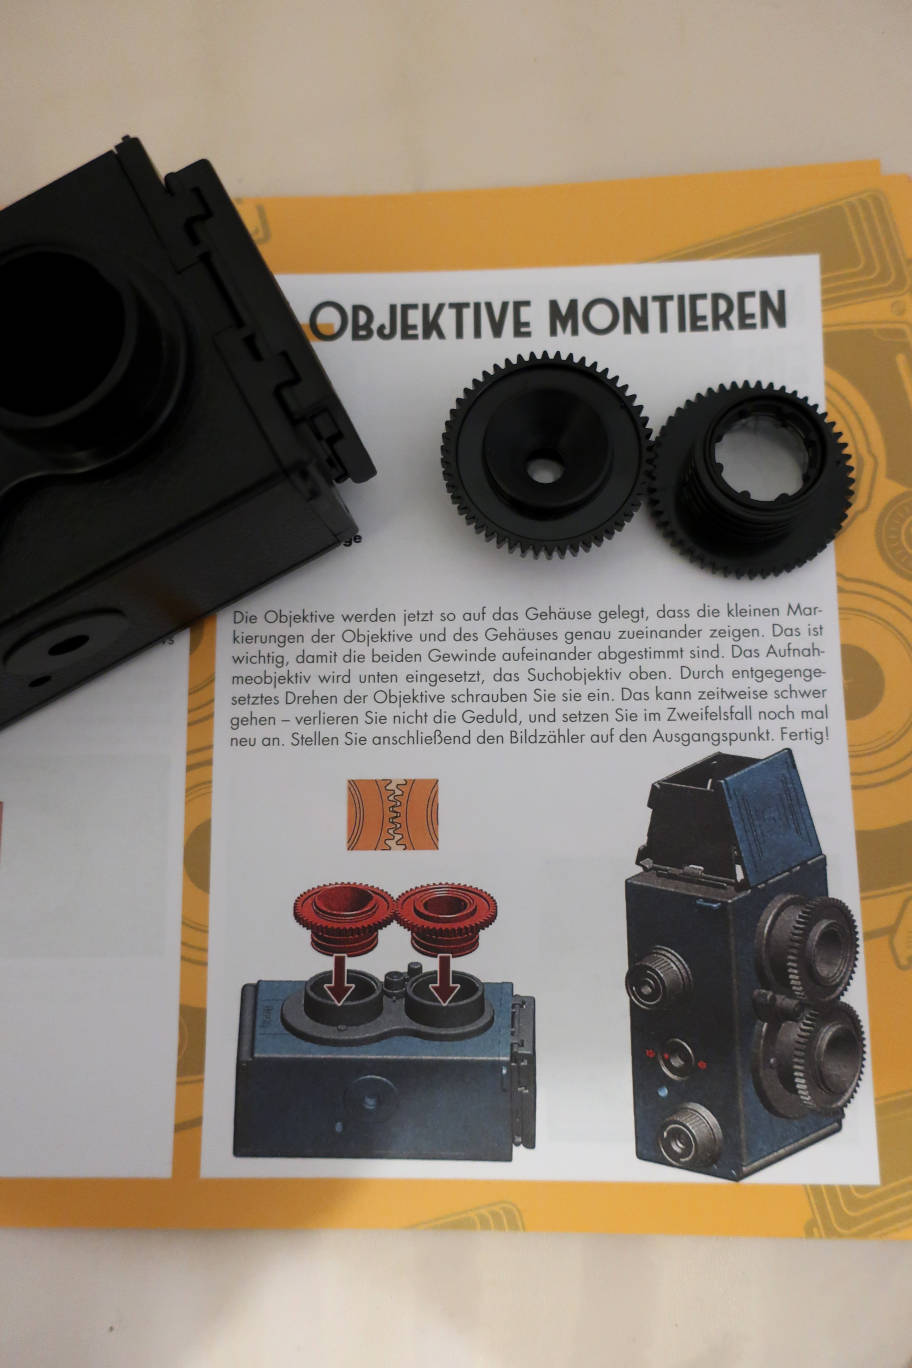
So here we are with the final step: we will install the lenses. Its a
bit tricky, but you will get there. For a try put the camera on its
back, take one lens and put it before its emplacement. Do not mix up
the two. Slowly turn the lens untill it falls into the first wind of
the thread. Then screw it in, there is a certain resistance at the
beginning, but do not force. Take it out again. Now take the two
lenses, one in each hand. turn the first one to the point where it
falls into its thread. Take it up 1 cm, move it aside and do not turn
in either direction, so that you can put it back to exactly the same
spot. Do the same with the other lens. When you have found the
point where it falls into the thread, put the other lens in its spot
and screw them both in. As they are connected via the dents, it's a bit
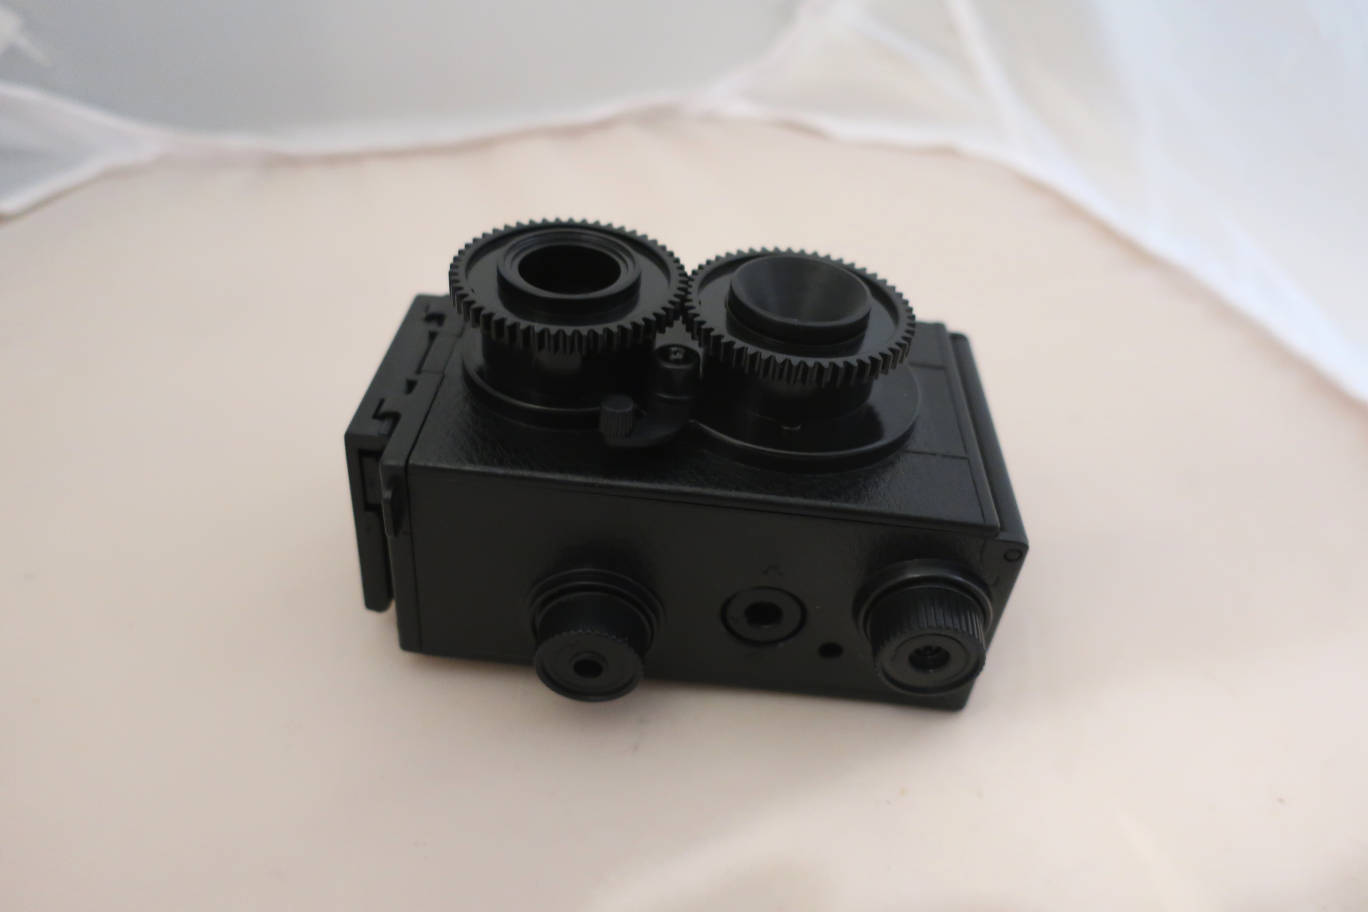
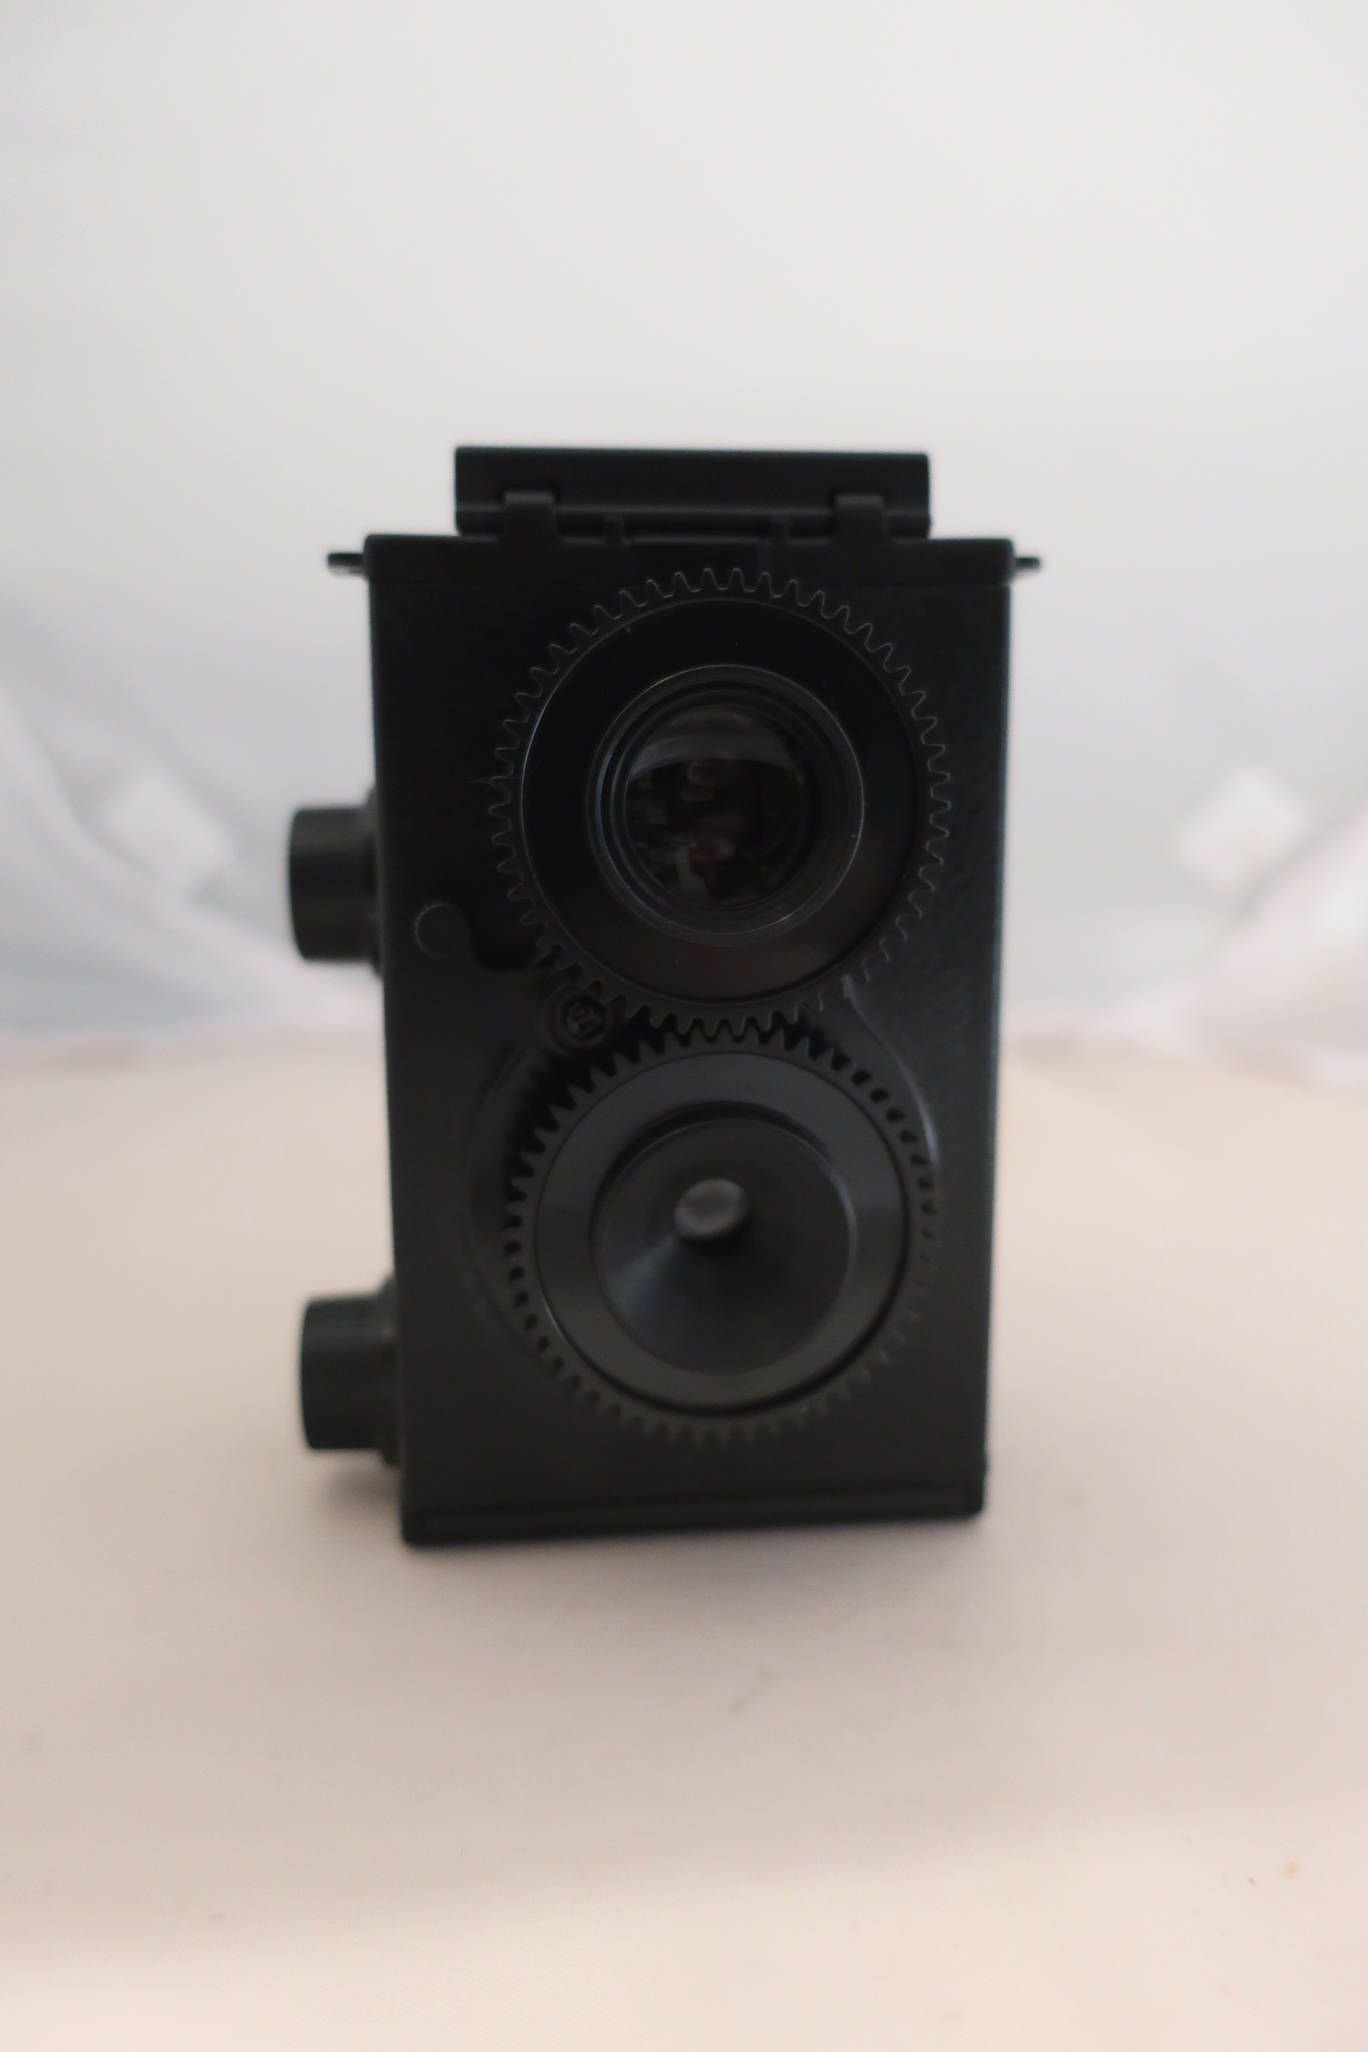
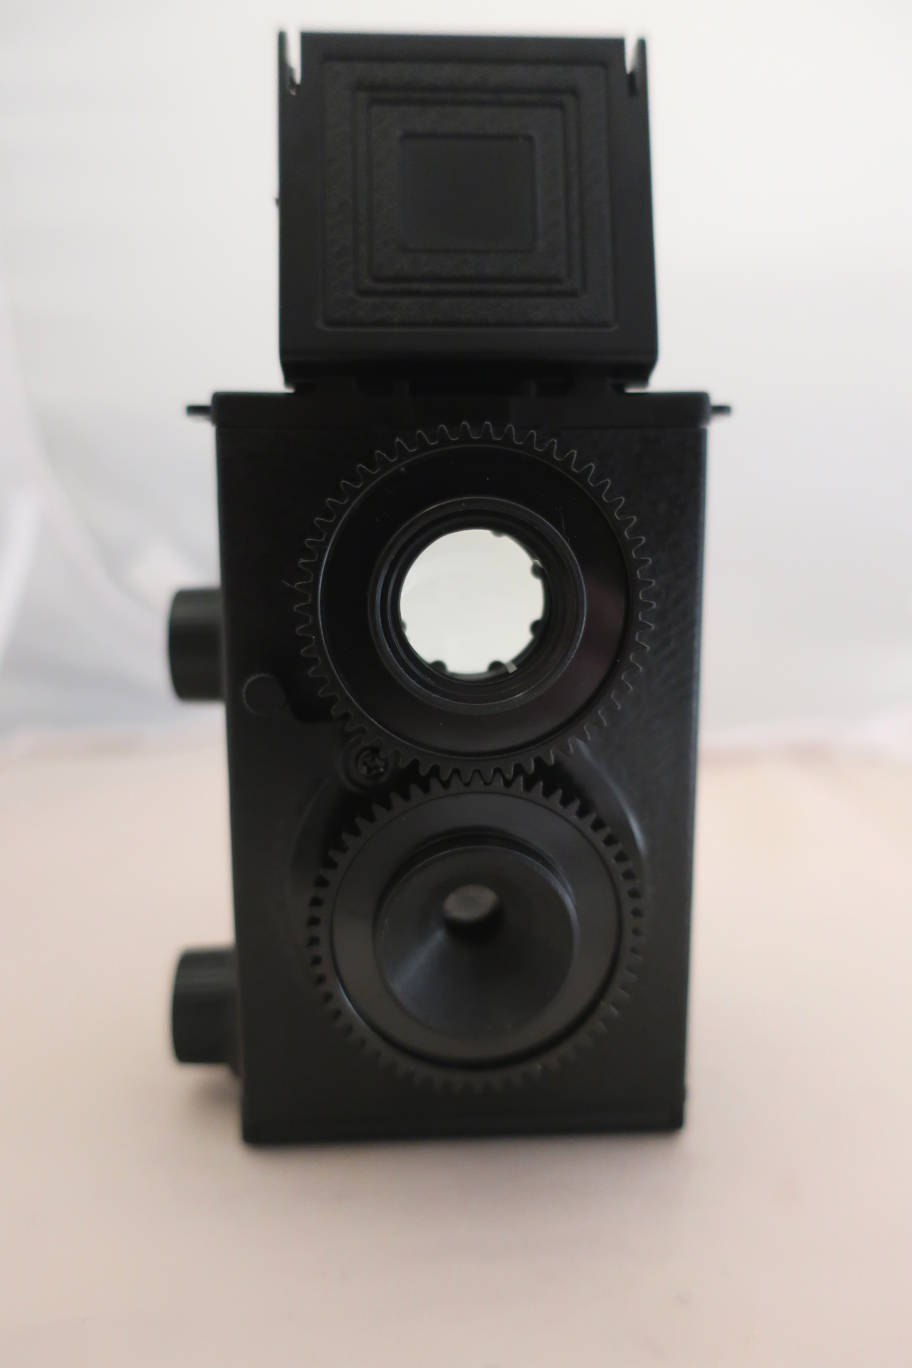
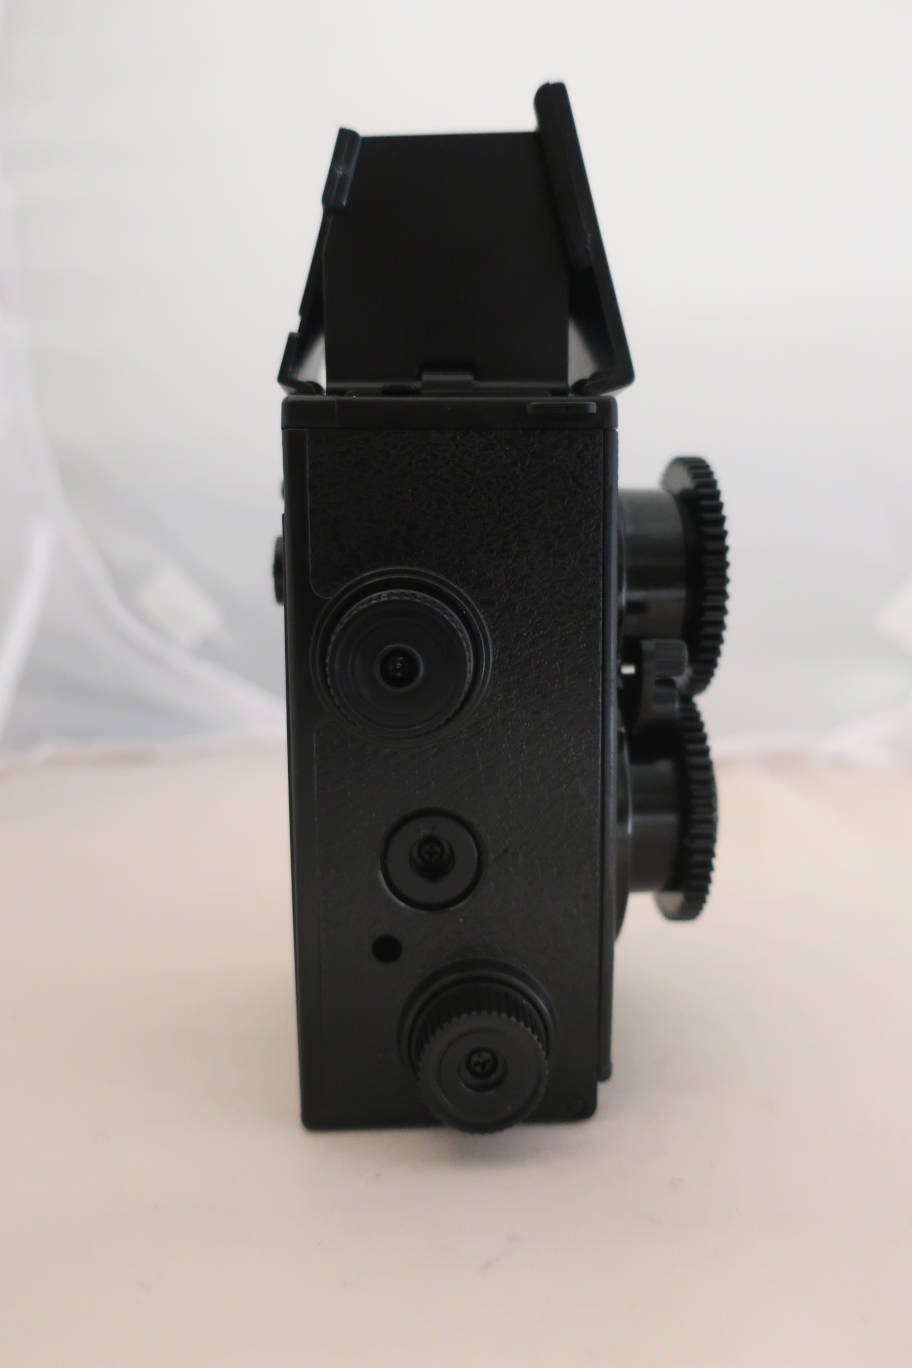
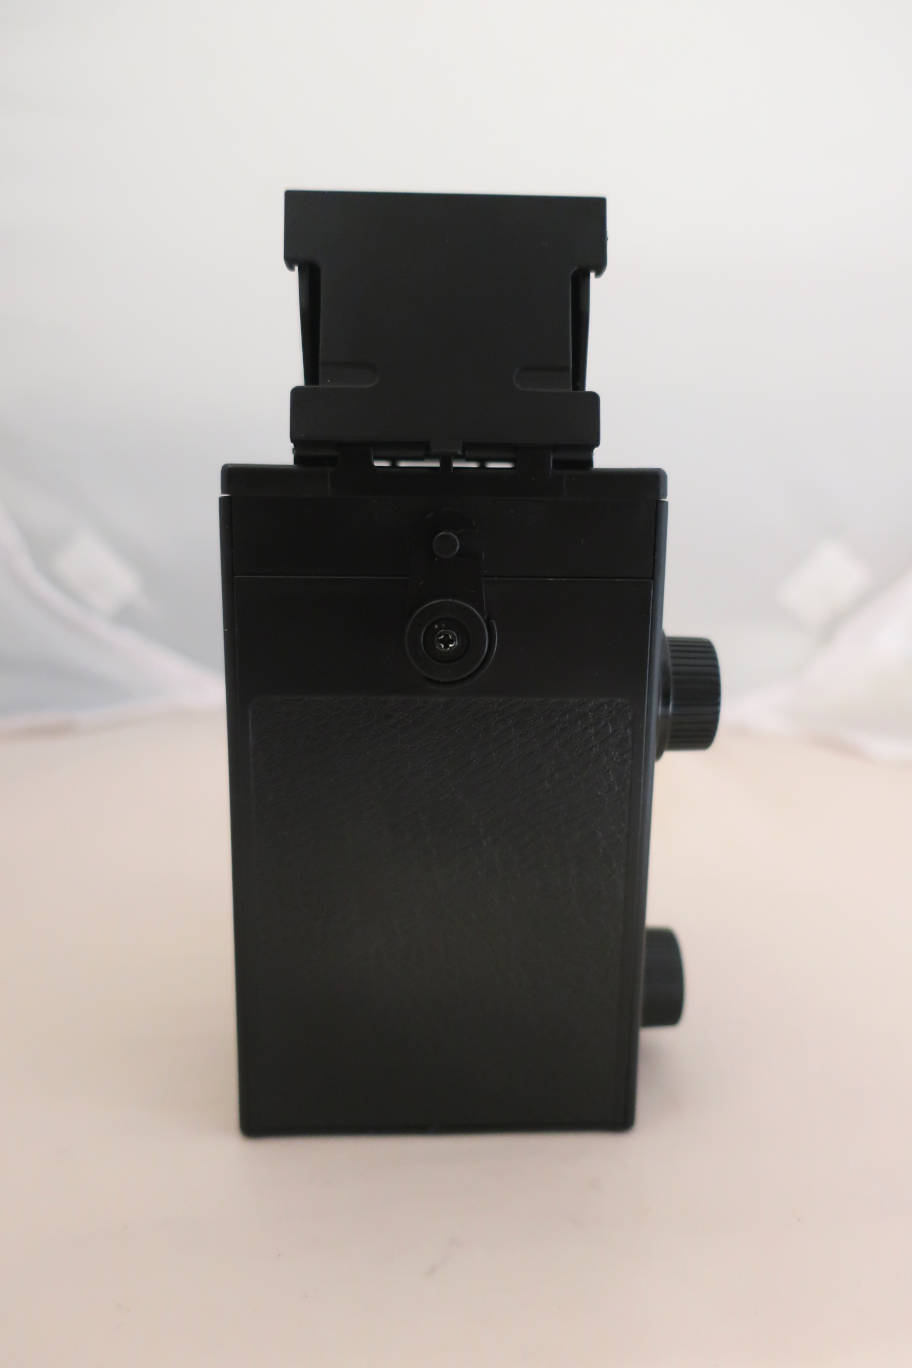
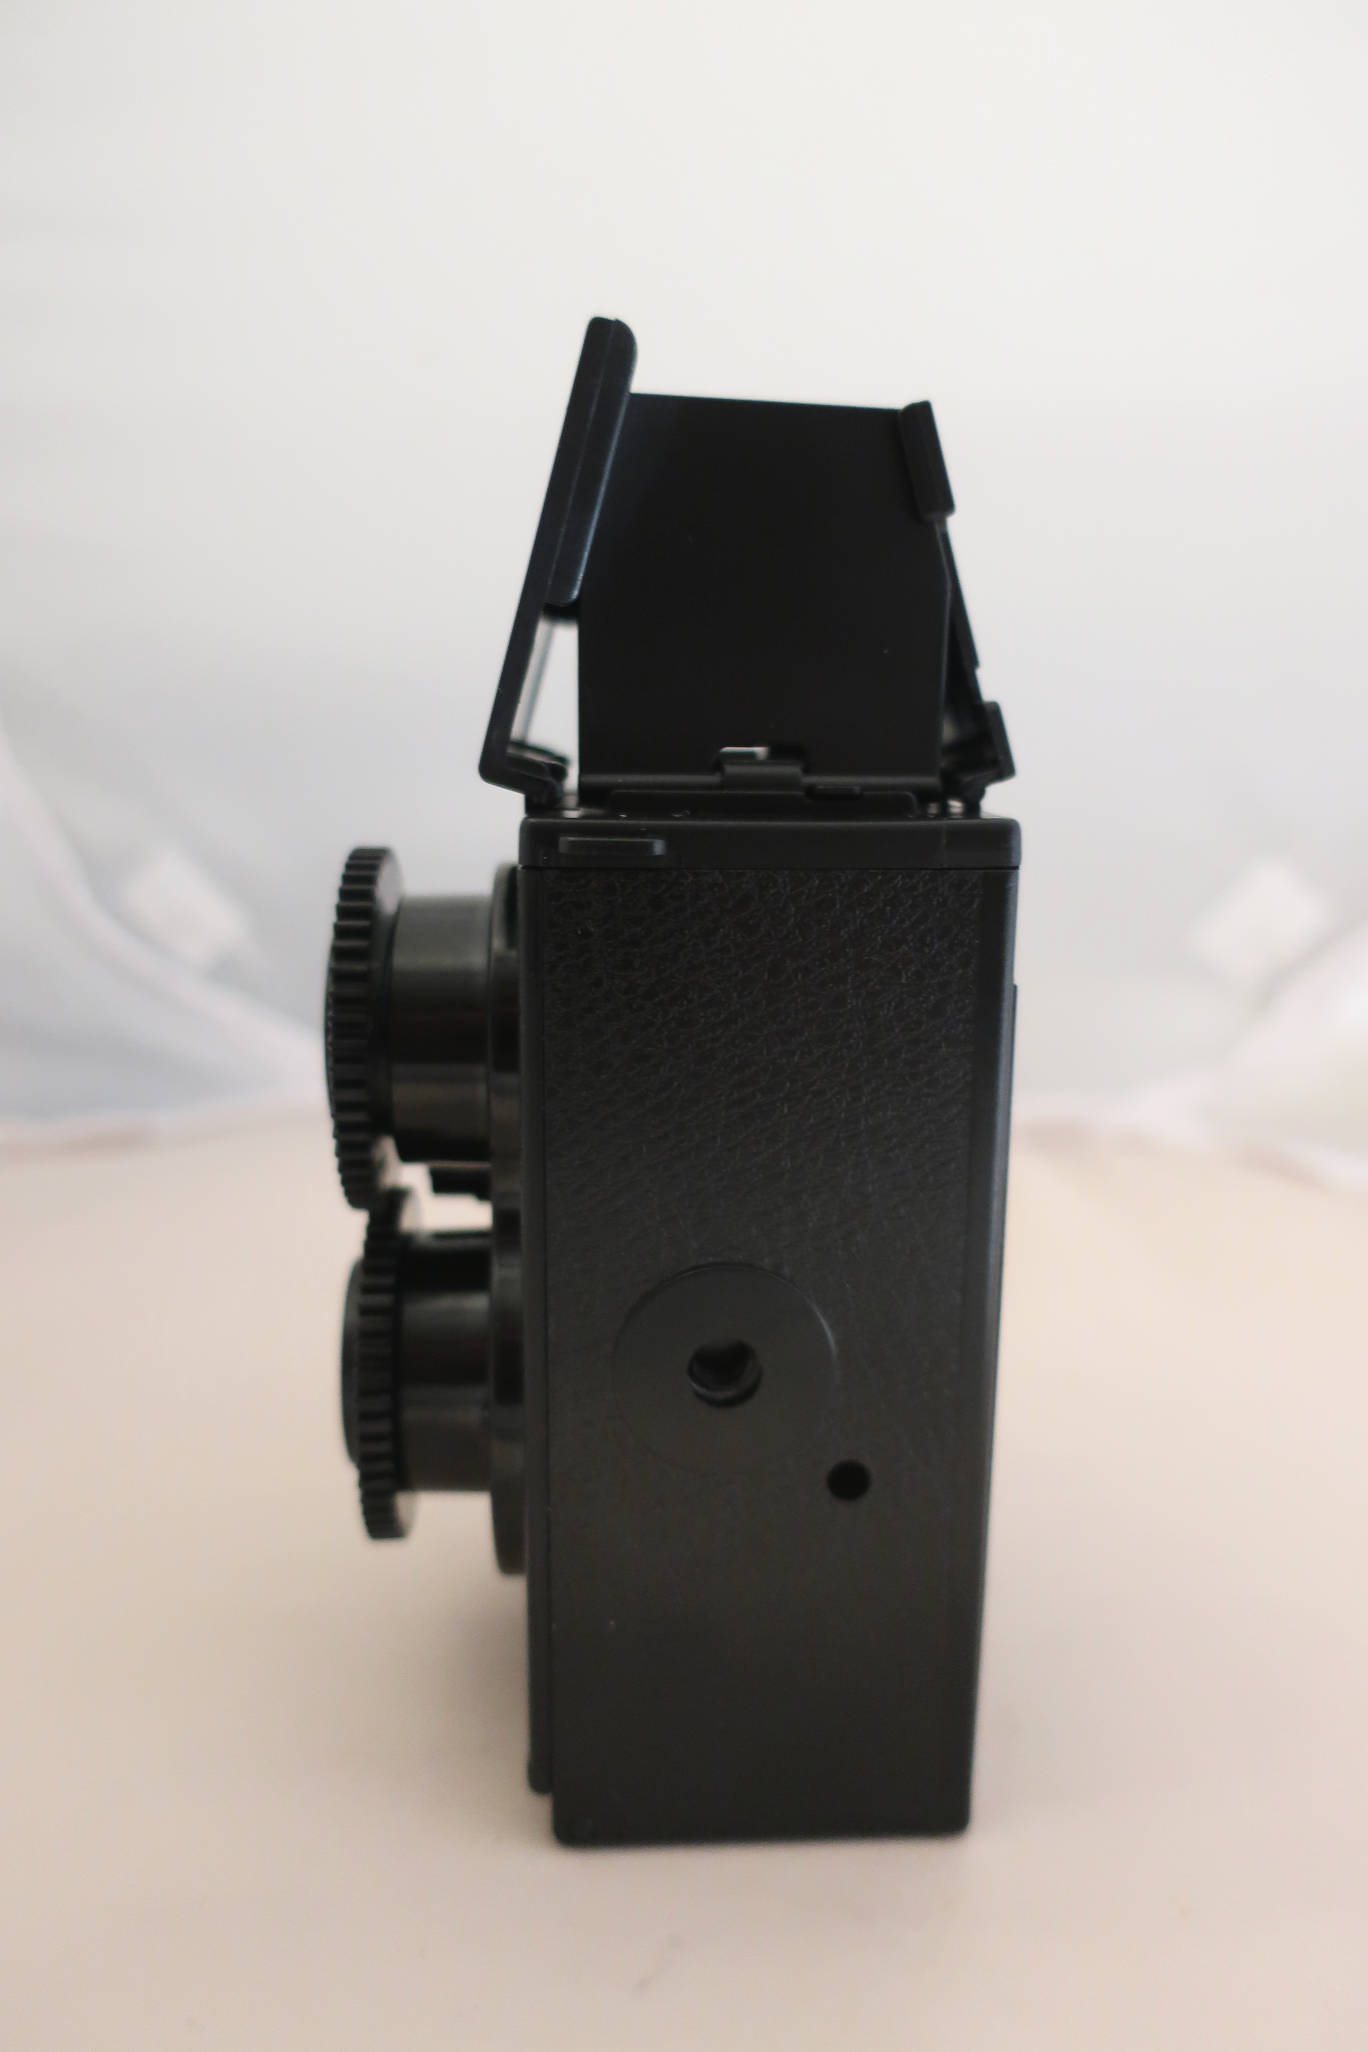
difficult to turn. Once they are in, the will move easily. All done.
So here you are with your camera, all built by yourself.
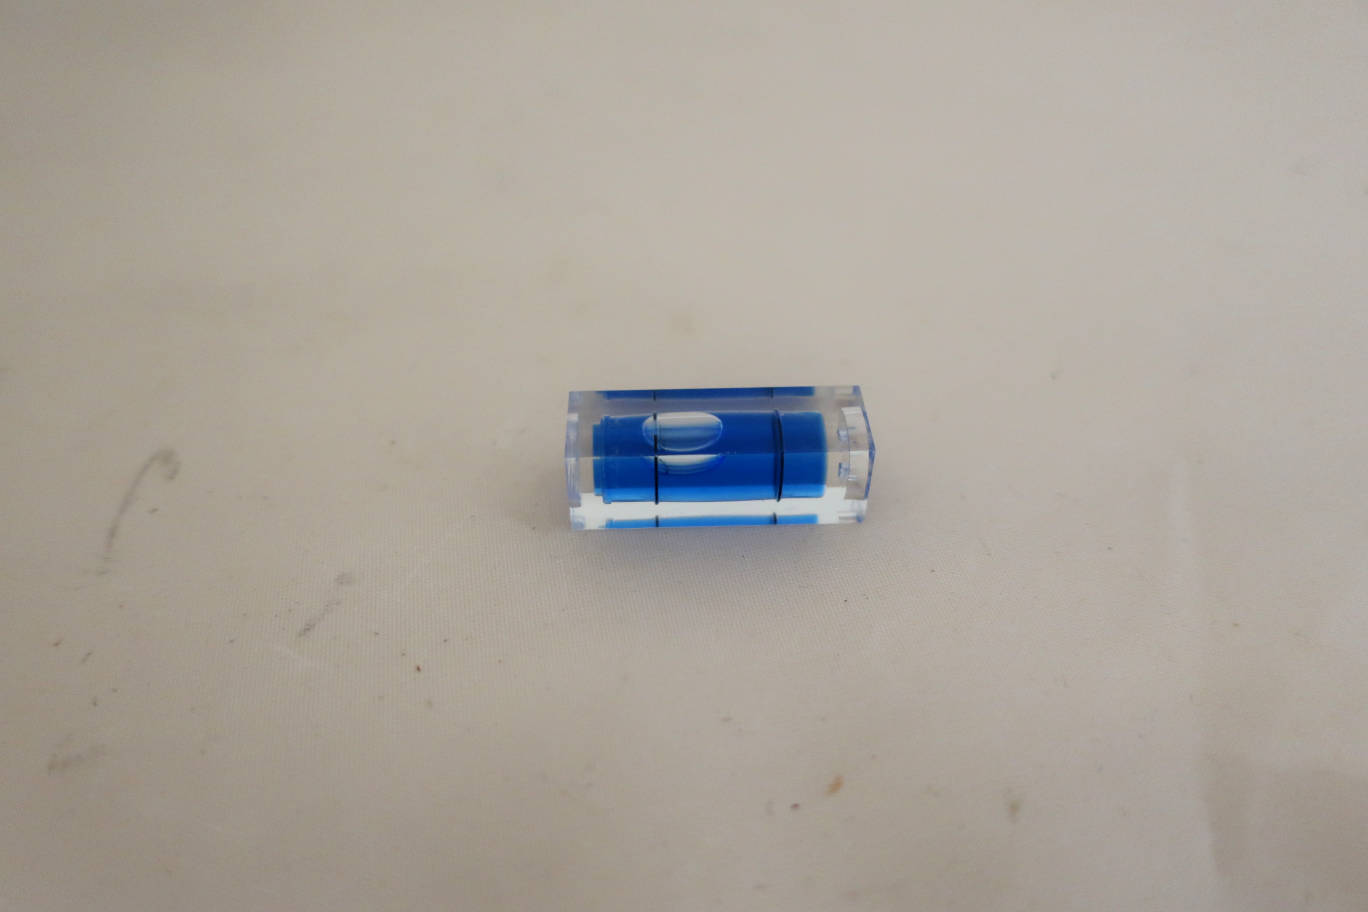
As we again needed no new parts, we got a lttle present in today's compartment of
the calendar. It's a little spirit level. To be fixed on your camera or on the tripod plate.
December 25th.
Putting a film isn't very complicated, you put a 35mm canister at the
bottom of the camera, tear the film across the film plane and hook the
film start onto the little hook in the advance spool. make a turn or 2
to secure the film and check whether the sprockets of the film hit the
dents of the advance control wheel. Then shut the back and advance 3
half turns of the control wheel.
On my camera the advance control wheel did not turn well. I put several
layers of tape on the back flap in the area of the counter. If I press
now the back flap shut when advancing, it works well. Shooting is easy,
you open the viewer, focus and press the shutter. Do not forget to advance. Because of the
absence of apertures and shutter speeds it can only be used outside,
with ISO 200 film on bright days and ISO 400 on dull days.
To be able to show you some results, I finished the camera in advance
and had a film developped in a speedy Calais photo service. I only had
a 200 ISO film at hand. As it was dull weather, it should have been 400
ISO. The photos are under-exposed (would have been fine with 400 ISO),
but you can well see what you will get. Kodak Gold film, neutral scan
and no post-treatment except one. The all-over results were better than
expected. The shutter only failed once. Spacing is quite even.
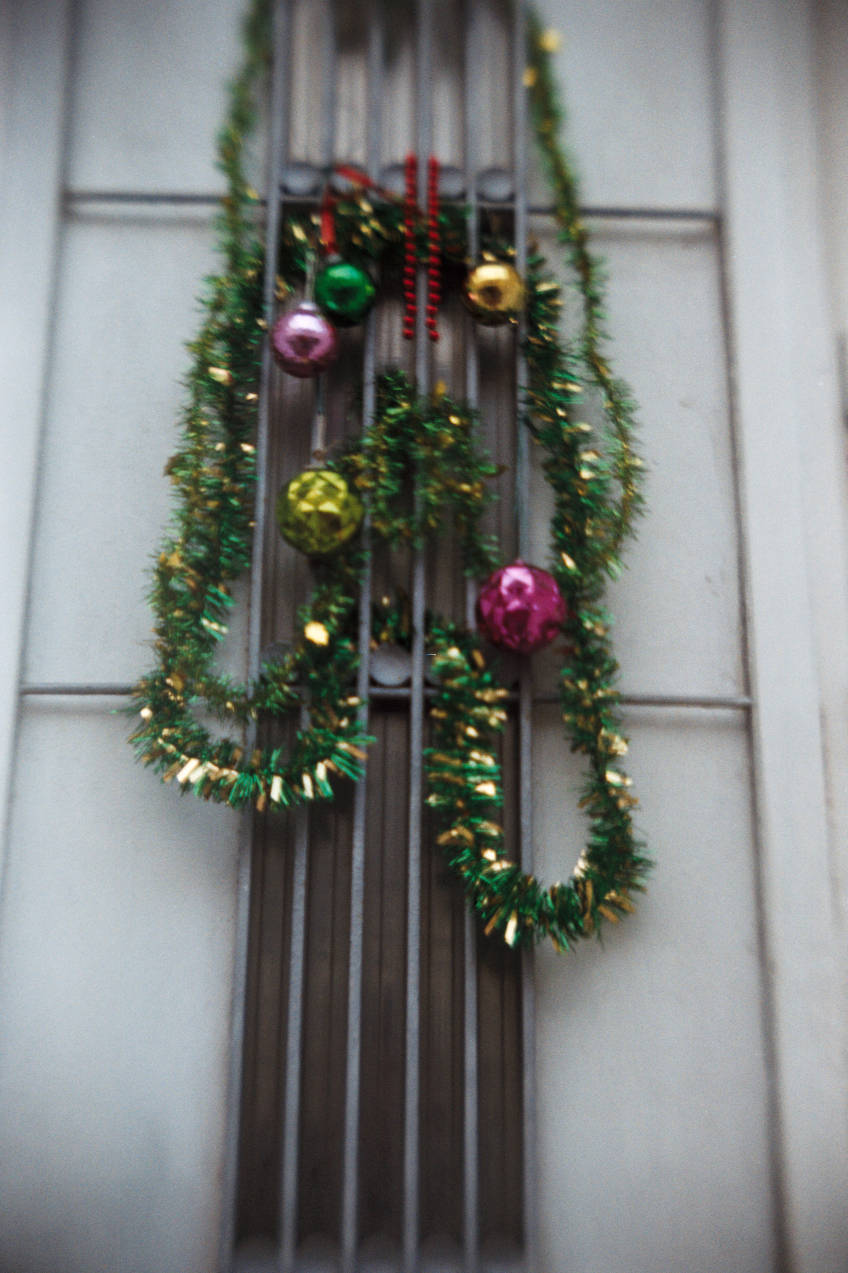
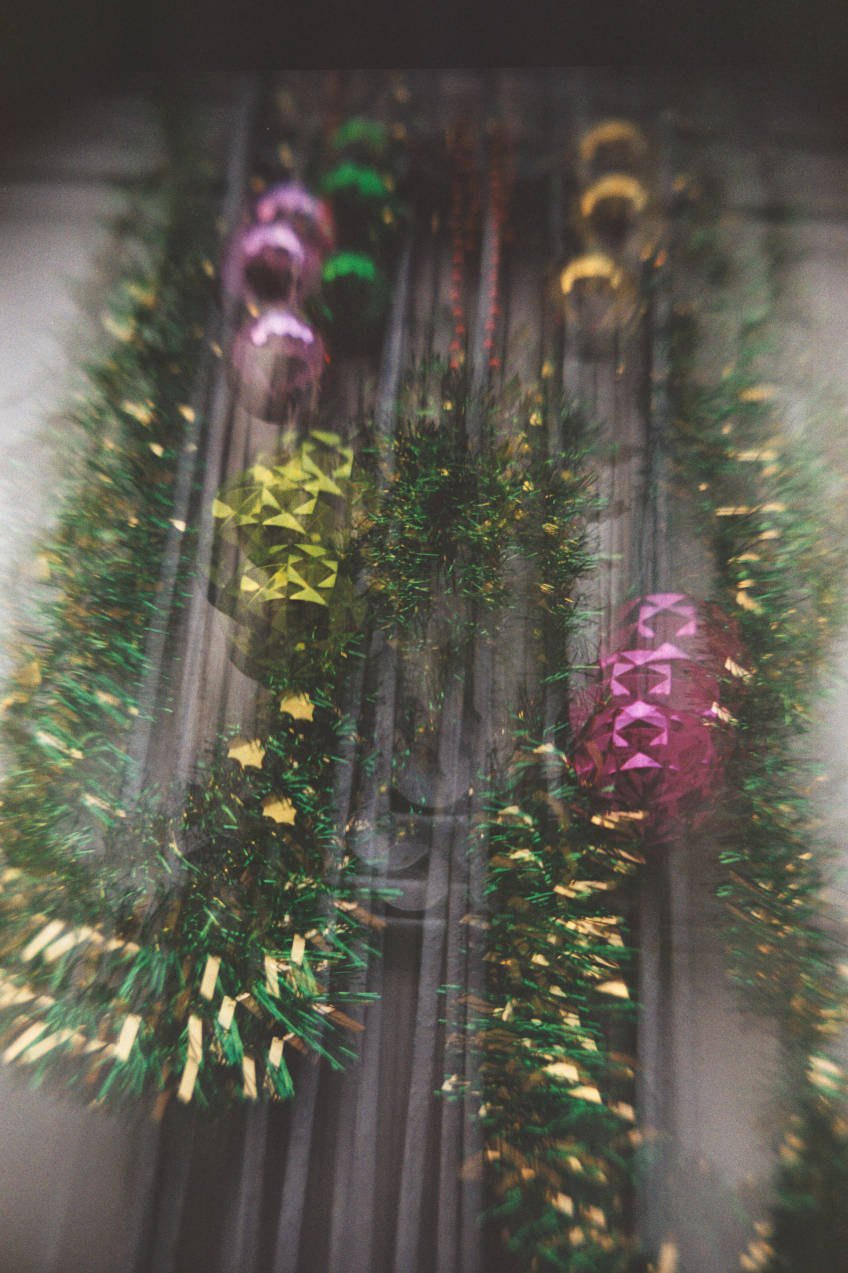
Focus on the end of the garland, ~ 1.5 m. A bit of vignetting.
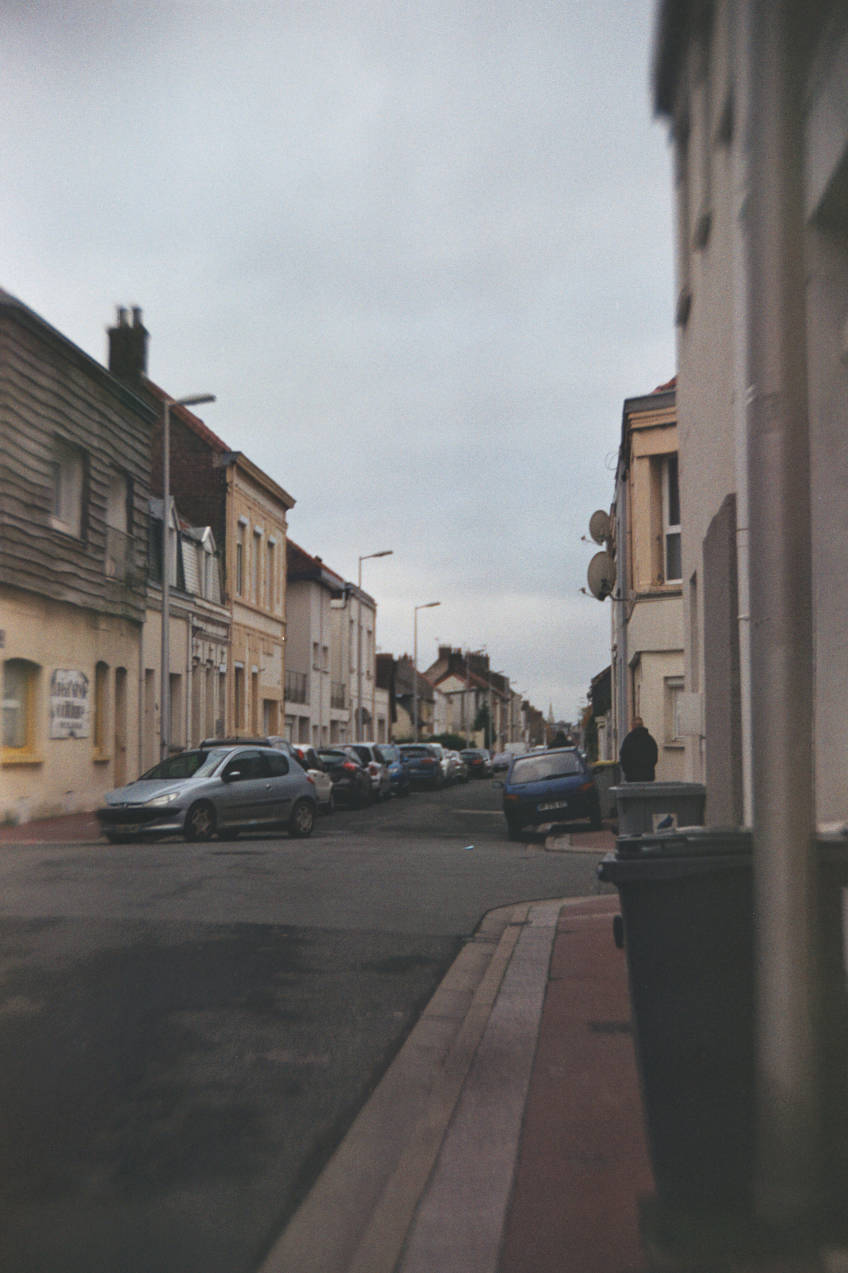
Calais, quartier Mollien. ∞, a bit soft towards the edges, which is fine for a meniscus lens.
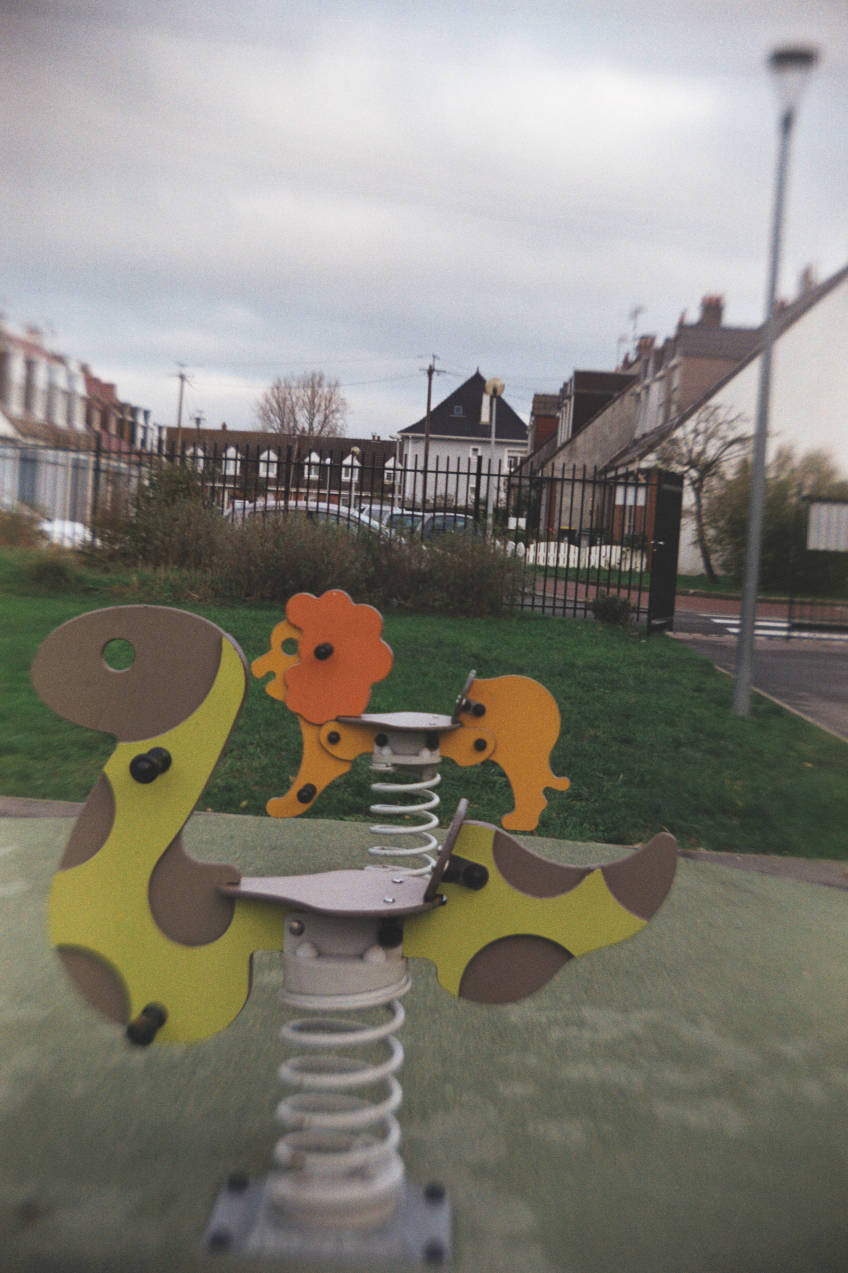
Calais, quartier Mollien. ~ 2.5m, soft towards the borders.
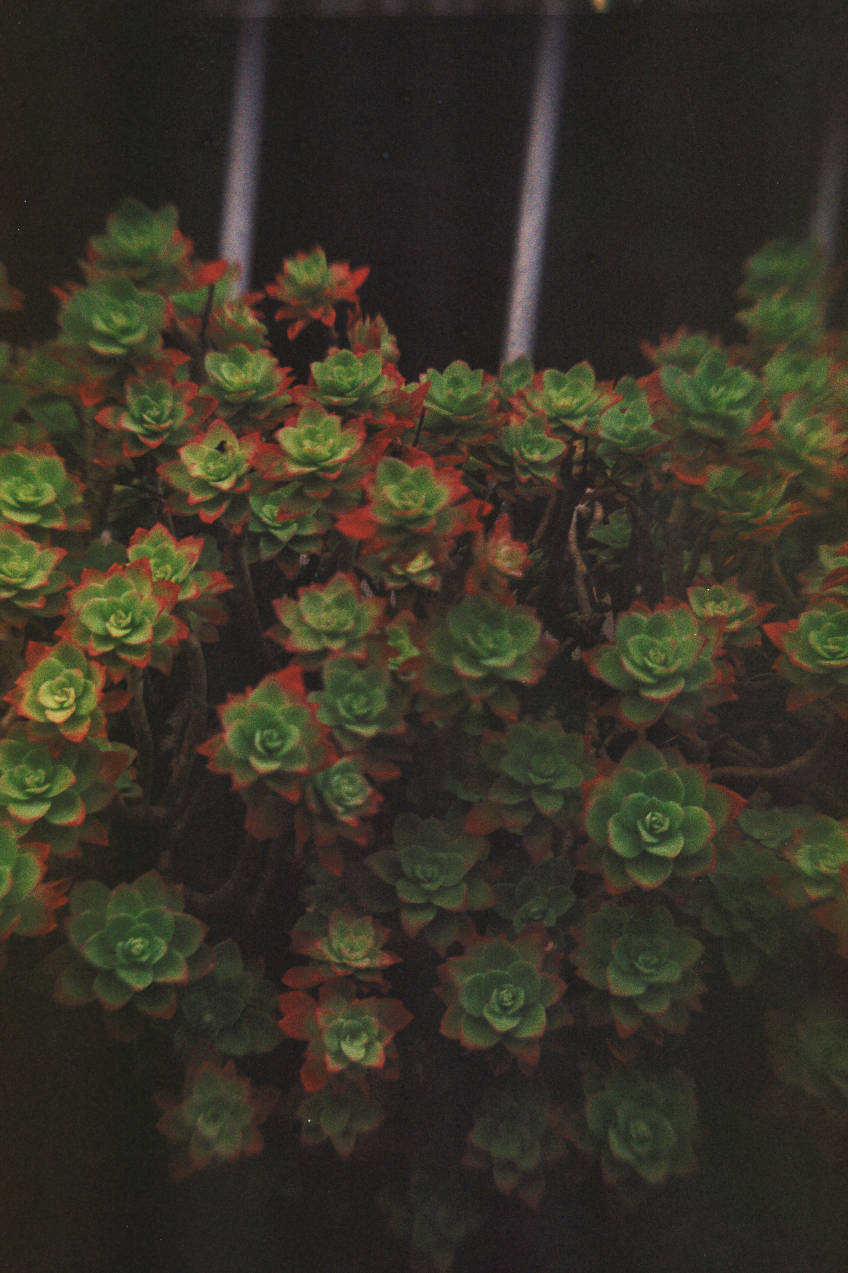
As near as 50cm. As the plants were in the shade, the photo was widely underexposed. I augmented the contrast of the scan.
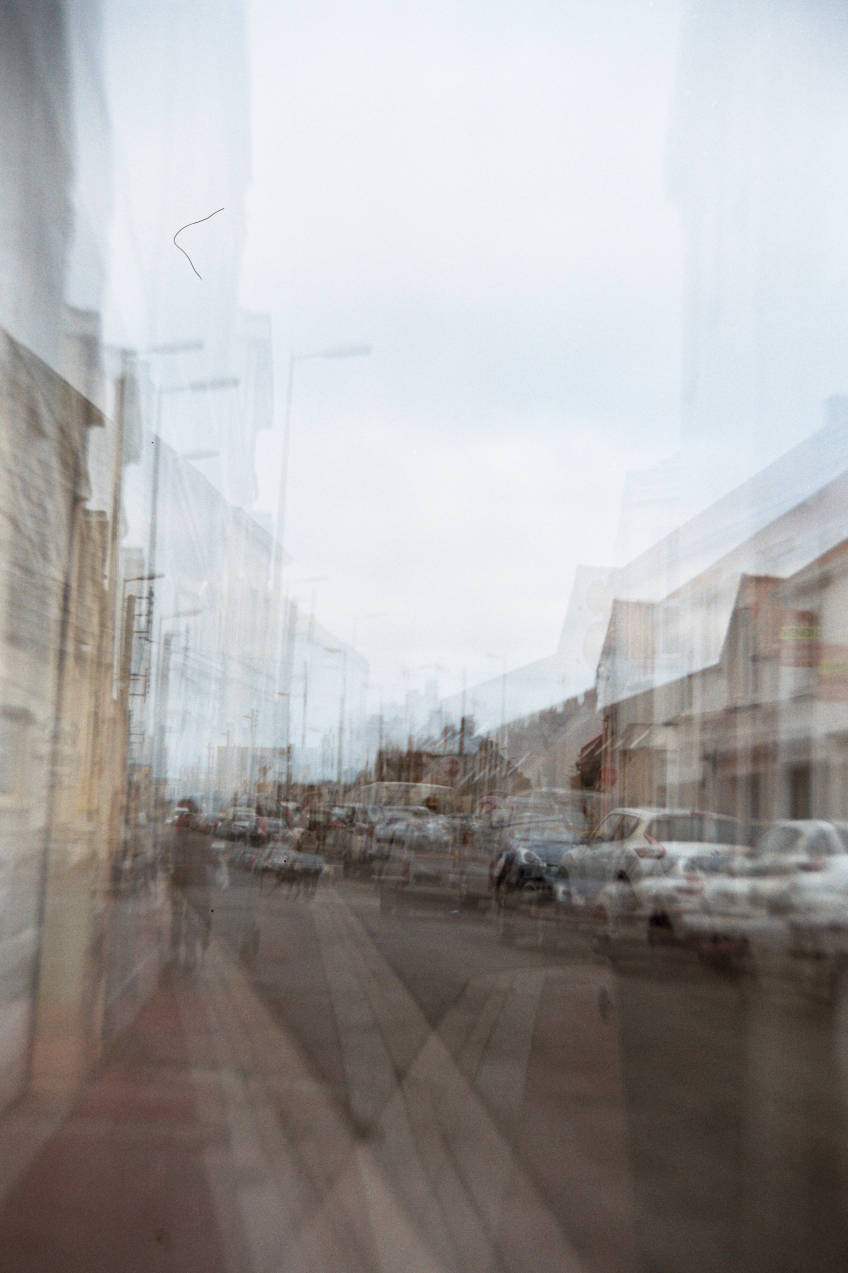
Triple exposure. Looks like a cubistic painting.
Triple exposure again. Nice effect.
Only after exposing the film I realized that on my camera you can trick
the shutter into a kind of B exposure: if you lower the shutter lever
very slowly until you hear a click (and not further) which is about
half way, it doesn't open yet. If you then let the lever
cautiously come back to abourt 1/4 and hold it there, the shutter
stays open. Try with the back of your camera open if you can find the
points. I will try another film next year.
So that's it, folks. Hope you enjoyed it.
Happy Christmas! And Happy Hannukah as well.
.