OddCameras.com
Noblex 135 S
The
Noblex is a very special panoramic camera, made by Kamera Werk Dresden,
the same factory where Charles Noble opened his Kamera Werk in
1938. The Noblex was introduced in 1992. There are different models for
135 and 120 film, this is a 135S. As in many panoramic cameras, the
lens rotates during exposure to cover the wide format, a slit behind
the rotating lens forms a focal plane shutter. The films sits on a
curved film plane, so there is no vignetting. In difference to other
panoramic cameras, the lens in the Noblex rotates a full 360°. The
first part of the rotation accelerates the lens so that its speed
during the exposure part is constant, the result is an even exposure
across the entire frame.
Focal length: 29mm
Shutter: 1/30, 1/60, 1/125, 1/250, 1/500, no slow shutter speeds but multi rotation is possible
Aperture: f 4.5 - 16
Picture size: 24 x 66 mm panoramic
Size: 165 x 65 x 130 mm
Weight: 790 gr.
Lens shift 4mm, filter holder, multi exposure, bubble level, hot shoe for Panolux
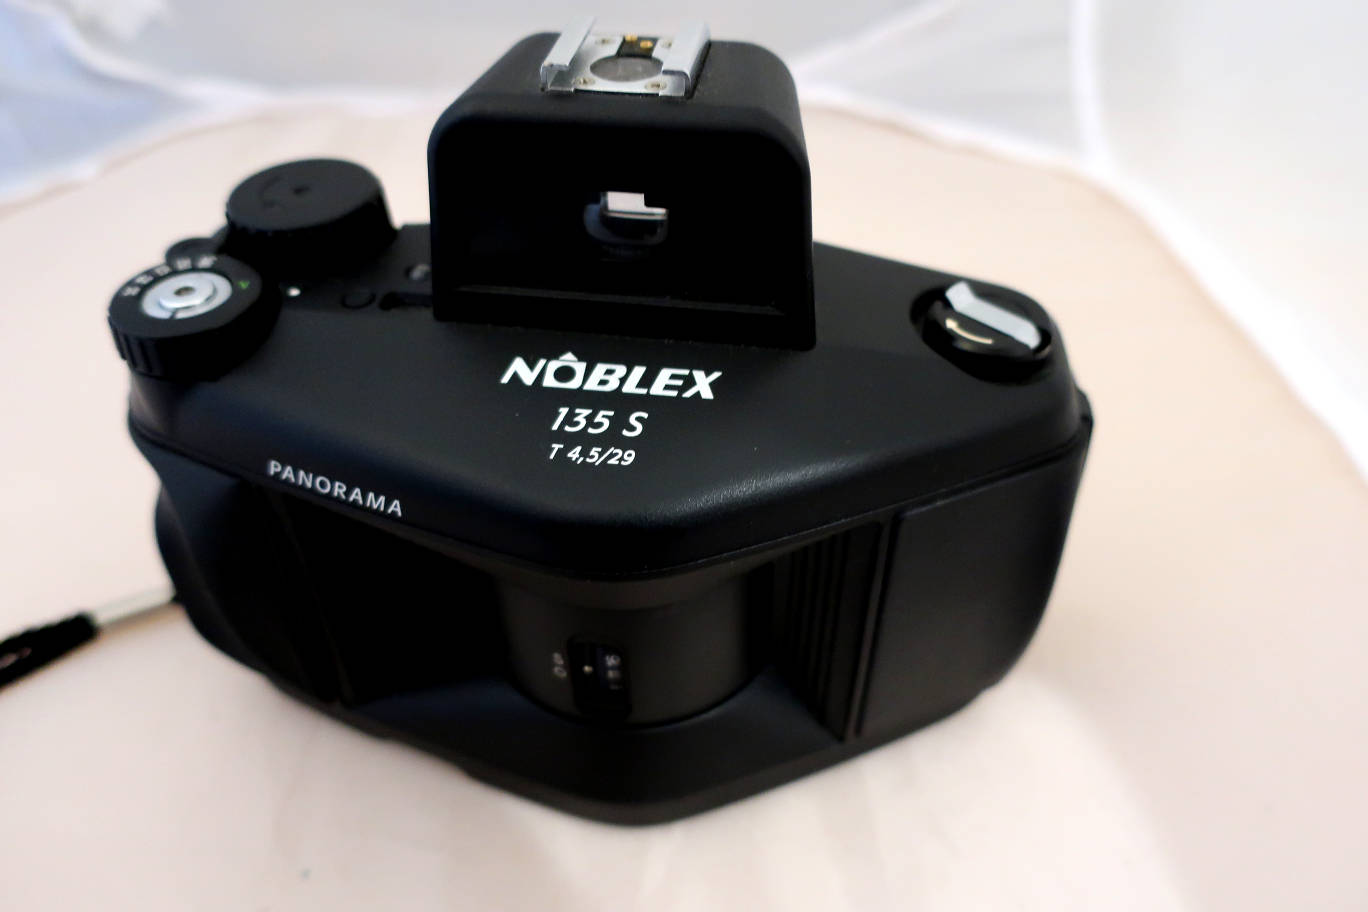
The camera. Rigid plastic body with big finder.
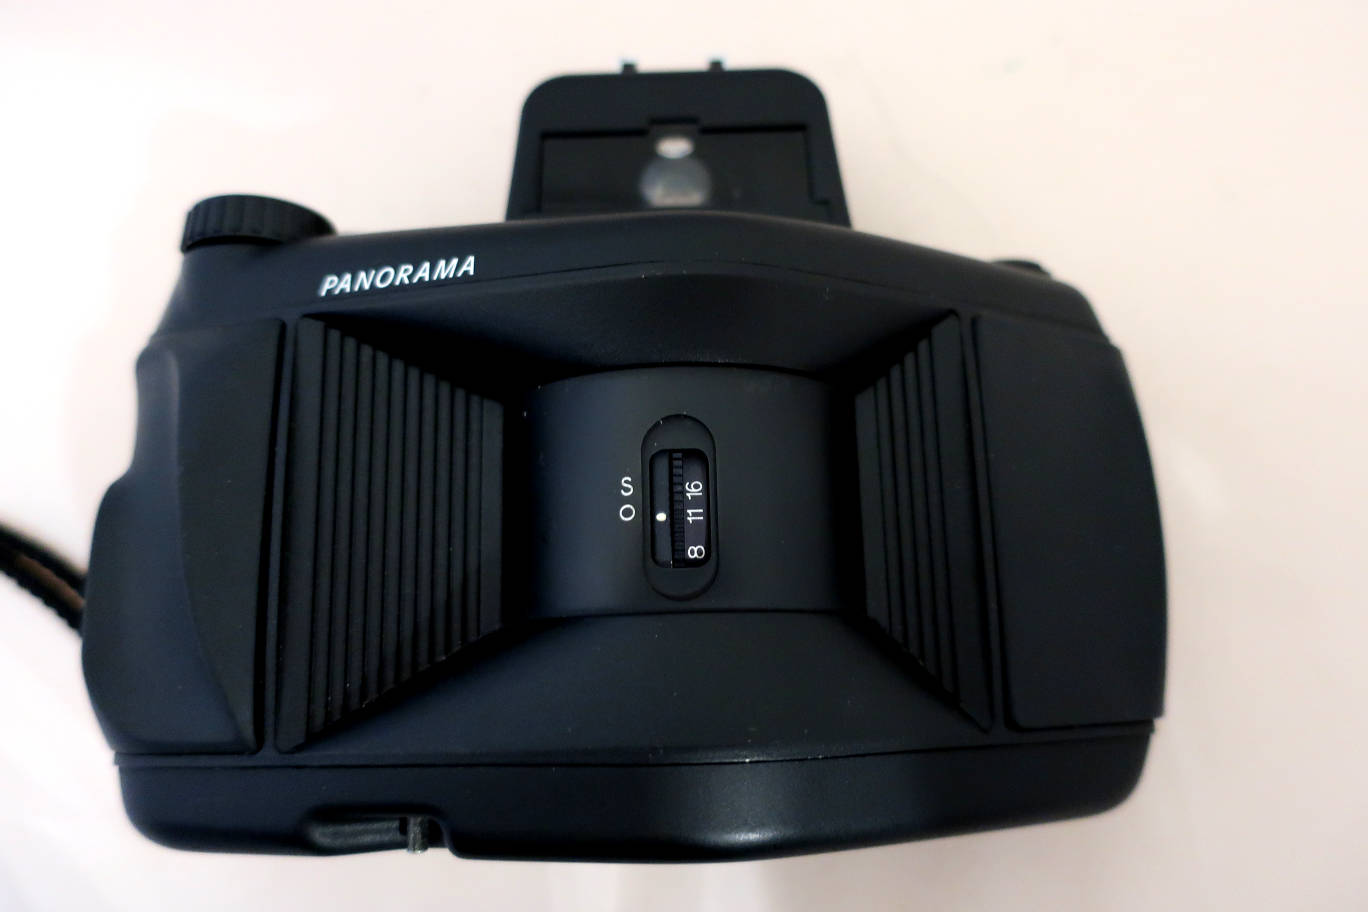
Camera
front. Lens in "0" position not shifted and set to F 11. The battery
compartment is under the grip. Takes 4 AAA batteries.
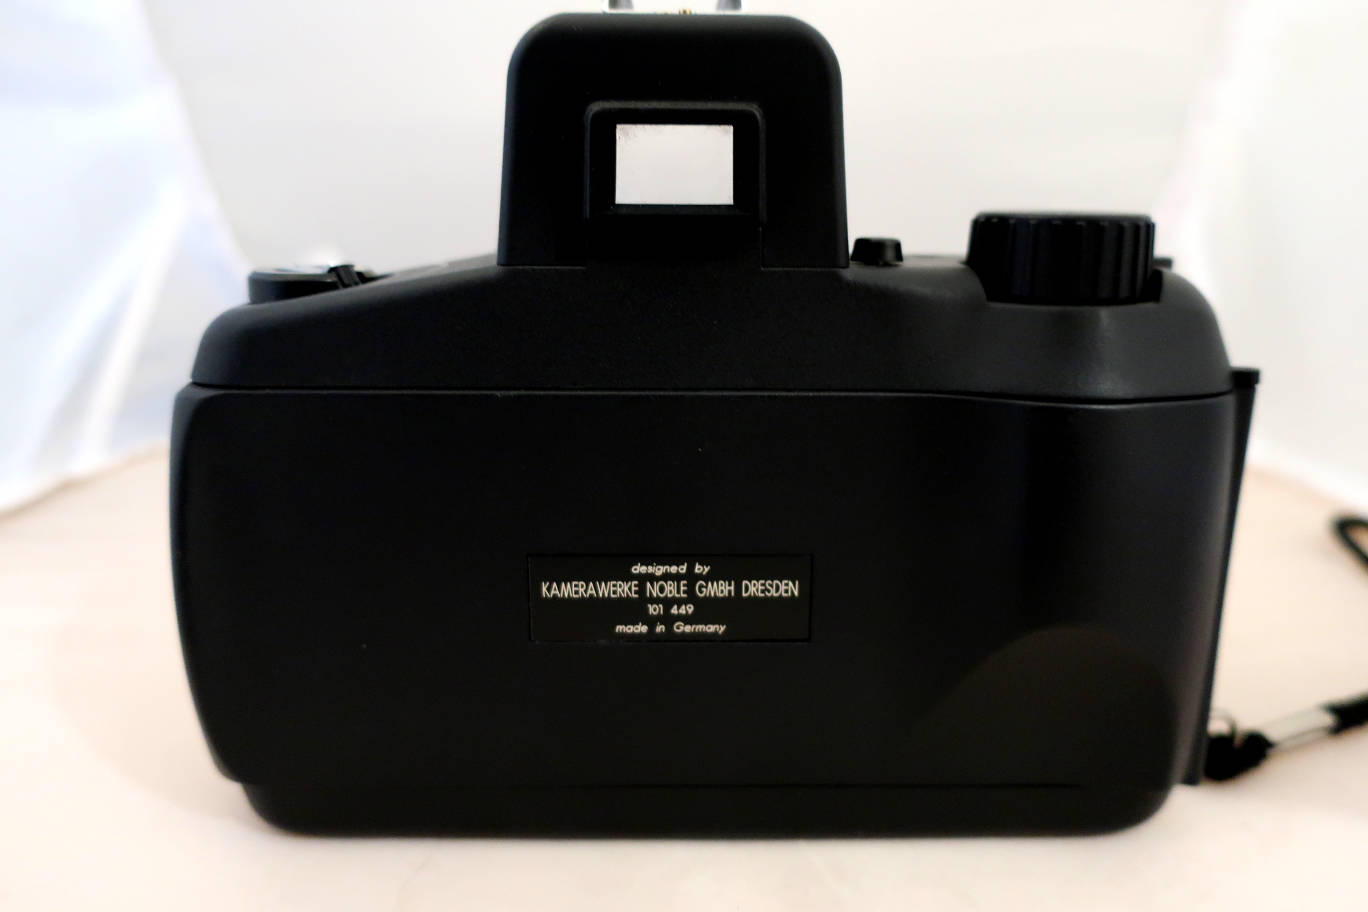
Camera
back.
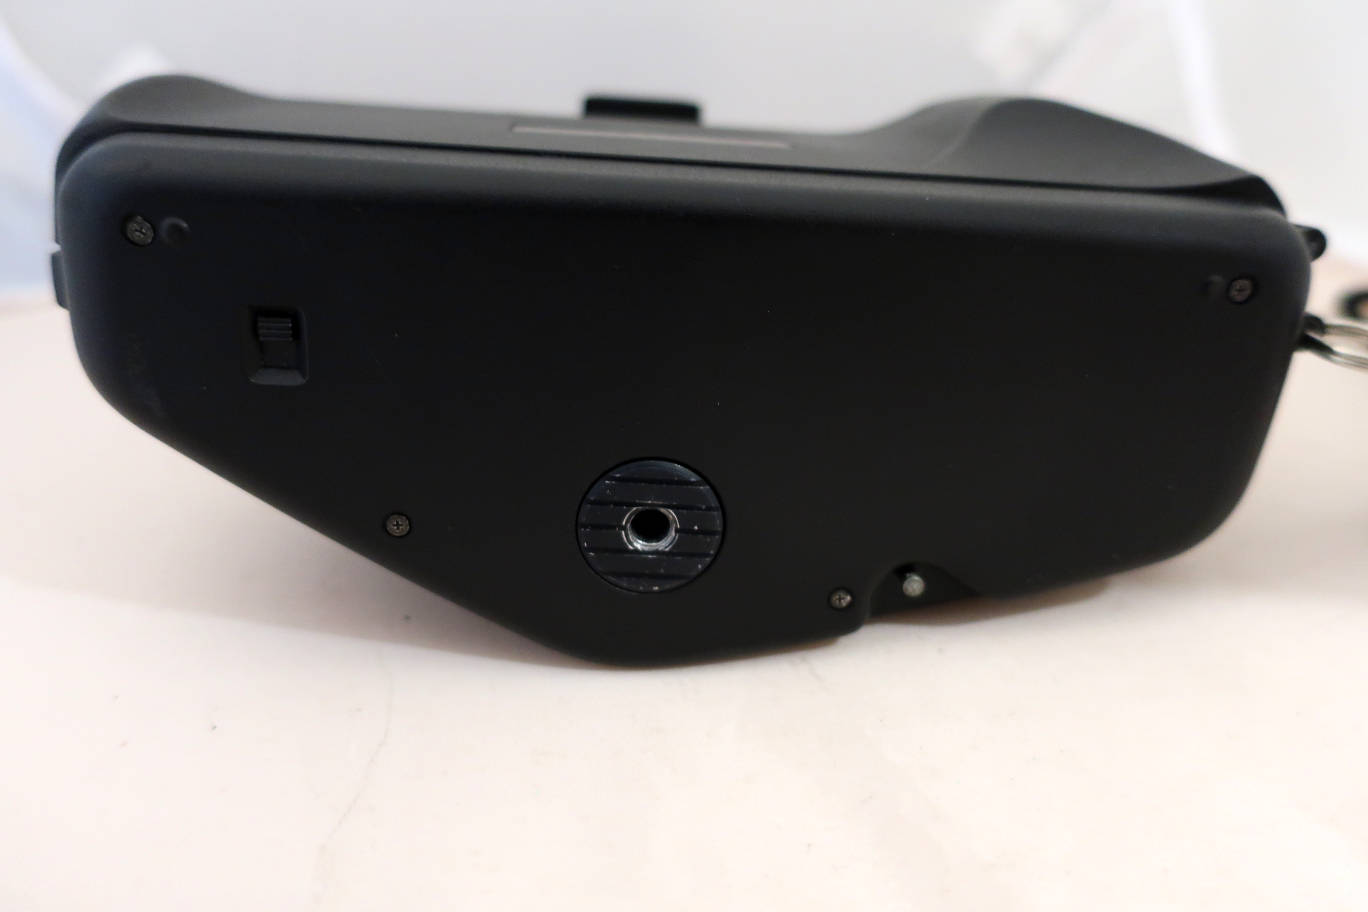
Camera bottom. The swich is the camera On/Off switch! Tripod socket, rewind unlock near the front.
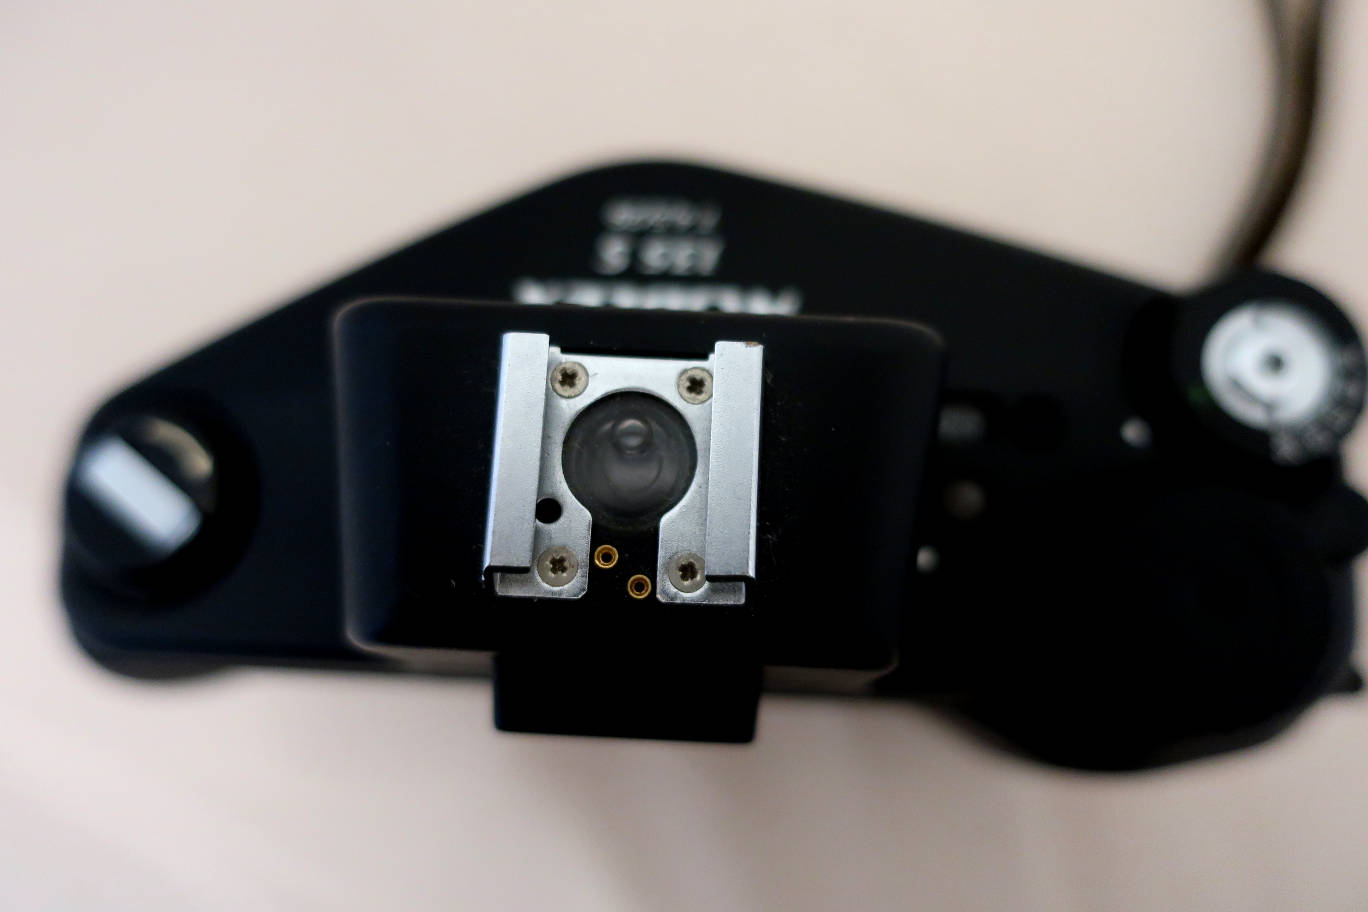
Seen from above. Focus on bubble level in Panolux hot shoe.
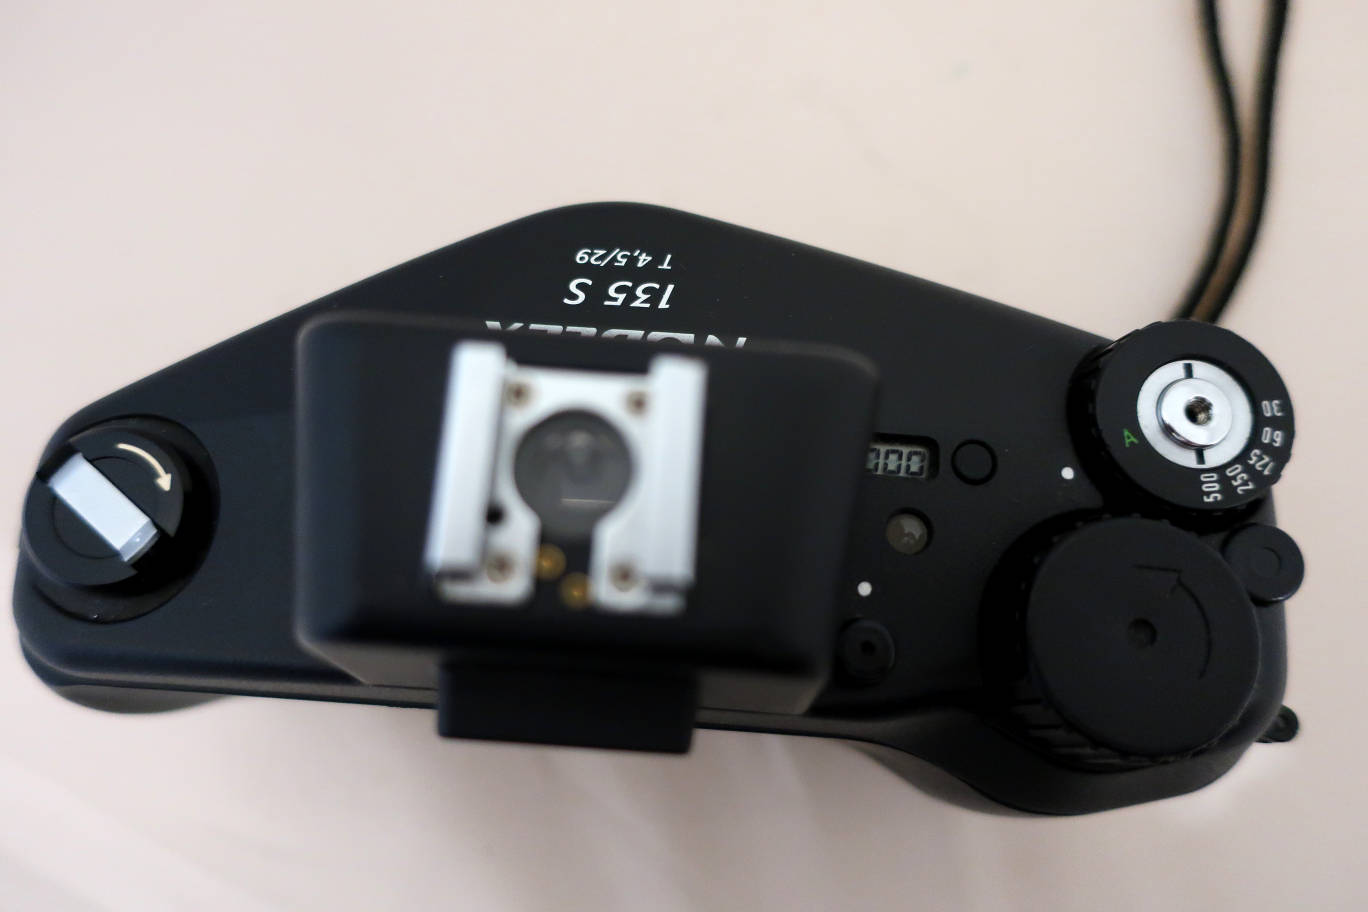
Seen
from above. Focus on camera top. Rewind, counter with reset, green
ready lamp, multi exposure switch, speed setting, film wind.
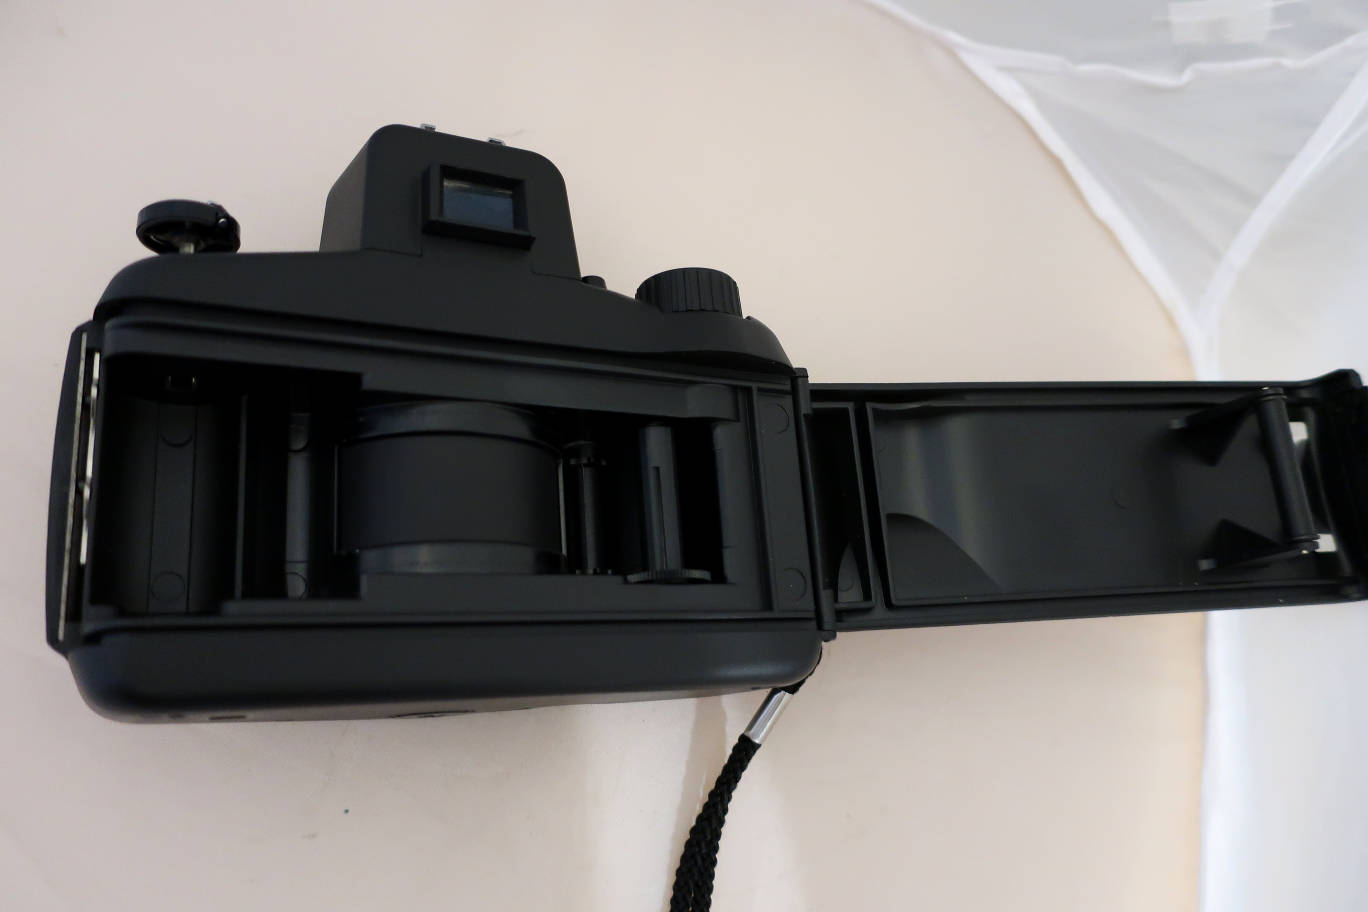
Camera back open.
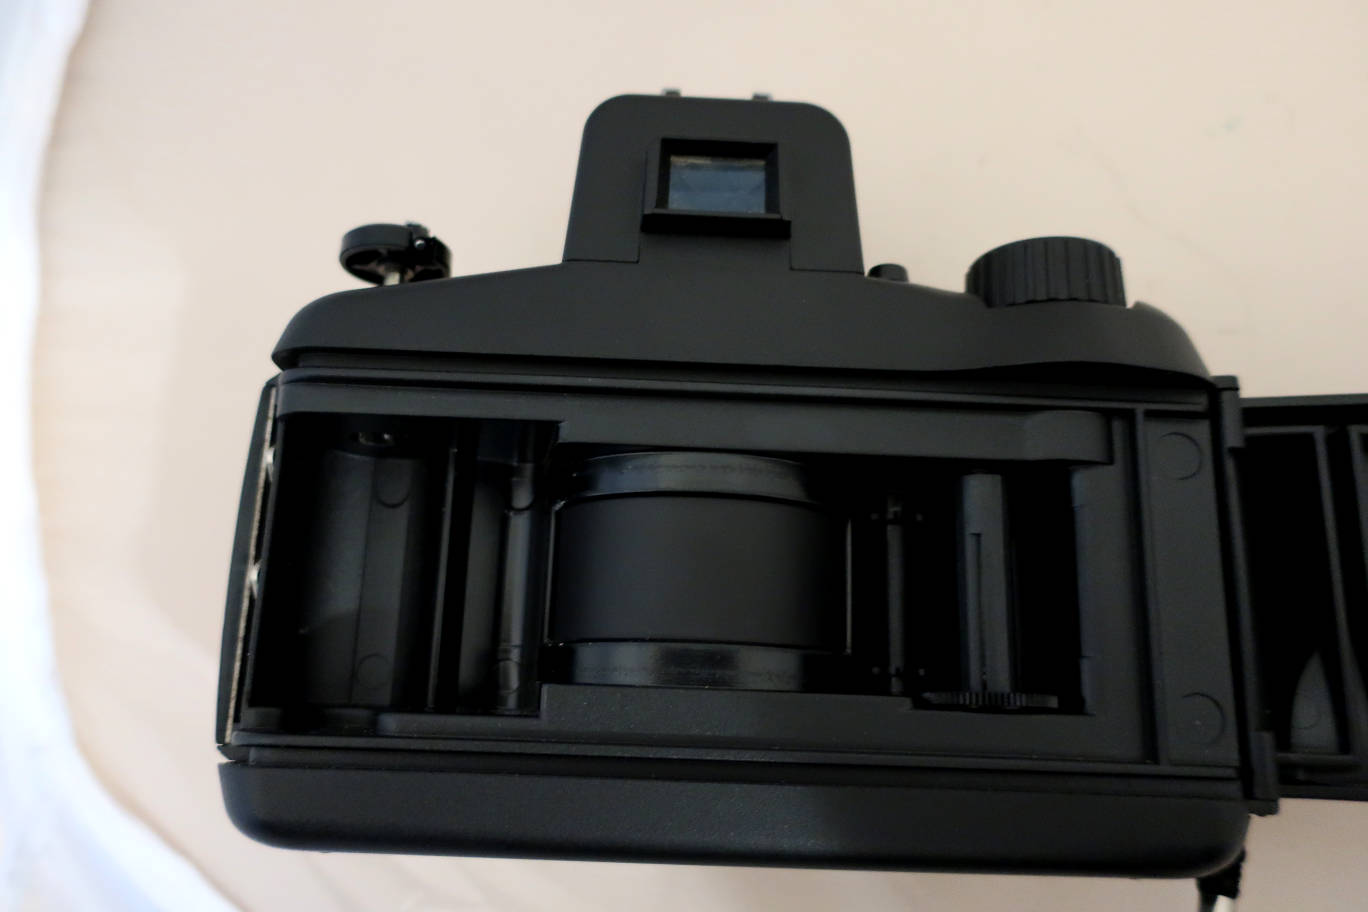
Curved film plane.
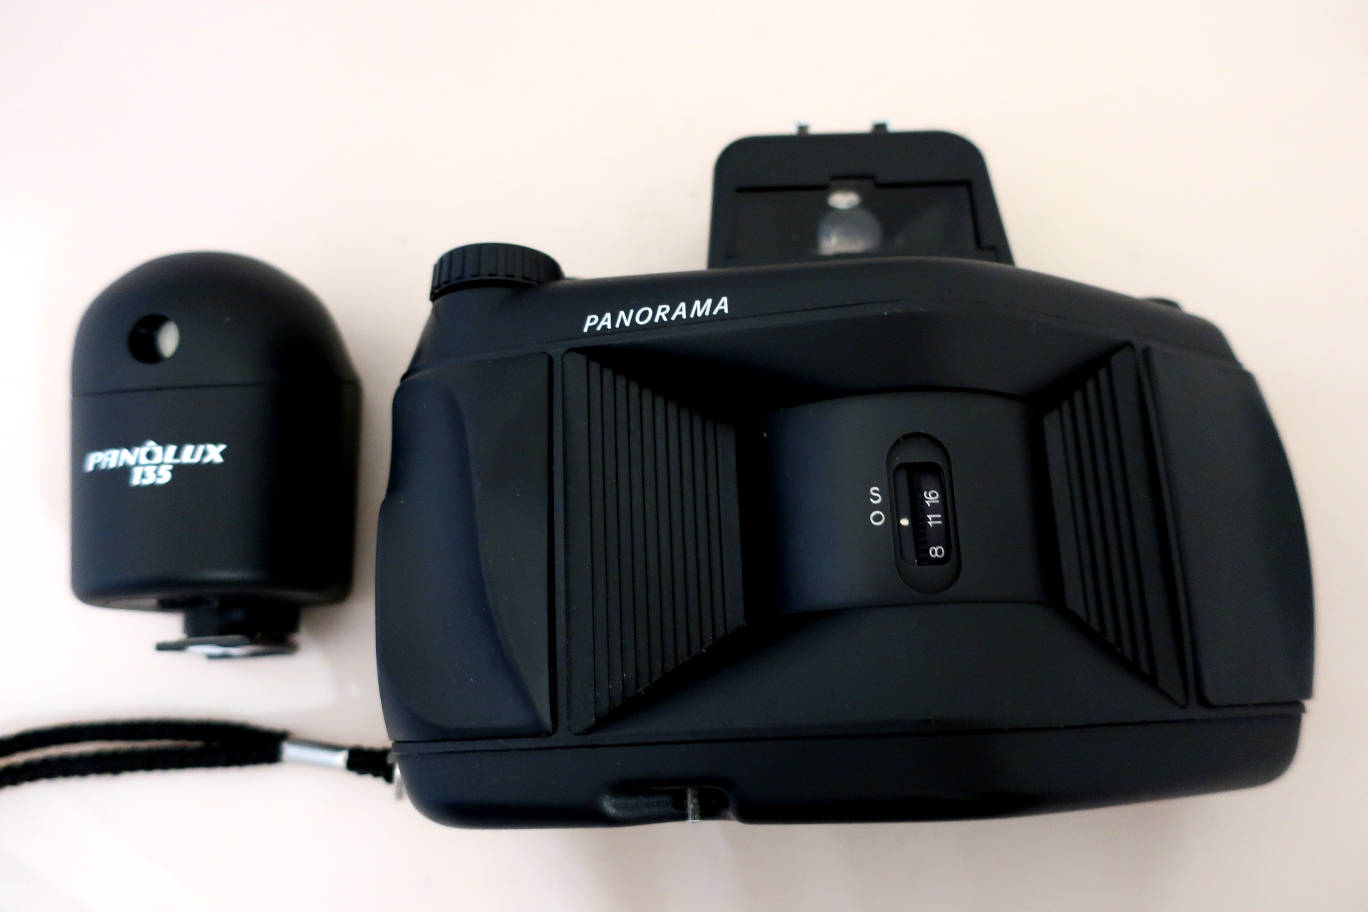
Camera and Panolux exposure device and meter. The Panolux requires 2 LR 1 batteries, not so common.
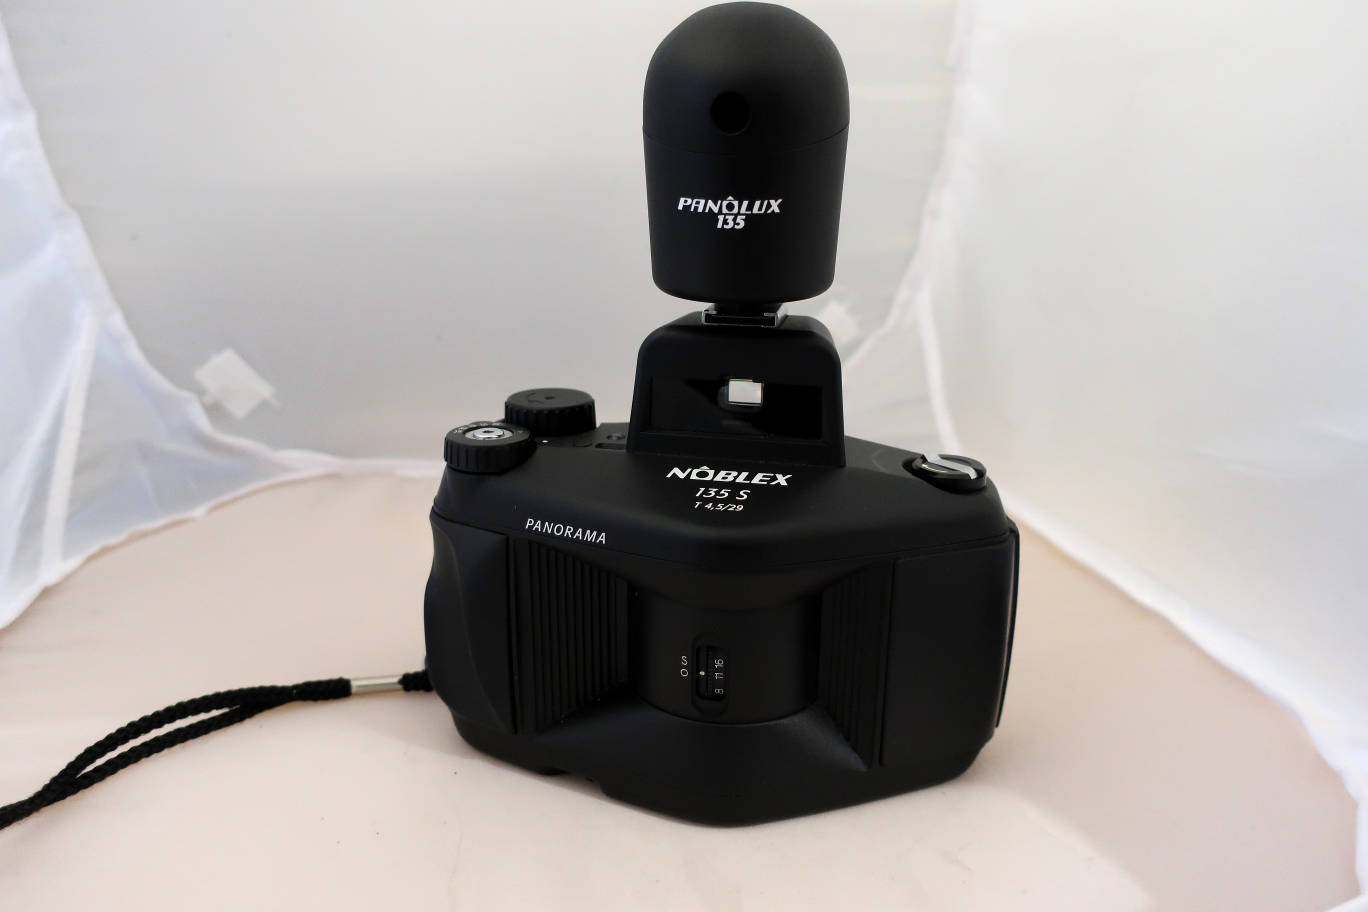
Camera with Panolux mounted.
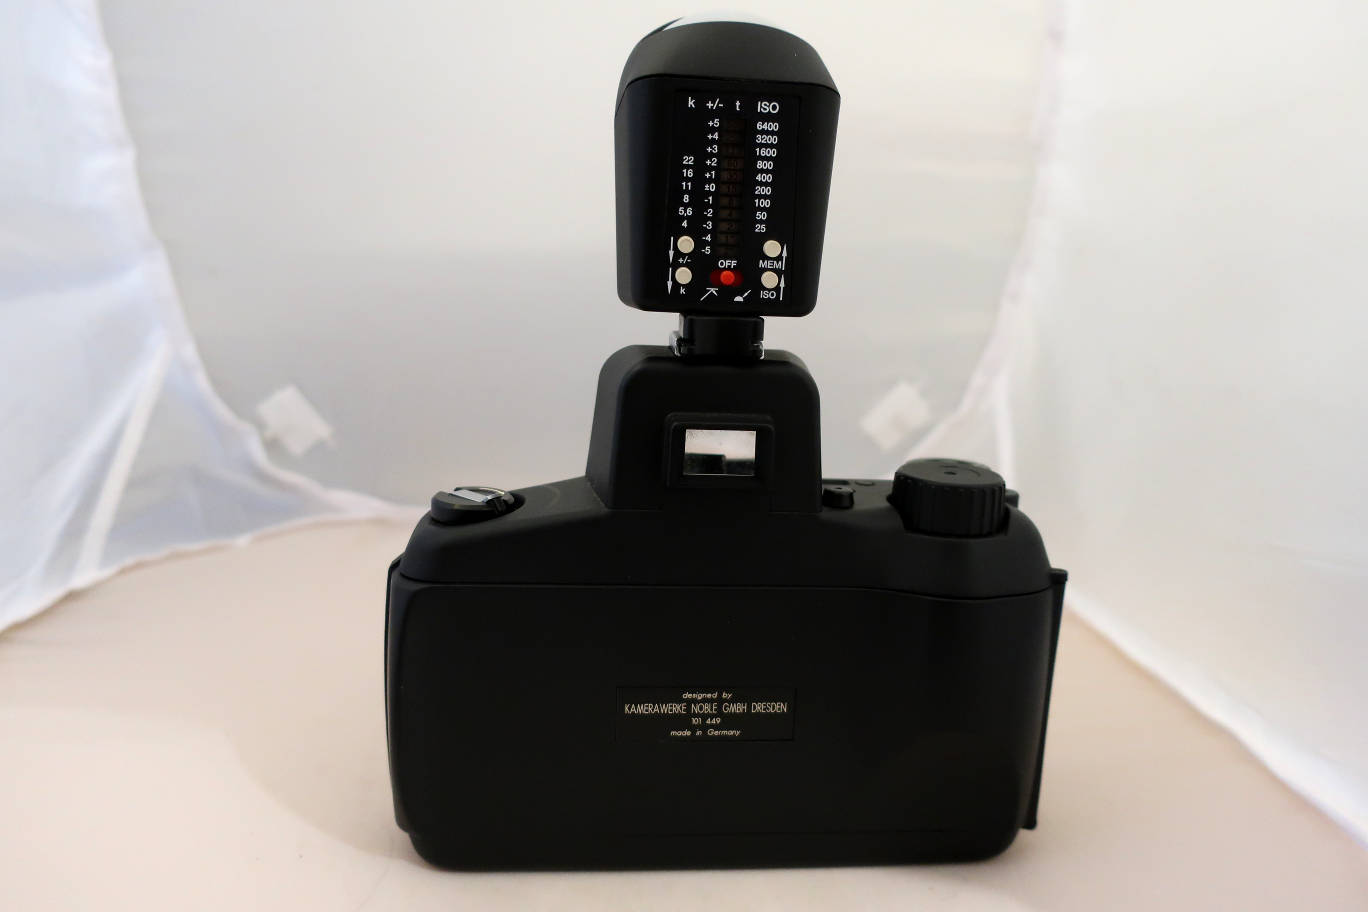
Panolux mounted, control panel.
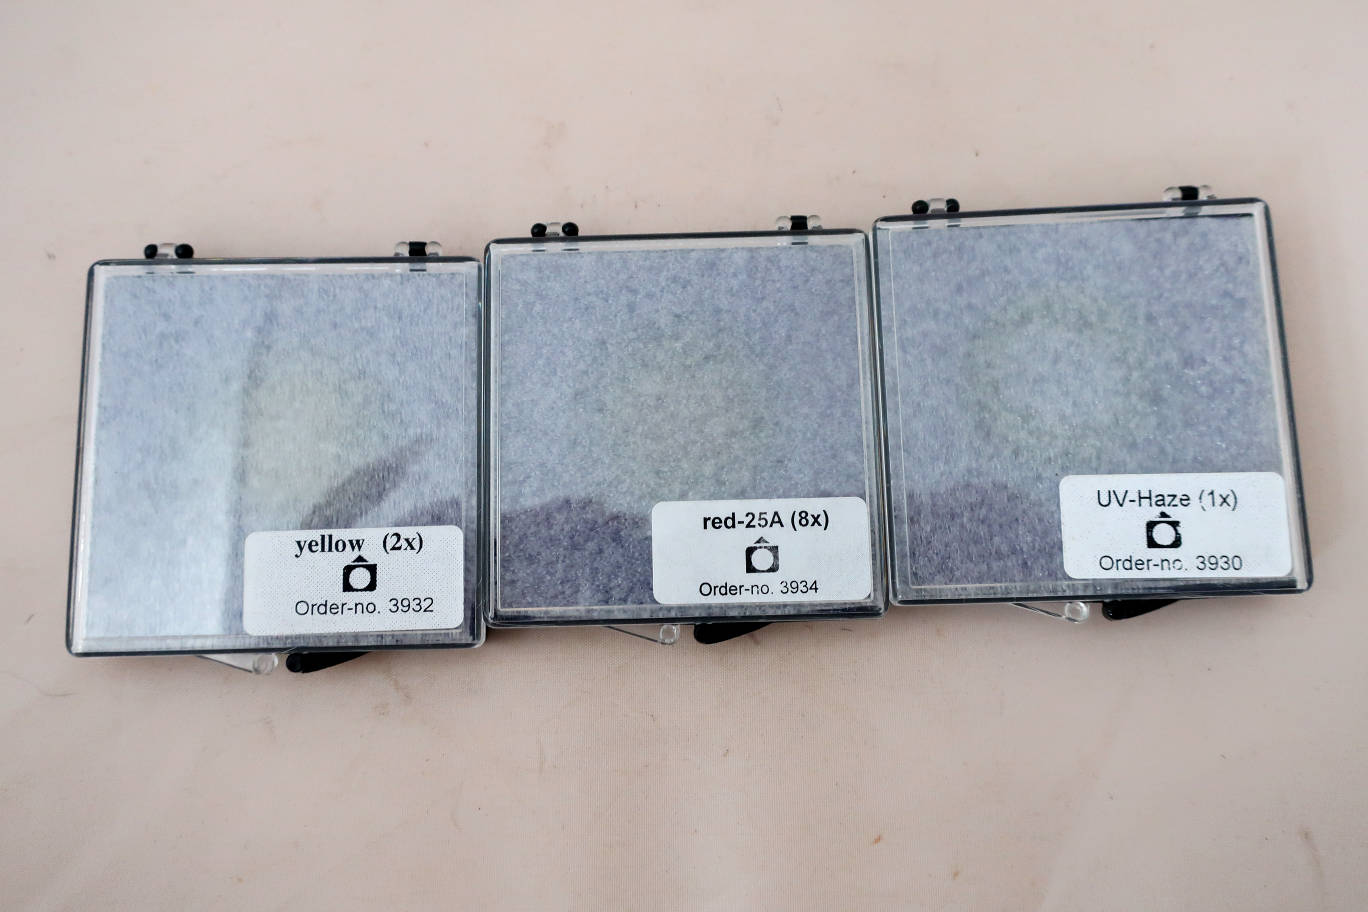
Noblex filter set boxes.
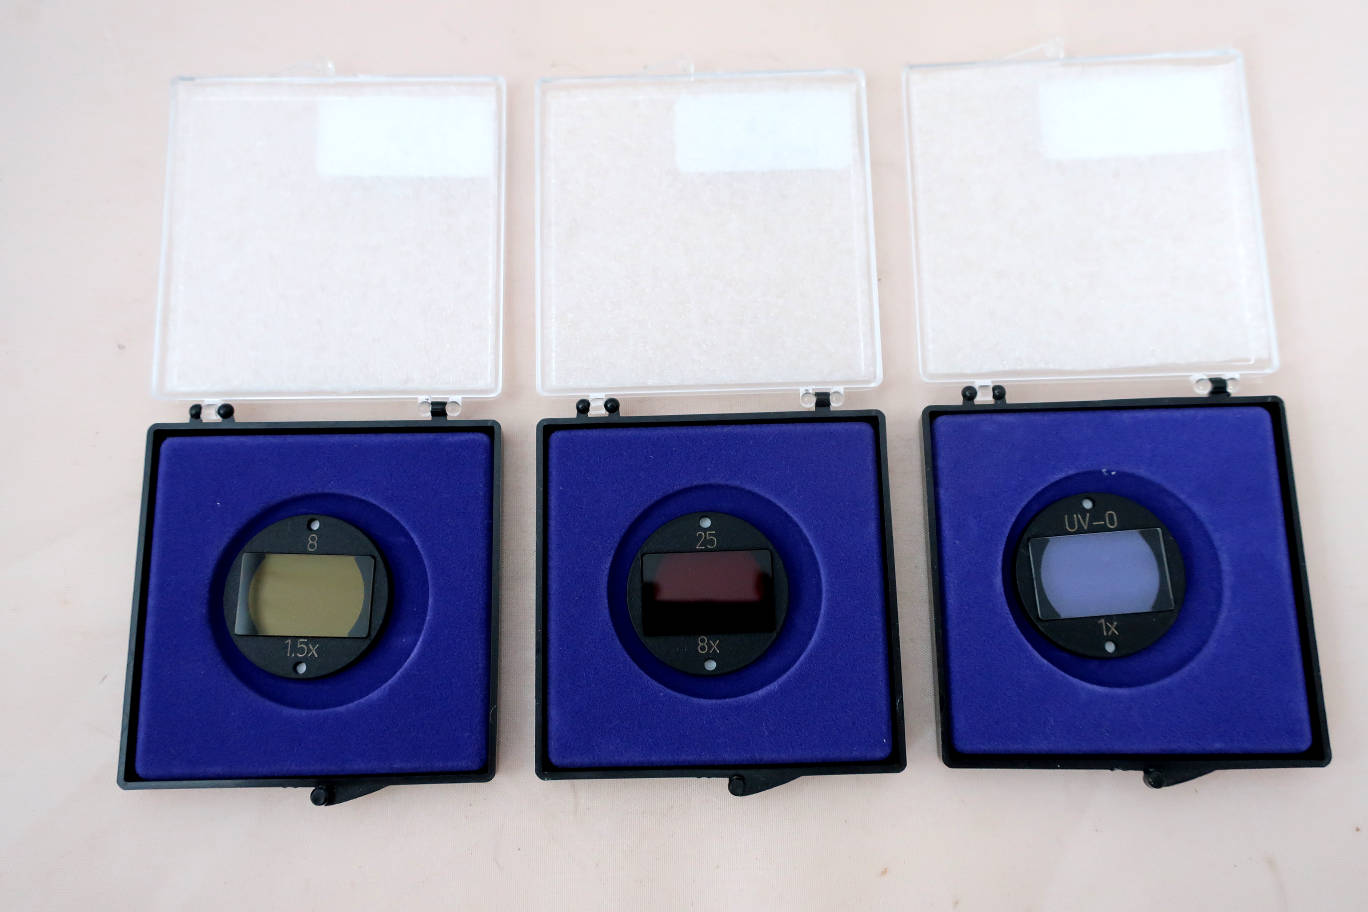
Noblex filters. They are magnetic on mount on the front of the lens unit.
Some pictures taken with the camera, without the Panolux and mostly hand-held.
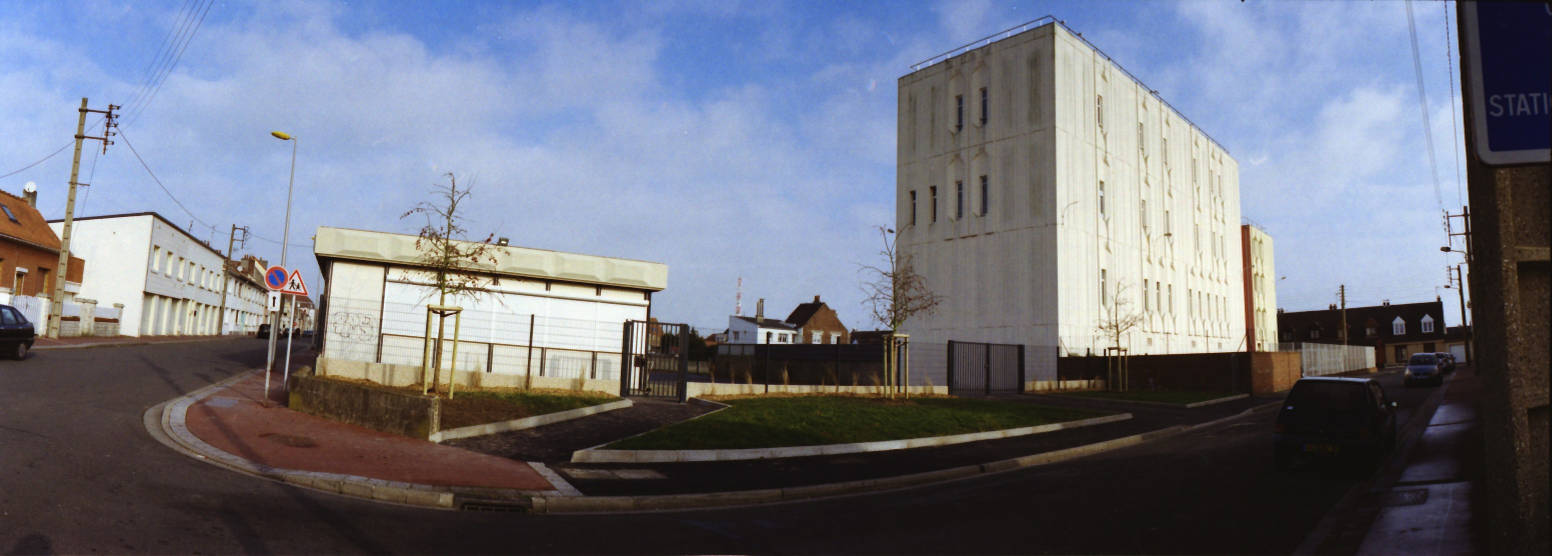
Calais, quartier Mollien, F8.
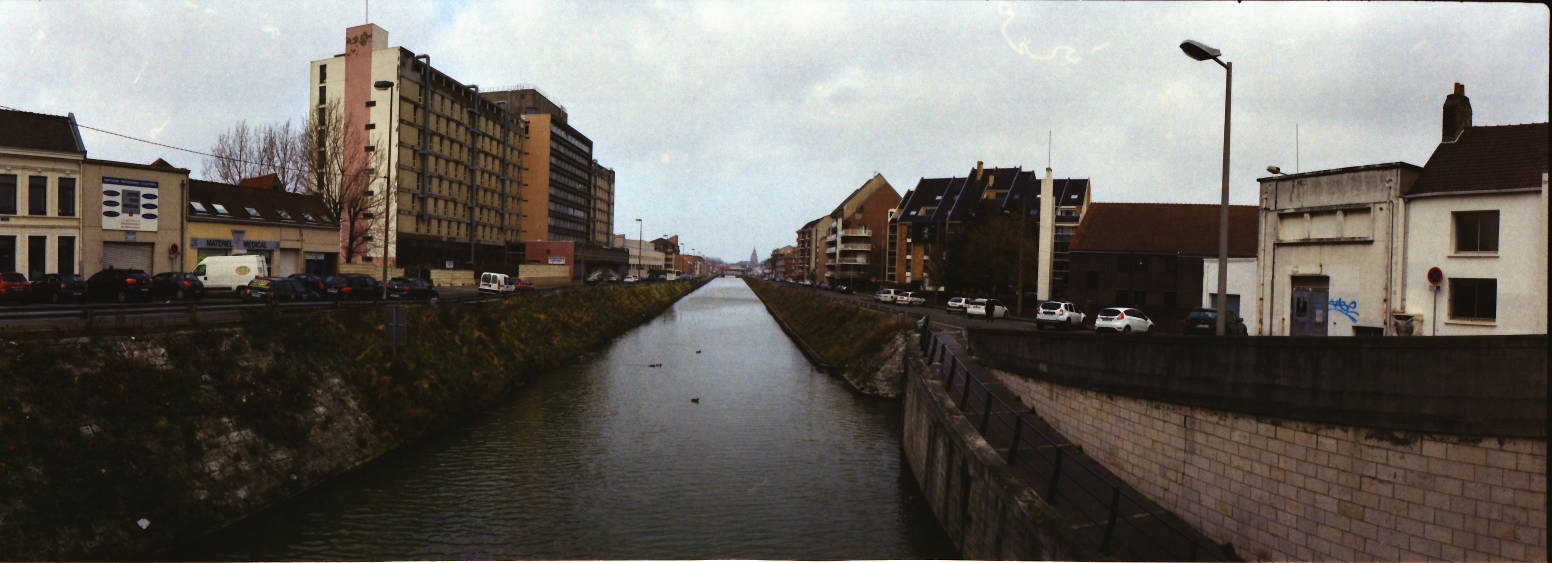
Calais, old hospital. Dull weather, F 4.5.
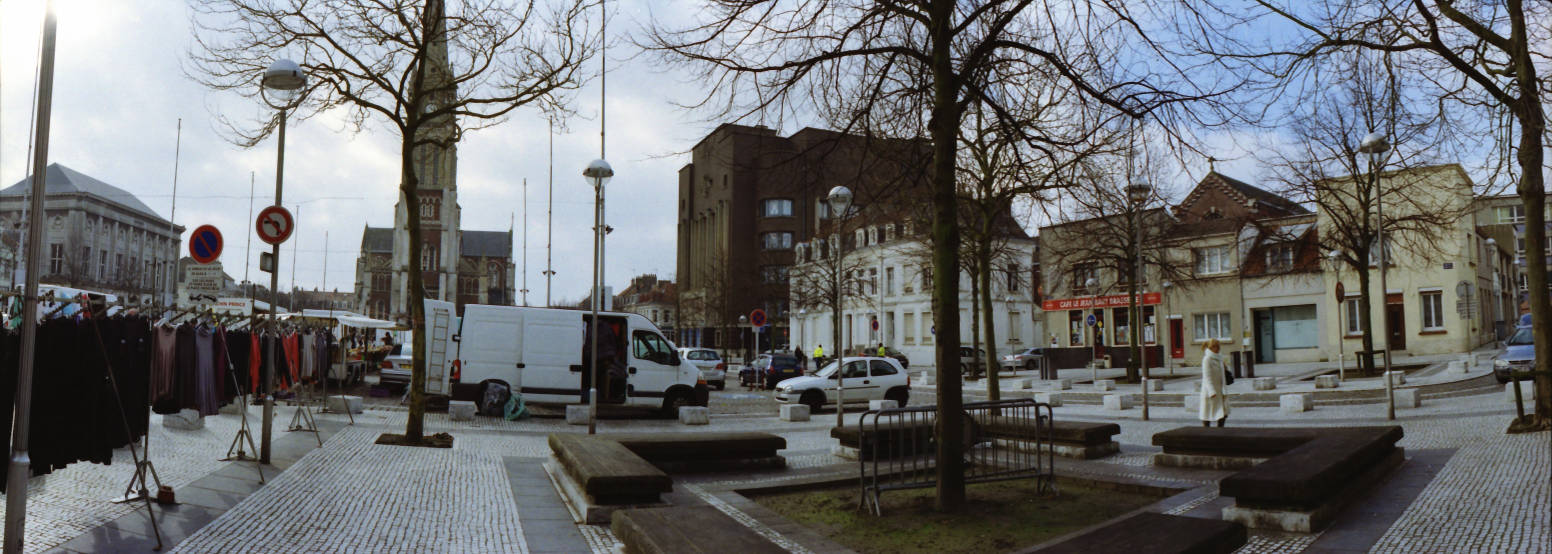
Calais, St. Pierre Market, F8.
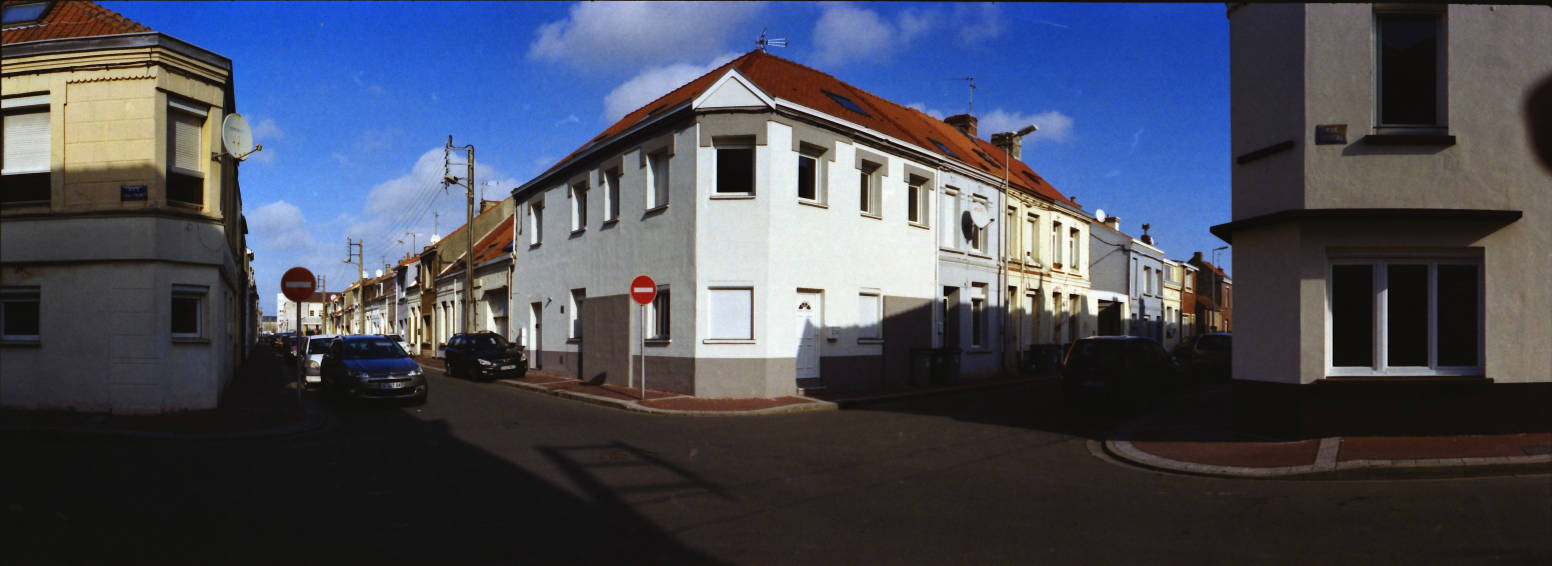
Calais, quartier Mollien, F16, lens shifted.
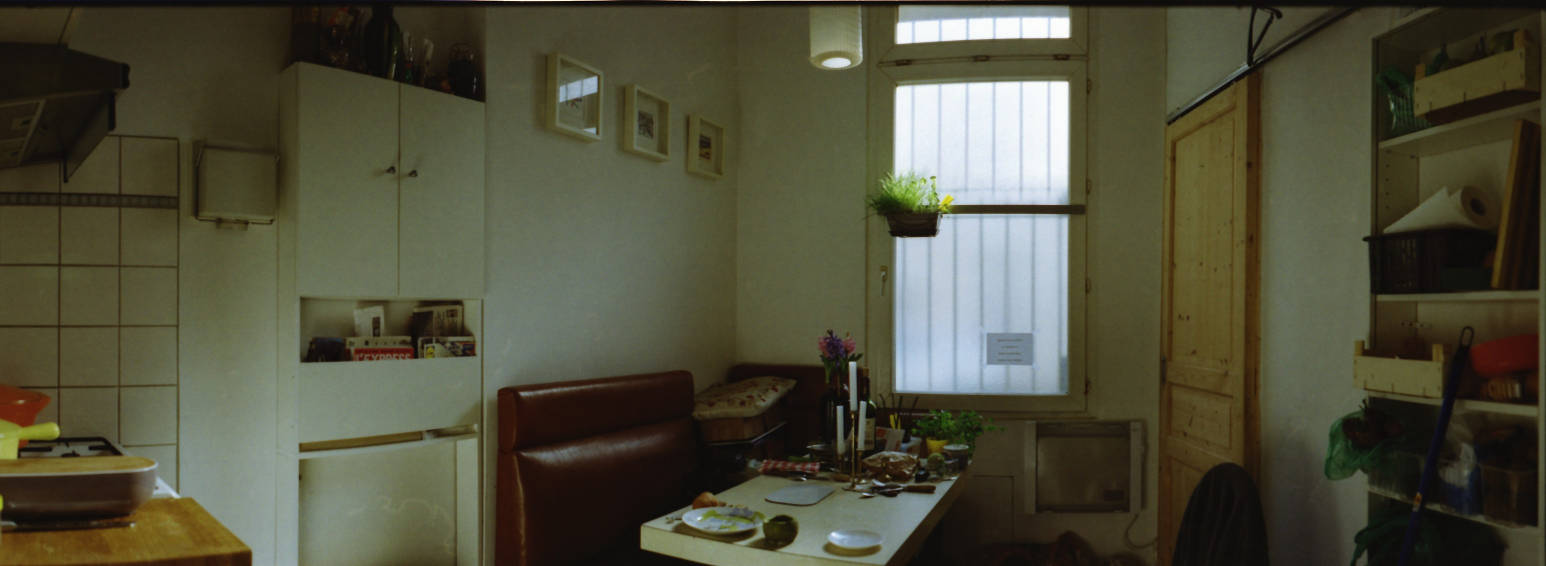
Interior,
natural light, several rotations. The edge of the table is only 1m from the
lens. Tripod use. FYI: the room is not rectangular.
The
camera is easy to use for a panoramic camera. Putting the film is not
complicated even with its curved film plane. Open the back by pulling
the rewind out. Put the cartridge into place and pull the film leader
across the plane, pass it under the transport roll and insert the
leader into the take-up spool. Engage the film by winding it via th
cranted bottom of the take-up spool. Close the camera. Wind until it
stops. Set the counter to 0. Release the shutter and wind again. You
are ready for the first photo.
Please note: cameras with
rotating lenses are made for tripod use. The rotating times are quite
long.The first half of th rotation the lens speeds up. All he second
half of the rotation the camera takes the picture. The rotating times
are doubling with each step and go from 0.25s at 1/500 to 4s at 1/30.
So you can hold 1/500 and maybe 1/250, but not more.
Switch
the camera on, there is a green light to confirm. Set speed and aperture
according to your meter. Frame (pay attention to your fingers, they
should not stick into the angle of view), press the shutter button and
wind. There is no focussing. The depth of field of the fixed focus lens
goes from infinity to a bit more than 3m at F 4.5, to 2.6m at F 5.6,
2.3m at F 8, 1.8m at F 11 and 1.4m at F 16. These are the factory values, in reality it fucusses nearer without problem.
If there are converging
lines e.g. in front of a building, you can shift the lens. To do so, set the aperture wheel to F
4.5 an then push the entire wheel unit up about 4mm until it clicks
into "S" position. Done, there is an indication mark in the viewer. Do
not forget to set the aperture to the chosen value. To set the lens
back to normal, set aperture to F 16, push the unit down to "0" position
and set aperture again.
You can use filters. They have to be
installed inside the lens unit. It's a bit difficult to describe,
please refer to the manual. The filters are magnetic and attach easily
in front of the lens.
The Panolux unit is a very helpful device.
It makes the camera semi-automatic, it controlls the speed, you set the
aperture (aperture priority mode). It is capable of incident metering
and reflective metering as well. Slide the Panolux into
the hot shoe. Switch the camera on and set the speed to automatic, if
not, the Panolux will not work. Switch the Panolux on, off is in the
middle, it's reflective metering on one and incident metering on the
other side. Set your aperture with the "k" button and don't forget to
set the same value on the lens. Wait 4s until it's memorized. Set film
ISO and wait 4s until it's memorized. The device will now show the
speed it will choose, if it's too long, there is a red light on the
indicator. Choose another aperture in this case. If you want to
memorize the metering result for a second photo, push the "mem" button.
If not, the device meters anew after you have shot your photo. Use
reflective metering for ordinary situations. Incident metering can
compensate uneven situations, e.g. if one side is much darker than the
other. The lens would rotate faster in the lighter part and slower in
the other. The "inv" button is to compensate vertical measuring, it
works only in incident mode. Usualy the bottom is darker than the sky.
The device can compensate this. Be shure that the device points towards
the lighter side of the photo e.g. towards the sunnier side. "inv"
setting is automatically deleted after the photo.
The
camera is quite expensive, but it's special gear, very reliable and
quite sophisticated. The Panolux, which is difficult to find and
expensive, does a fantastic job. The results are way better than other
panoramic cameras I have tested. No center graded filters necessary,
the photos are even. The only snag are moving objects which are
distorted by the rotating lens.


