OddCameras.com
Olympus Pen FT
The
Oympus Pen series is a brand name for half frame compact cameras from
1959 until the early 1980s by the Olympus Co, Tokio, Japan, an old
camera company. The original Pen was introduced in 1959. It was
designed by Yoshihisa Maitani, and was the first half-frame camera
produced in Japan. It was one of the smallest cameras to use regular
35mm film. A series of Pen models followed, some easier to use with
automatic exposure.
The Pen F is a half frame SLR camera, introduced in 1963. It is also designed by Yoshihisa Maitani
(who later created the OM-1 and the XA). The original model has a big
golden gothic letter F engraved on the right on the front plate. It's a
quite compact camera with an unusual viewfinder with no prism. The
reflex mirror flips sideways, which makes it more compact.. The Pen F
has a bayonet mount for interchangeable lenses. The focal plane shutter
is unusual as well, it's a rotating metal disc, synchronised at all
speeds.
As the Pen F is functionally different from the FT, I made a separate page for it here.
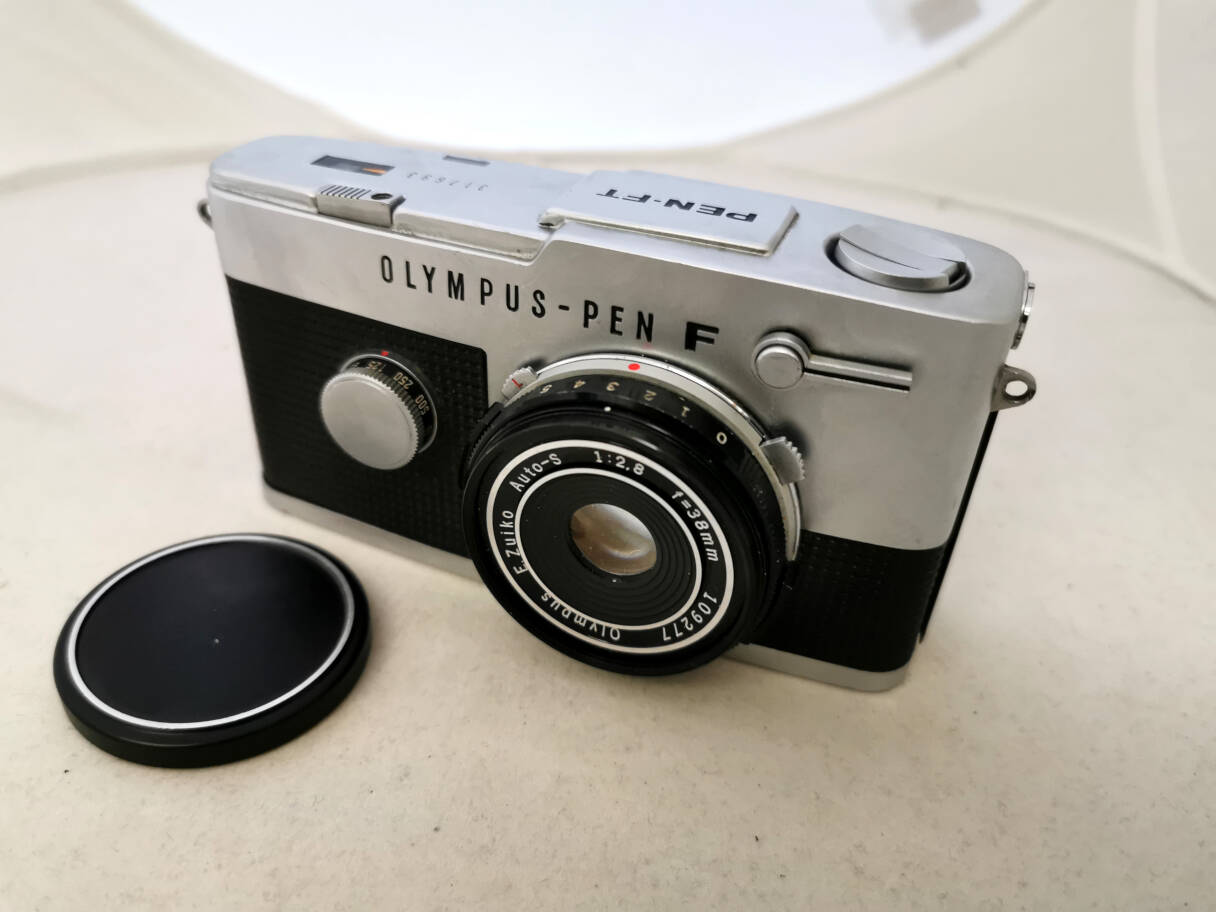
The Pen FT with a built-in, non-coupled TTL exposure meter replaced
the Pen F in 1966. The finder image is slightly dimmer, since some
light is directed to the meter. The Pen FT also introduced a
single-stroke advance and a self-timer. It's the model presented here.
The Pen FV was launched in 1967. It's a Pen F (without the light meter),
but with the single stroke lever and the self-timer. It is the most
rare of the three models. Unfortunately in 2016 Olympus introduced a
digital Micro Four Thirds camera with the iconic Pen F name which
leads to quite some confusion.
You can find an accessory page here.
The main features are:
Shutter: rotary, metal, speeds: 1 - 1/500s and B
Viewfinder: Porroprism with microprism and fresnel
Light-meter: TTL, non-coupled
Focus: manual
Film speeds: 25-400 ISO
TTL meter, non coupled, PC socket (fully synchronized), mechanical self-timer, tripod mount
Some photos:
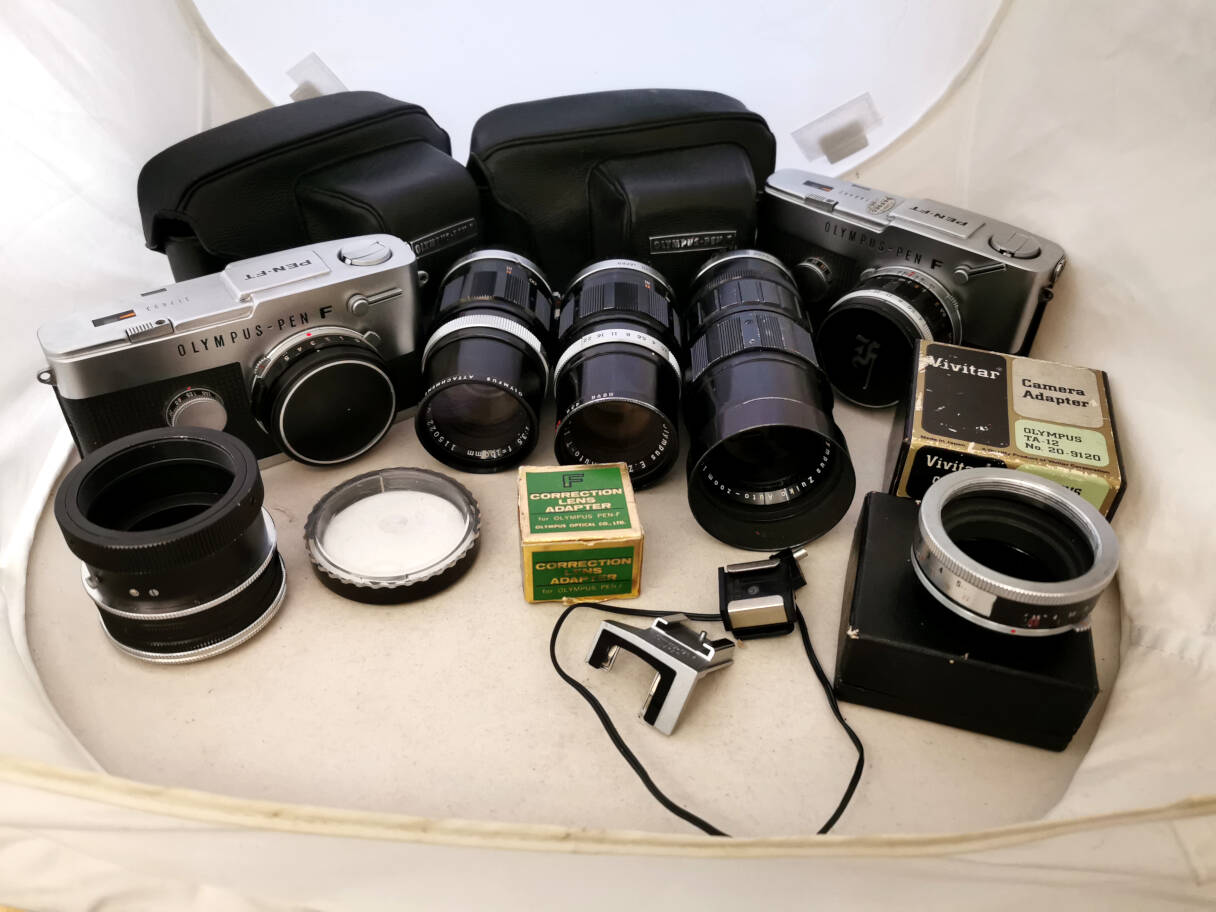
A nice set of lenses and accessories.
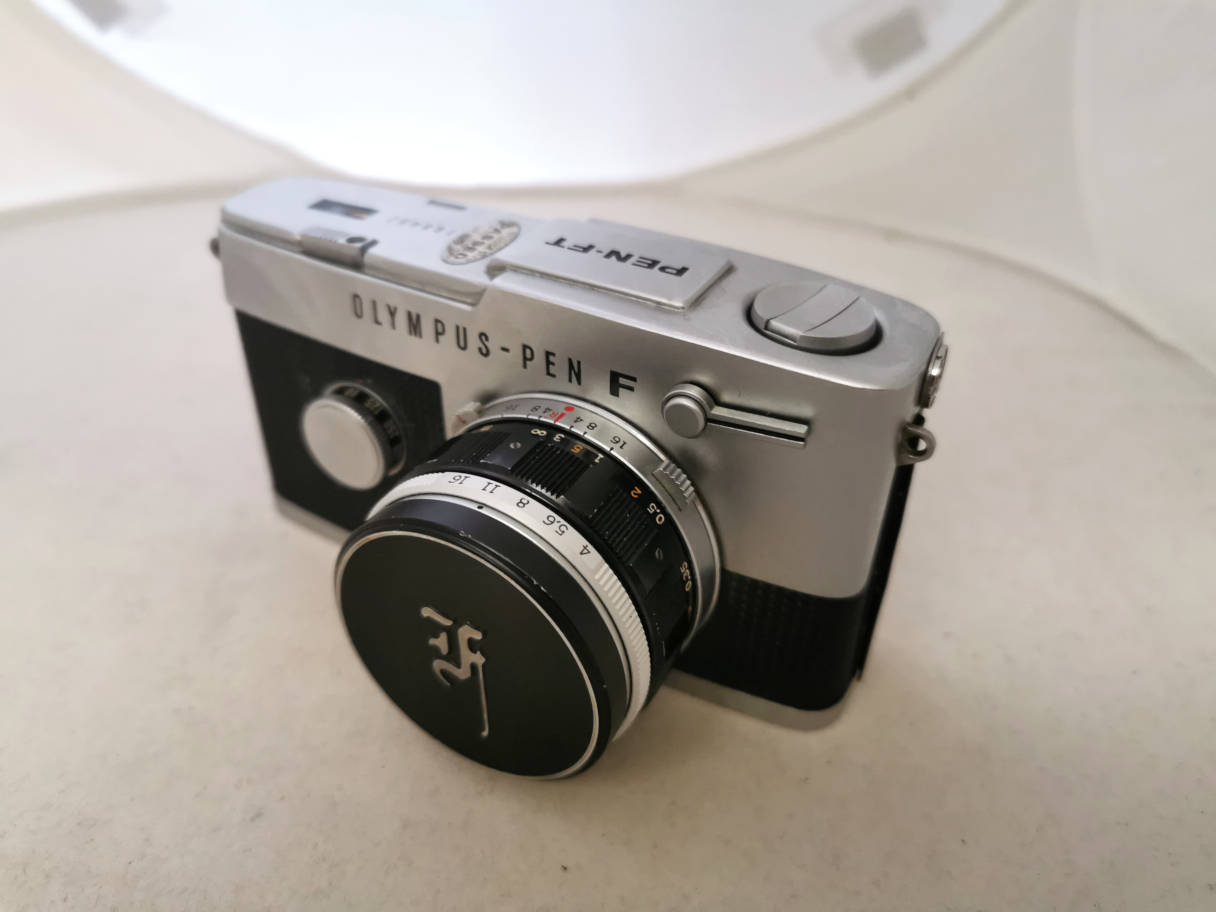
A
nice and stylish little camera. On the bottom of the lens barrel: up
left left lens release, up right depth of the field test (closes the
aperture).
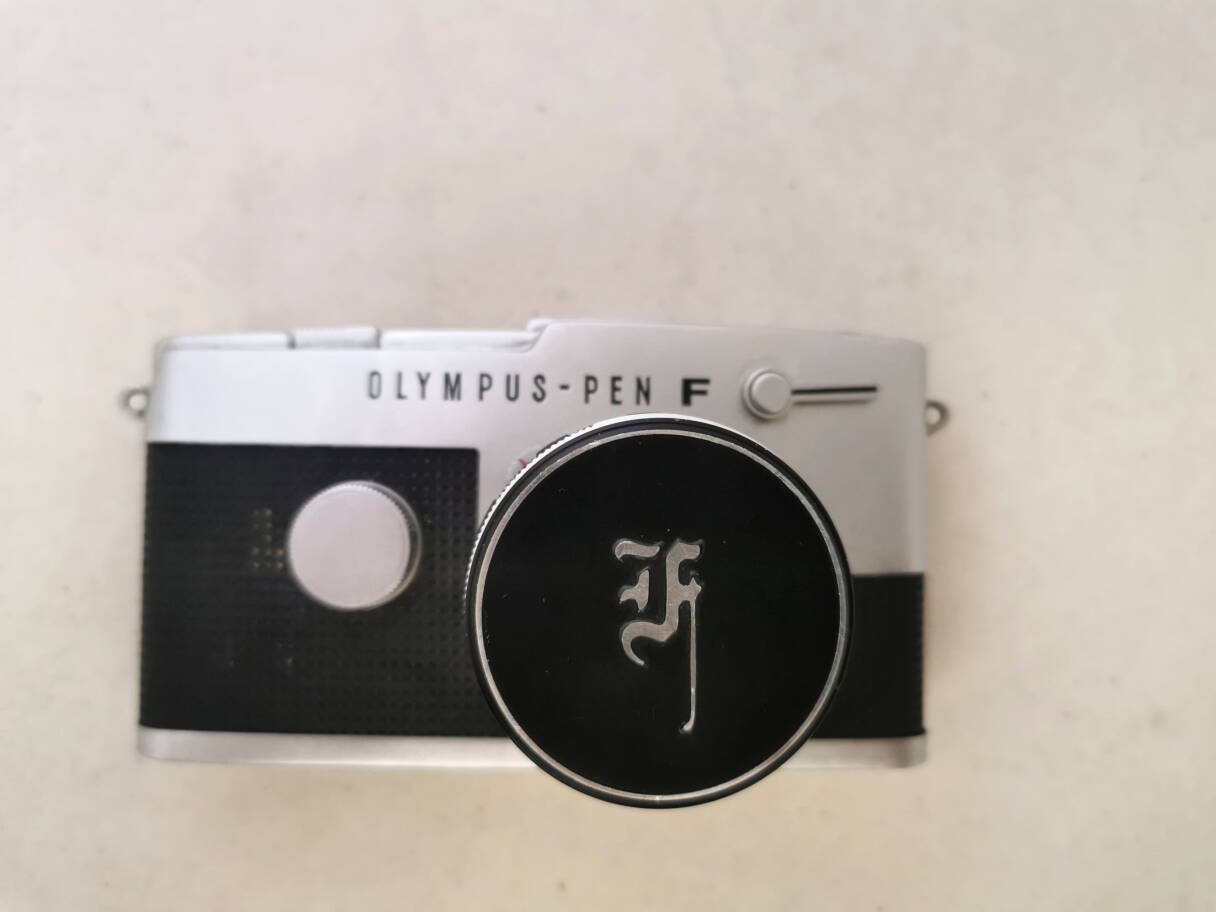
The iconic gothic letter F on the lens cap.
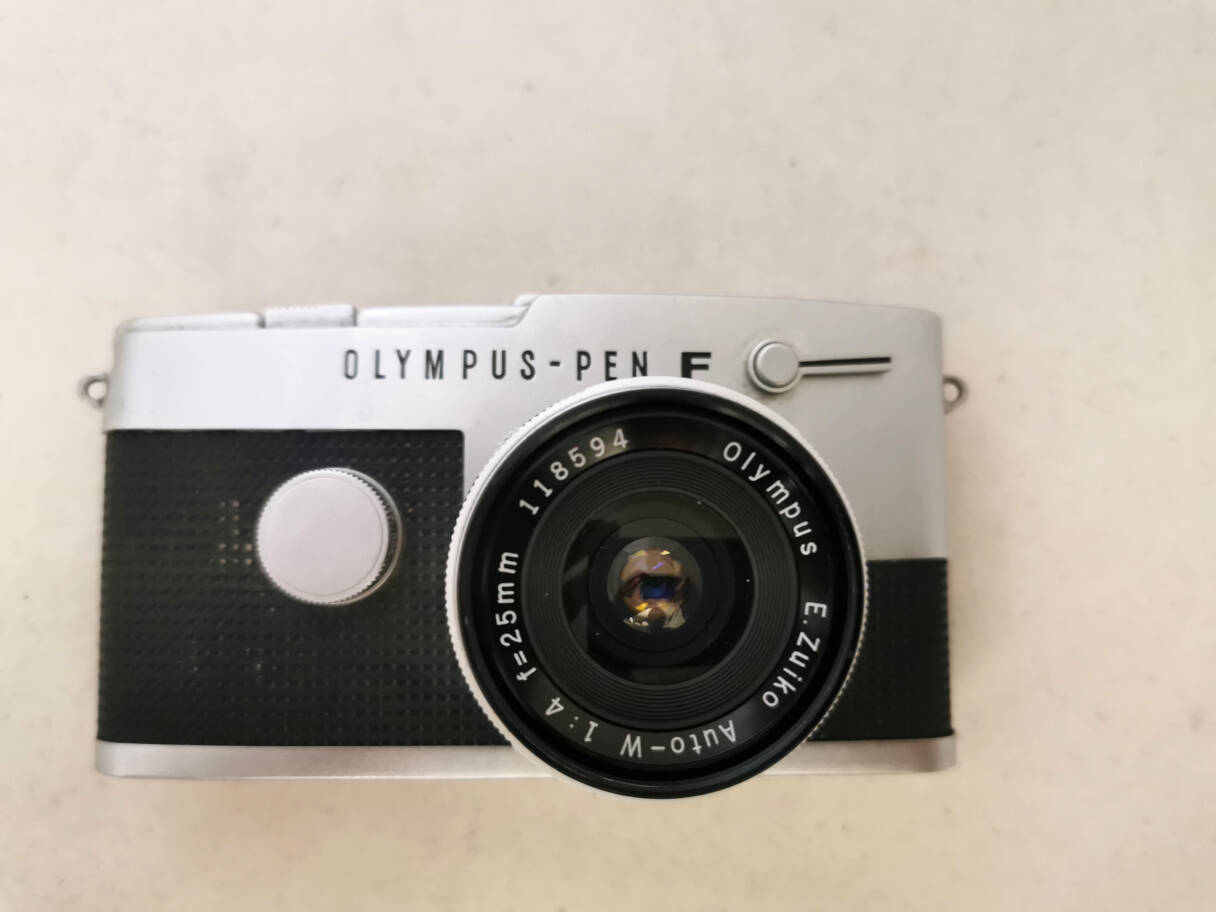
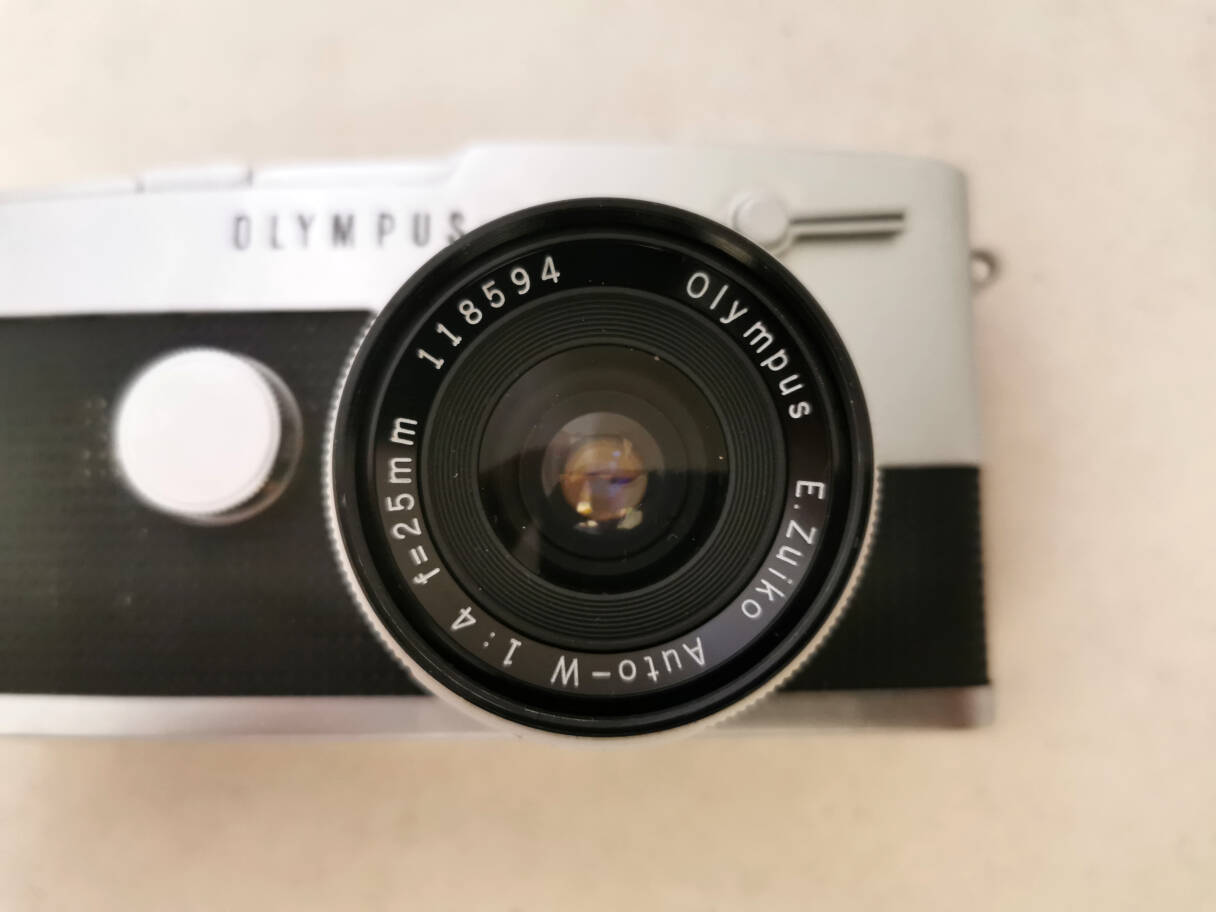
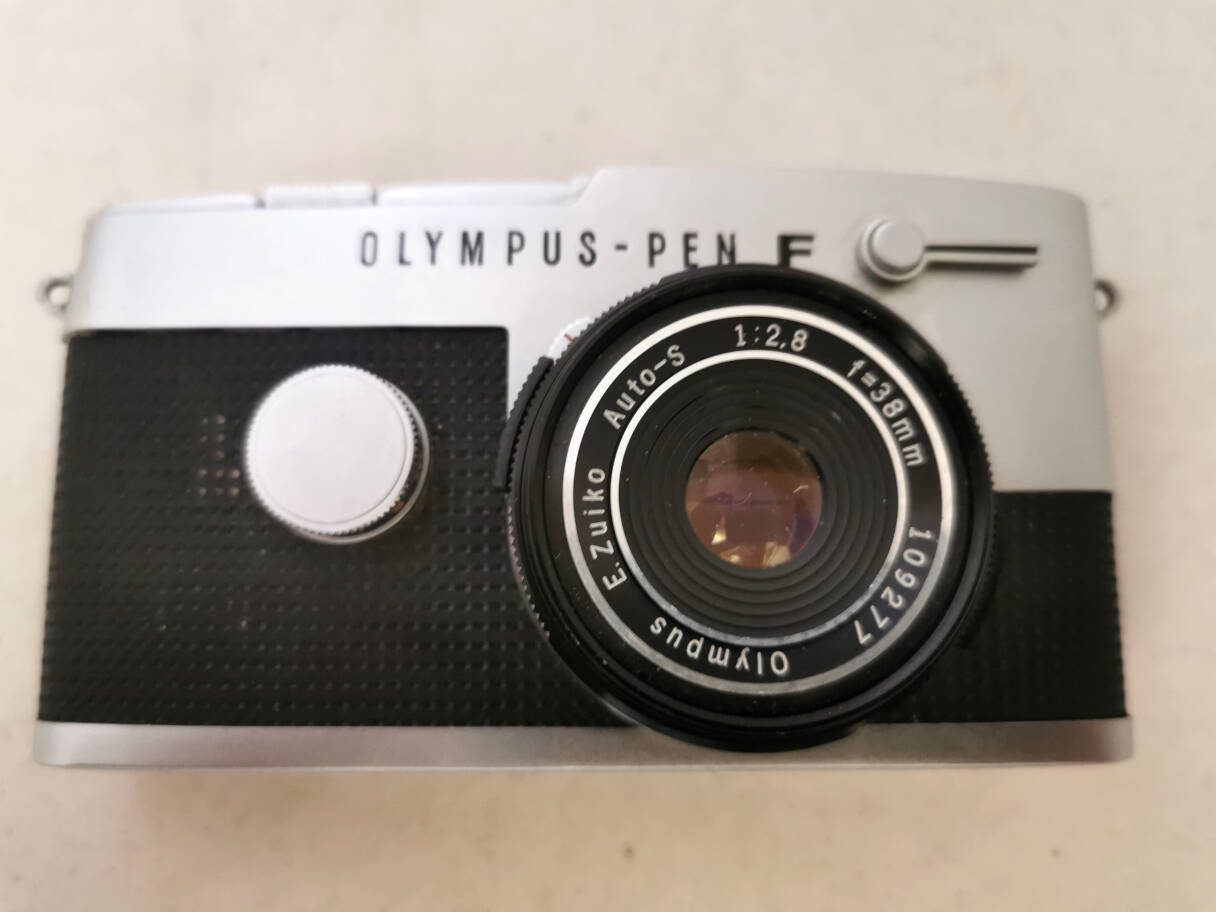
Camera
front. A 25mm lens, a good choice for the half frame format which gives
a moderate wide angle. Top right: self timer. To the left: speed
setting.

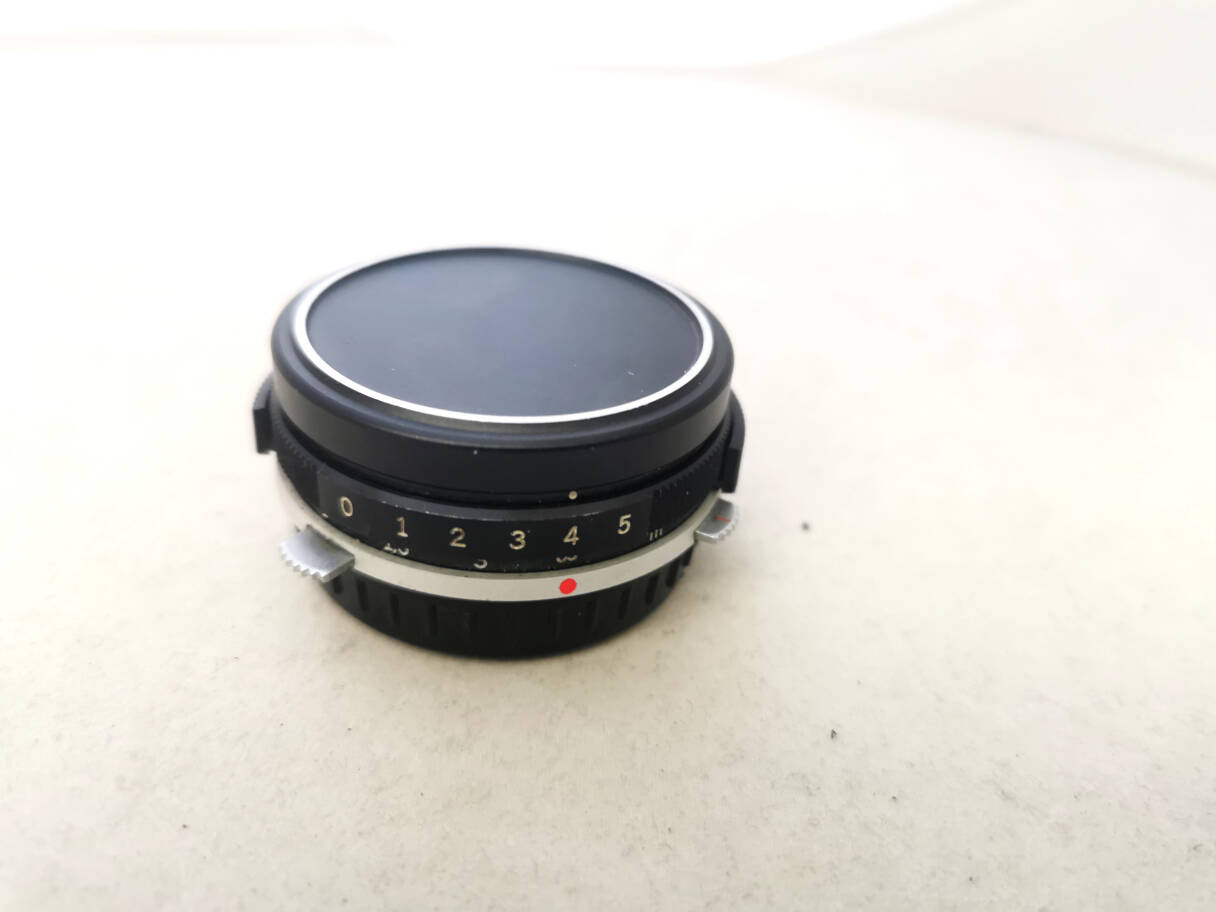
ISO setting between B and 1s of the speed setting. To change, lift the upper part and turn.
Lens front.
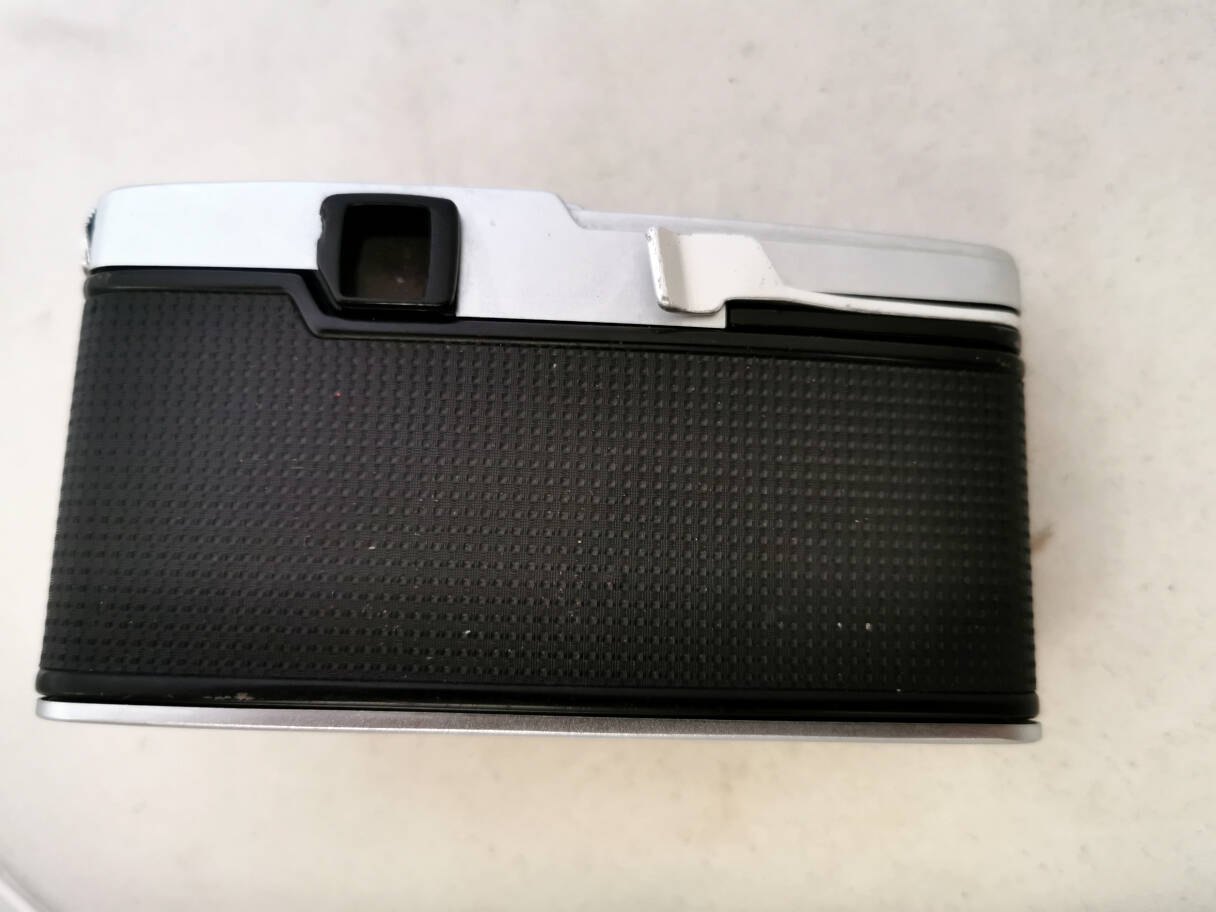
Camera
back. Viewer and advance lever. The camera has no accessory shoe. There
was an etxra shoe to be sqeezed tightly onto the plastic viewer frame which
often damaged it.
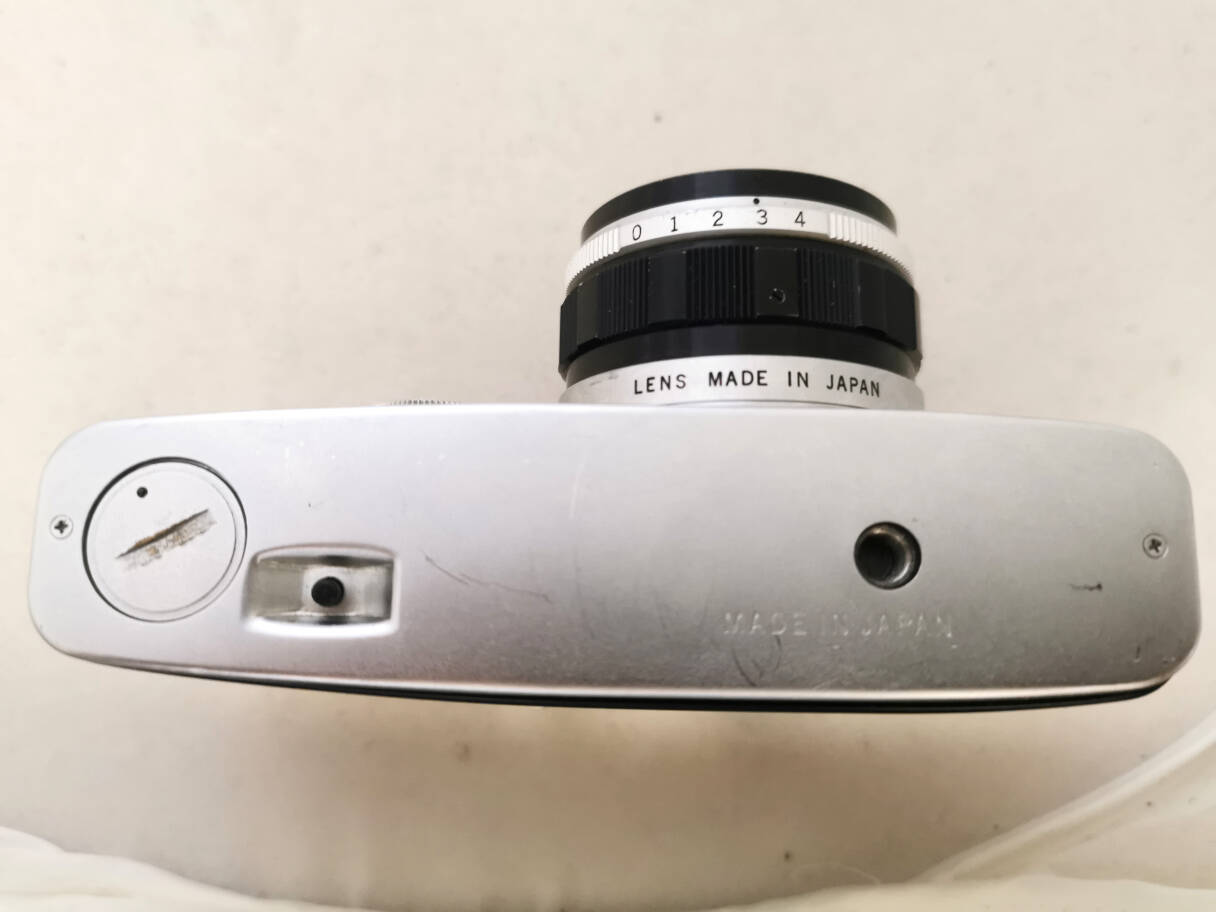
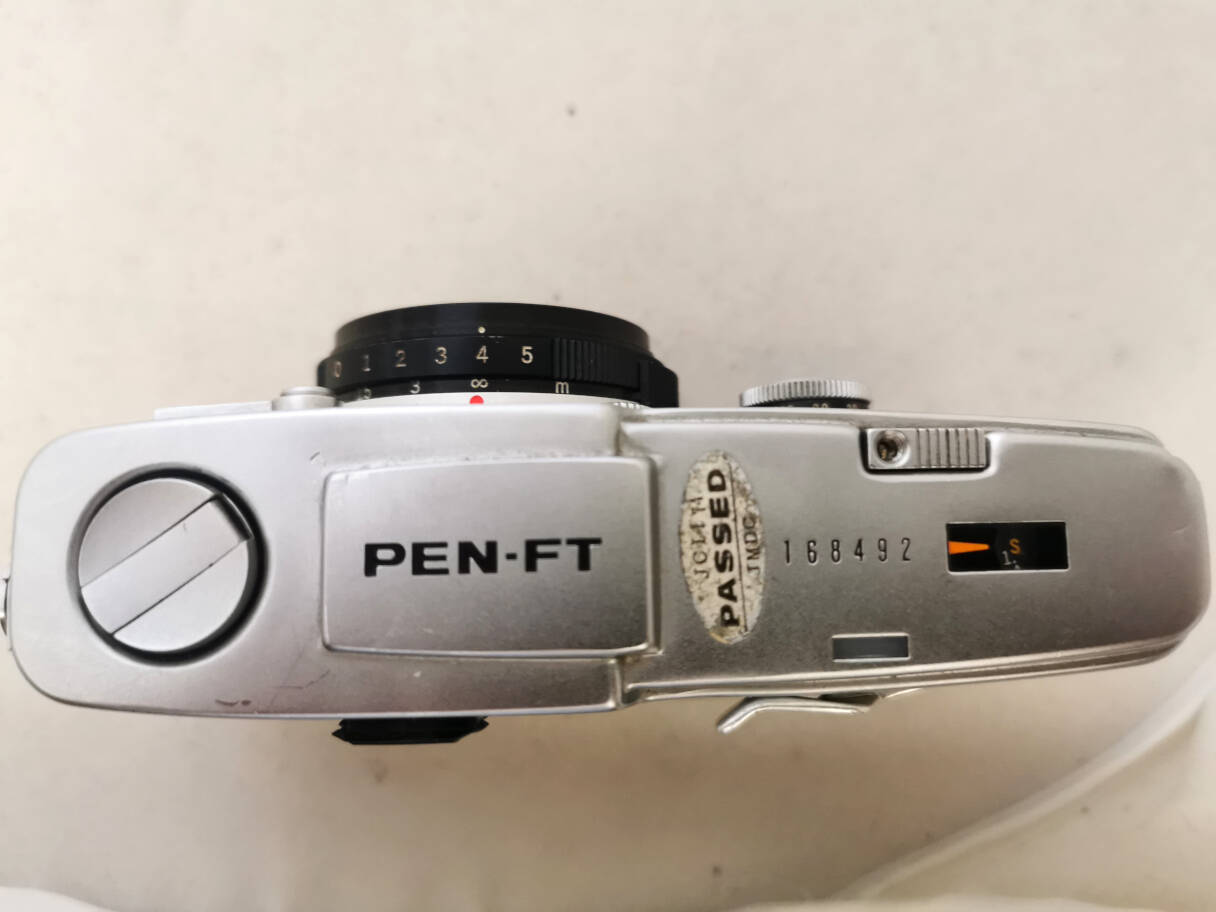
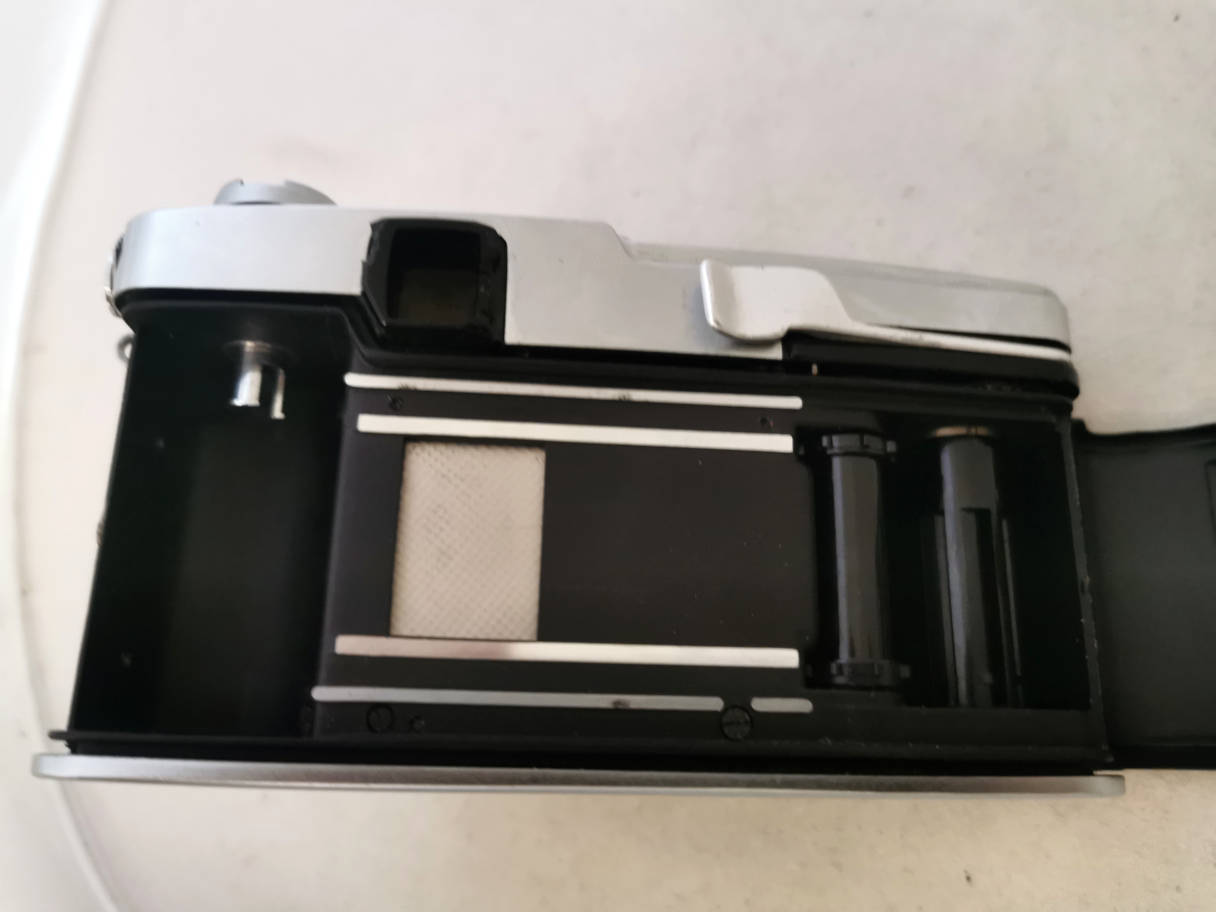
Camera
bottom. Battery
compartment, takes a PX625 mercury battery. There are replacements
available. And there are loads of discussions about it, see end of the
page. Rewind release, Tripod socket. On the lens barrel: EV setting
numbers.
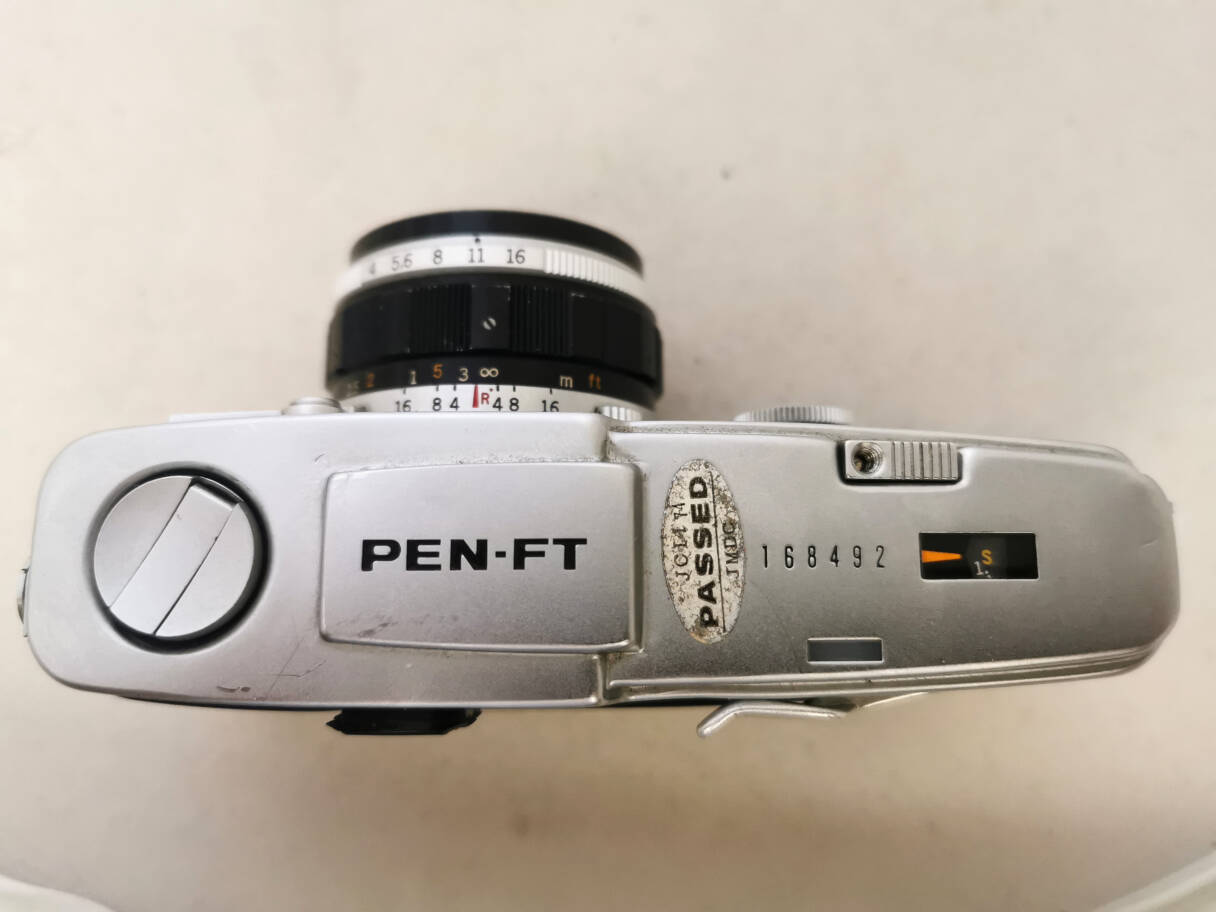
Seen
from above. Rewind, shutter release and film counter,

Camera mount.
Camera with the 38mm pancake lens, not so common and quite expensive today. It only sticks out 18mm.
Lens front.
Seen from above. EV values.

Seen from below. Aperture values.
The lens is really small and weighs only 70gr.
The ordinary 38mm lens is pictured on the Pen F page.
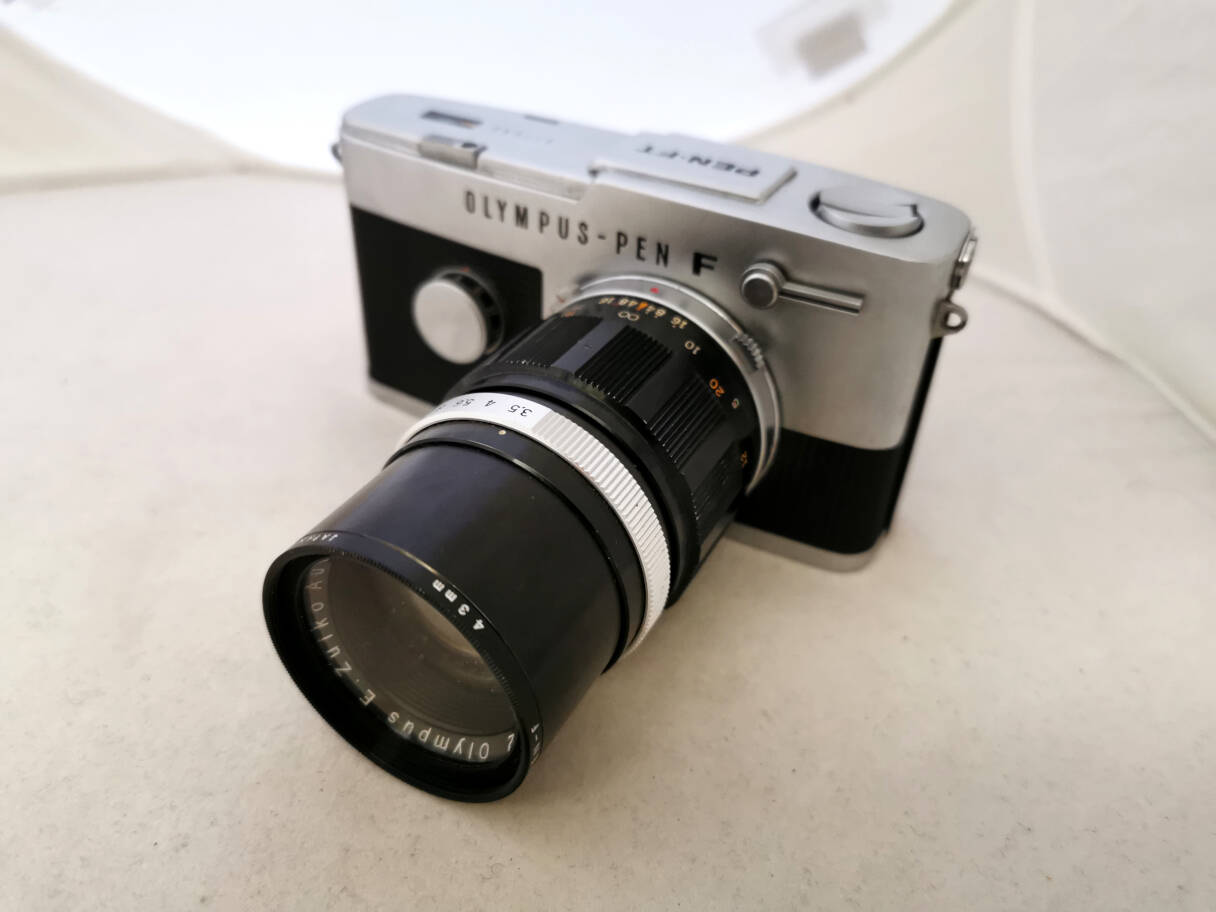
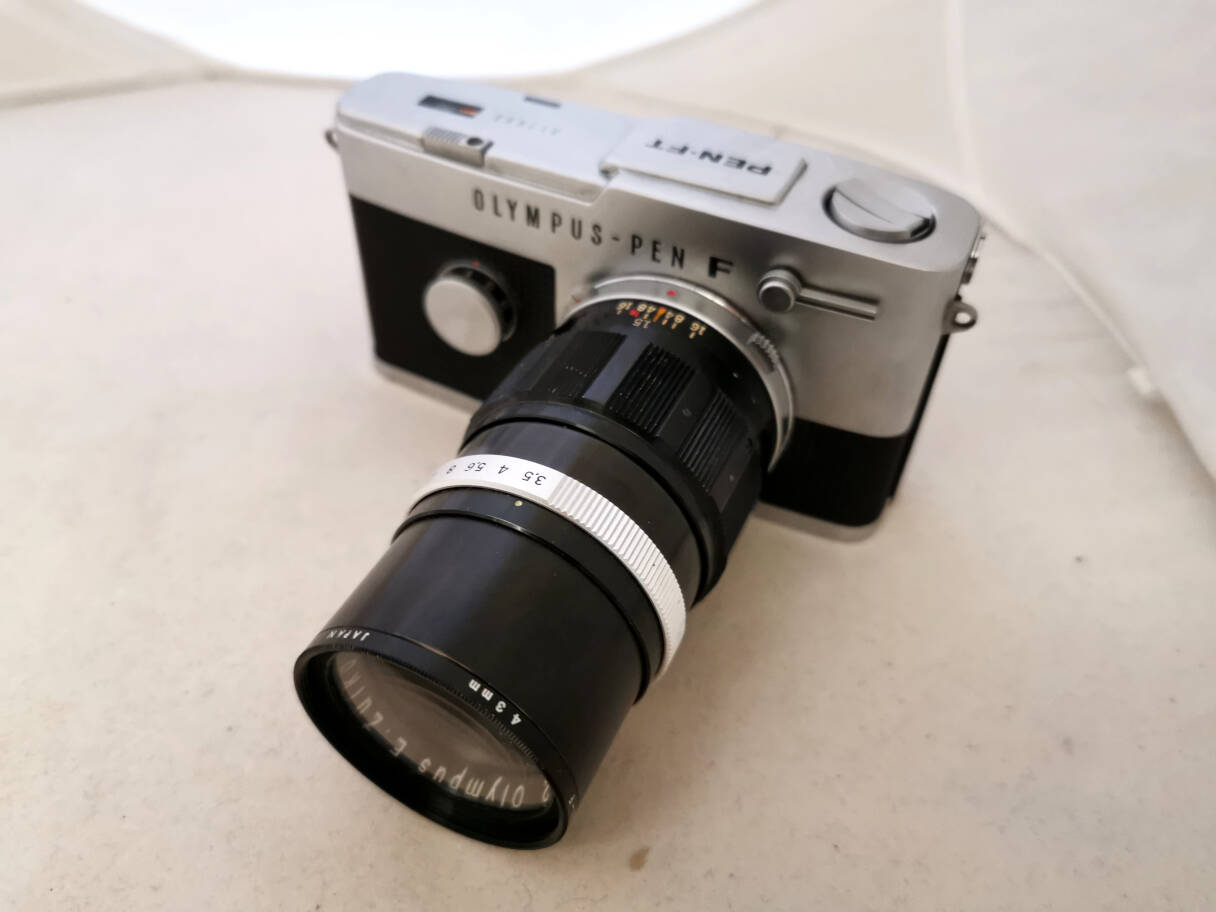
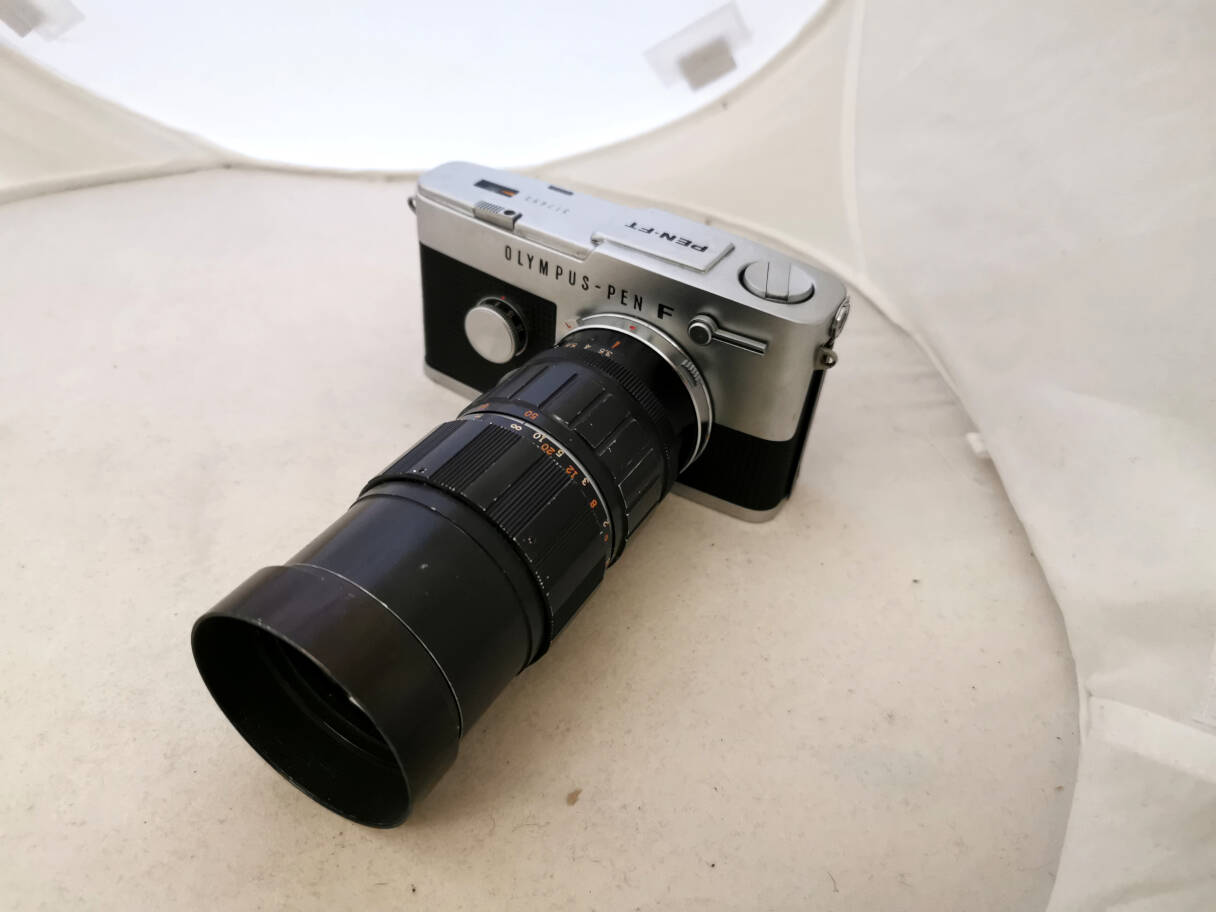
Camera with 100mm tele lens. The equivalent in full format is 143mm.
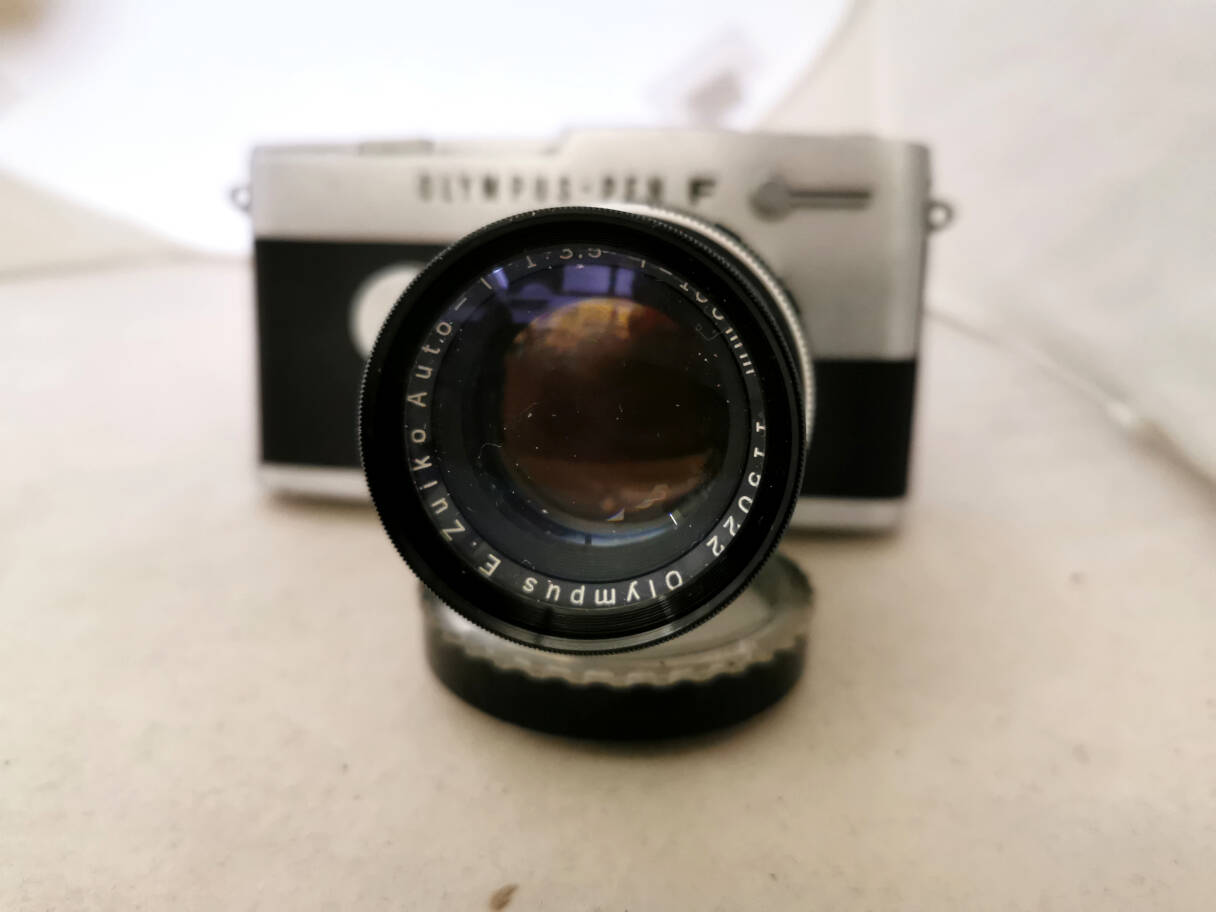
Lens front.
Fully extended, 1.5m. On the small camera it seems big and heavy, it weighs 250gr.
Camera with 50-90mm zoom lens and shade,
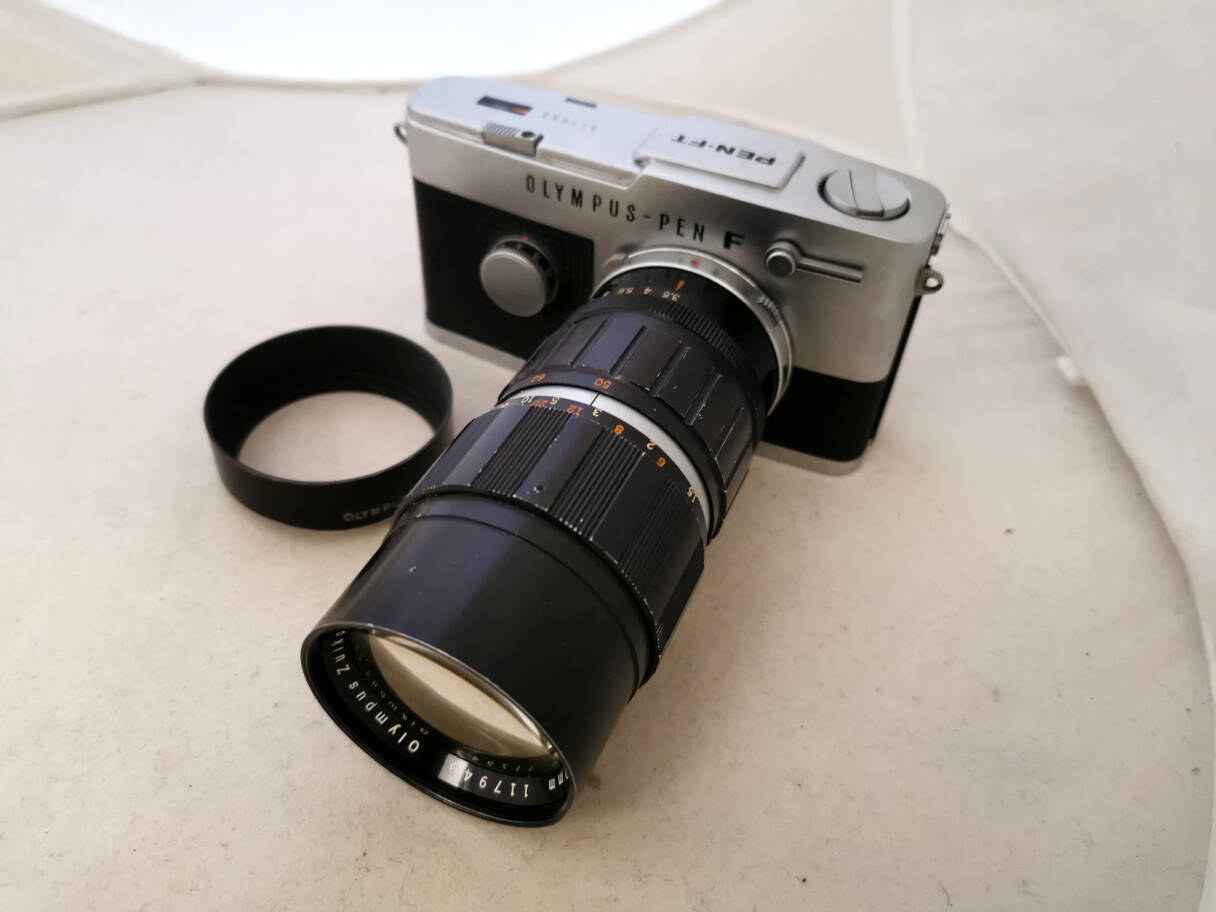
Shade deposed. It's bigger and heavier than the 100mm, it weighs 420 gr and has 10 lenses in 8 groups.

Lens front.
And not to forget: the film plane.
This is regarded as the summum of the half frame cameras although
launched about 60 years ago. It is a very nice and very small SLR
camera with very good lenses and it
still works nicely after so many years. Seen today's film prices, half
frames are sought after. This led to high prices for this specific
model.
Handling is easy and logic. Once you get used to the meter system, it's
a good feature in my opinion. Even if the screen is slightly dimmer,
it's not true that half of the light goes to the meter system as some
websites claim. There are 2 ways to use the meter. The system is speed
priority, you set the speed first and it's open aperture focussing and
measuring. With Olympus Pen lenses you watch the needle, it should be
between 0 and 5, otherwise change the speed. Then set the number you
read on the meter to the EV scale of the lens. Fire and done.
With non-Olympus lenses focus at aperture full open, then close the
aperture until the needle is between 0 and 1 (0 for the more luminous
lenses). You can do the same with Olympus lenses without taking the
camera off your eye. Just push the depth of the field control, it
closes the aperture and the needle should go up towards 0.
There is a lot of discussion about the battery. I do not use slide film
except for stereo cameras. Modern negative film is easy within 1 or 2
apertures. So no problem with a slightly used U 625 battery. I have ordered
an adapter to 1.3 V, the test and more information is a bit further down.
You can find an accessory page here.
In any case: it's a cute little wonder. I'm very fond of it.
So let us look at adapting the camera to the 1.3 V of the mercury
batteries that are no longer available. With my Pen FT there is a 2
stop difference between a fresh U 625 1.55 V battery and a 1.3 V
battery. That's a lot. But it works well with a used one of 1.45 V. No
difference here and it lasts some months. Anyway, as the battery of
the Pen FT can't be shut off, you should not leave the battery in the
camera if you don't use it for a while. Funny detail: my Pen D3 from
the same period has obviously a completely different circuit. The meter
only works if you push a button, so no battery drain, and there is no
difference between 1.3 V and 1.55 V. The meter shows the same values.
There are Weincell zinc/air batteries, the size of the original 625
battery, which are quite expensive. Zinc/air batteries are sold sealed
(there are tiny, tiny holes which let air in to make it function), once
you peel off the seal the reaction starts and in most cases the battery
will only last a few weeks. However these batteries perform like
mercury batteries, they stay at the same level for a long period and
then suddenly fade. They need some minutes to work well after
unsealing. Depending on your voltage meter, they show a higher voltage,
but this goes down once they are in the circuit.
There are hearing aid zinc/air batteries 675 size (which is smaller).
These cost next to nothing because they are produced in large
quantities. So adapting these seems to be the best solution.

My set consists of 2 rubber rings and a pack of 6 hearing aid 675 batteries + instruction sheet.

The seal, to be pulled off.

The rubber ring to center the smaller battery.

Ring and battery. If you look closely, you can see 4 tiny, tiny holes on the axis of the + sign.
This really seems to be the easiest reliable solution. FYI: If you
don't have the rings, the batteries work nevertheless. Just put them
into the middle of the compartment and screw the lid. And another: SR44
batteries are the size of 675 batteries. So these work as well in case
of. But they should not be new ones because of the voltage.